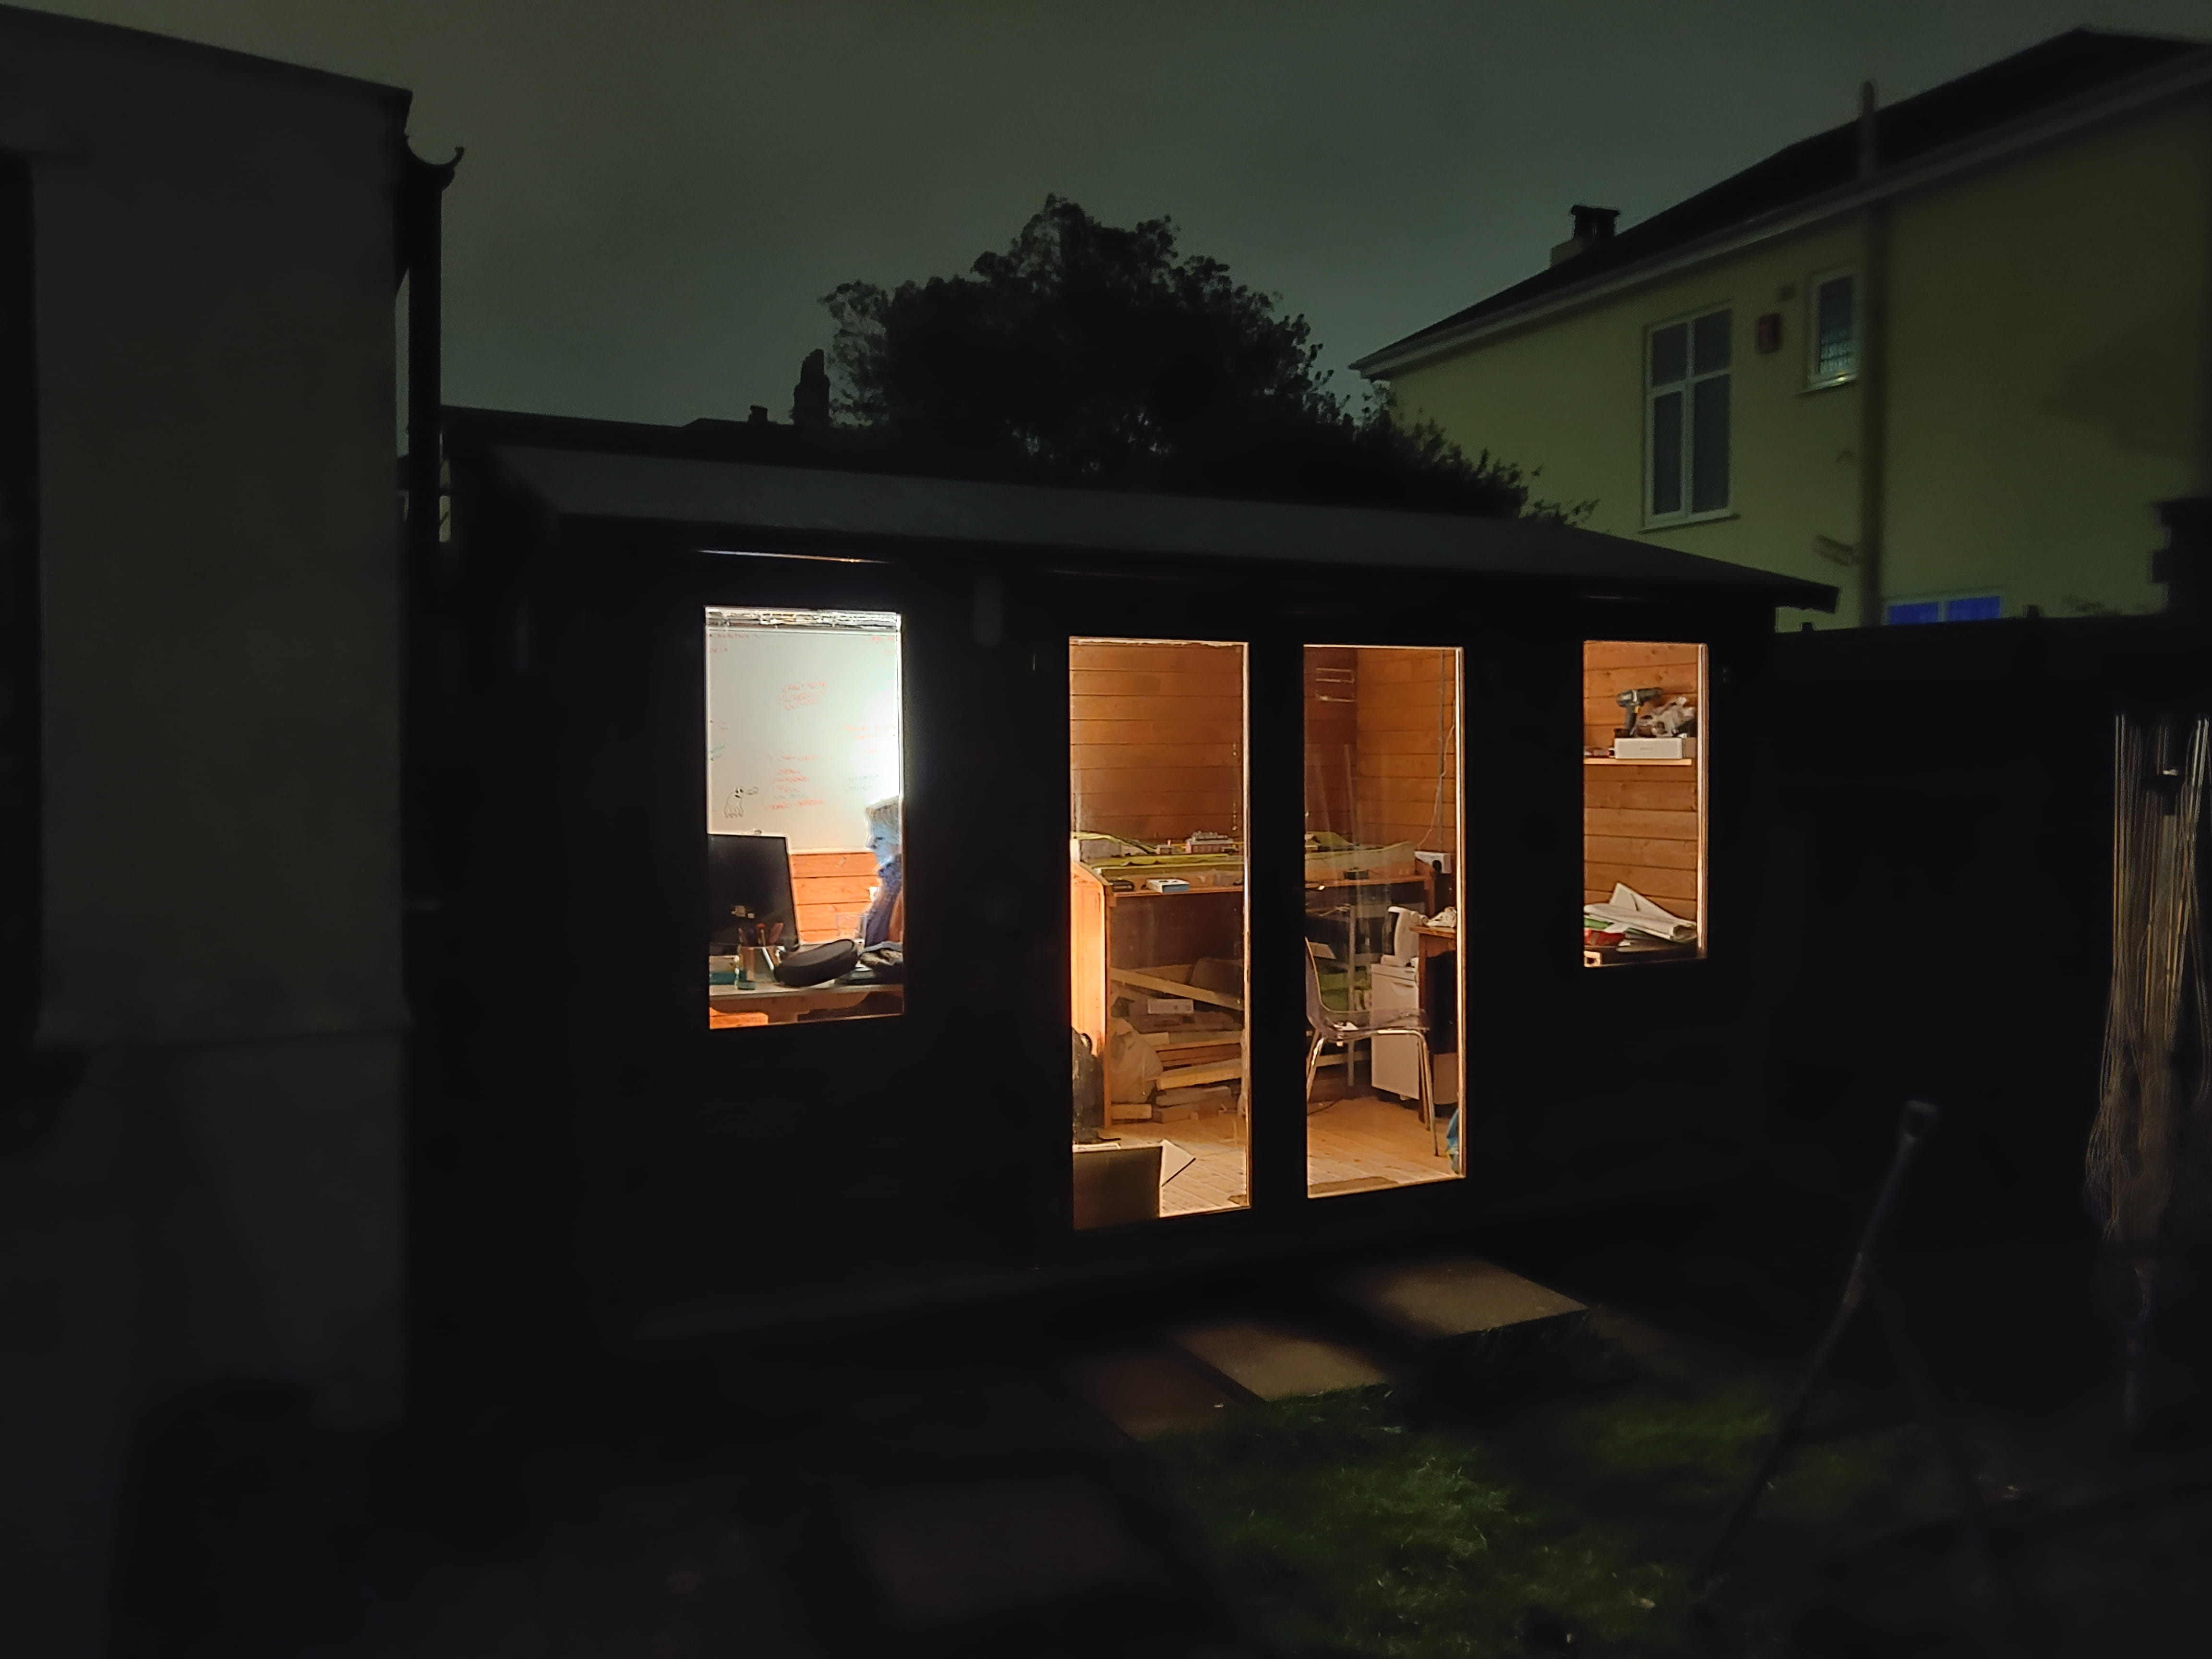
It’s been just over a year since building my office shed so I’m finally getting round to writing this post about #shedlife.
Last May I joined Surevine, a remote software company. It was my first remote role, we didn’t have any spare space in the house so I needed somewhere to be able to work. Because of the nature of our clients it needed to be somewhere where I could have conversations without being overheard.
We are fortunate to have a fairly big L shaped garden. The short leg of the ‘L’ was not really used as it sat behind the garage, it was a perfect space for the shed. Our garden is on a gentle slope, so the first challege was levelling the ground.

As I would be spending most of the day in the shed, I wanted to make sure I had plenty of light, enough room to stand up and walk around and, for both Hannah and I to be able to work in it as she is doing her masters, and working.
Since then of course, Coronavirus has meant that everyone has worked from home, and the shed has been an absolute godsend for both Hannah and I.
Picking the shed
After much rooting around garden centres, local timber yards and scouring the internet I decided on a 4m x 2.5m Billy Oh Dorest Log Cabin. It had lots of windows which could be double glazed, and the option of a rubber roof, which my colleague Andy reccomended getting to prevent leaks. I ordered the shed from https://www.gardenbuildingsdirect.co.uk/ but was shocked when the final price included a £200 delivery charge which was hidden away on their website. Grrr.
Levelling the ground
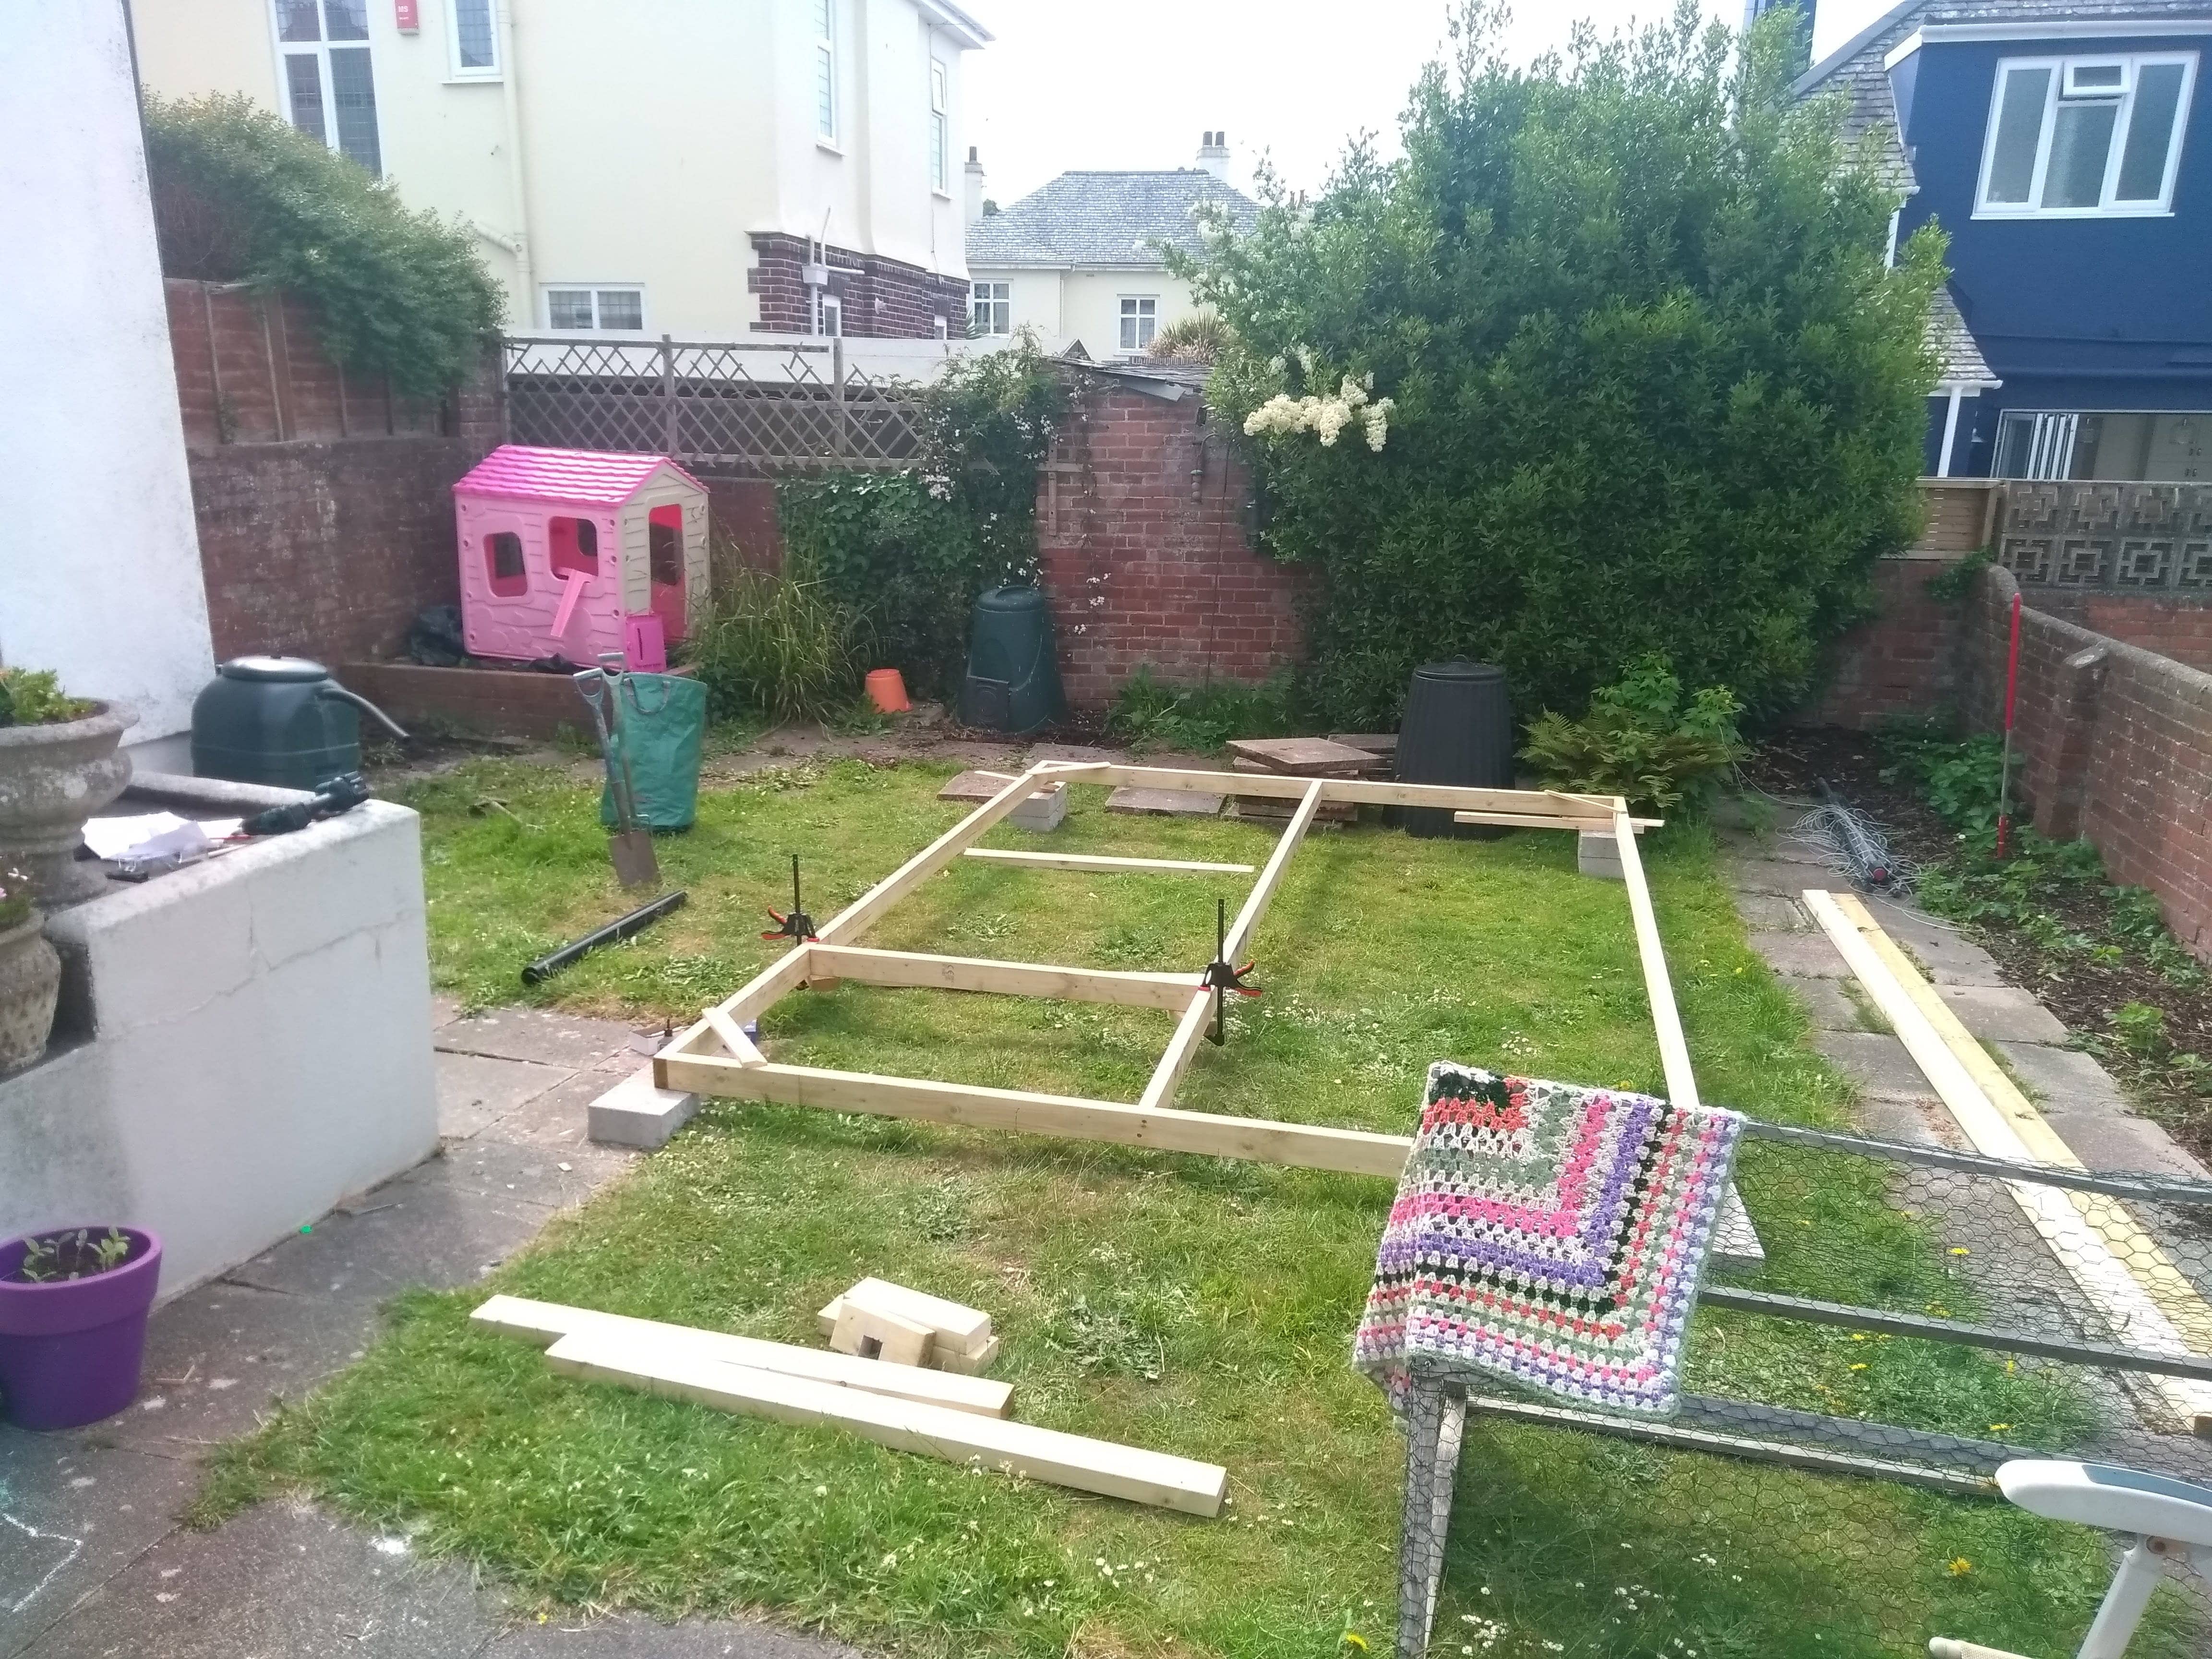
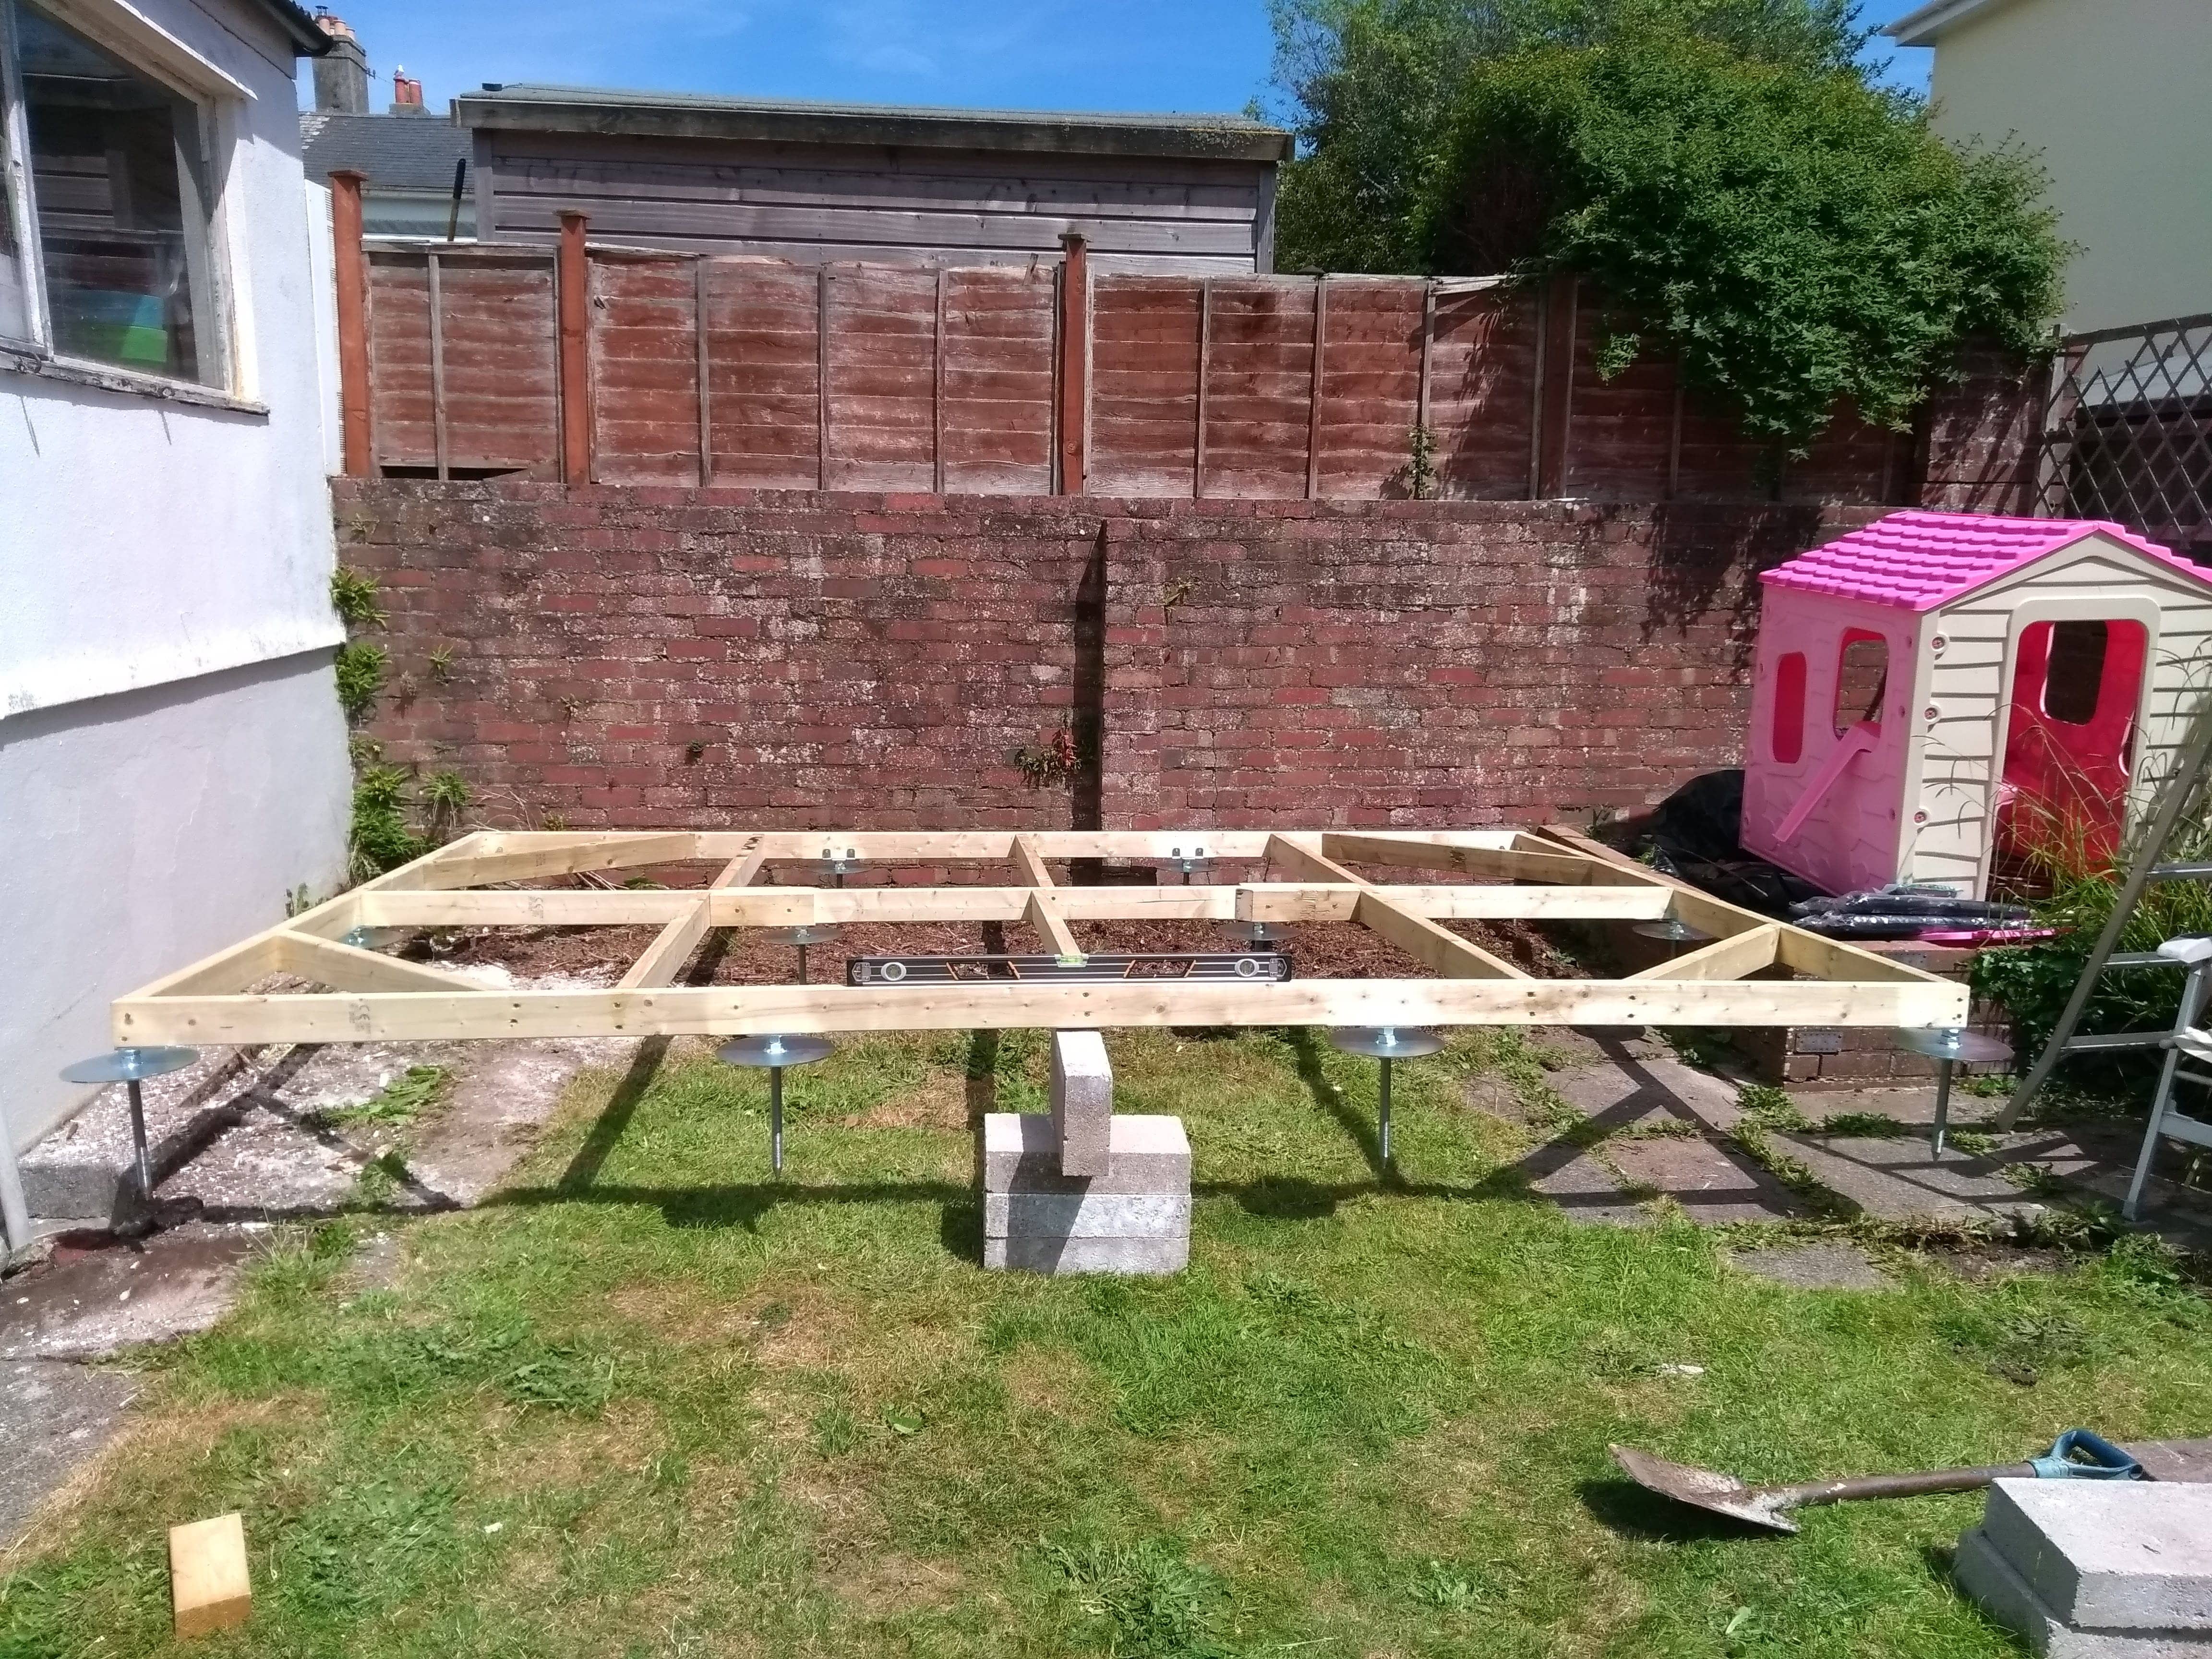
Initially I planned to make a concrete base, a prospect that daunted me as I have never made anything that big before. Looking at alternatives I found out about shed levelling spikes, these metal spikes with adjustable base plates massively simplified making the base.
The space where the shed was going was covered in weed suppresant material, and Dad and I built a frame for the shed to sit on out of treated timber. Making the frame was fairly straight forward, the hard part was placing and levelling the base. One of the corners nearest the garage was precariously close to the garage drain and we were worried that driving an enormous spike into the ground would break the drain. However with a bit of shuffling around we got it in ok. We left the base in place with concrete blocks on top for a week to let it settle and level out before making final adjustements.
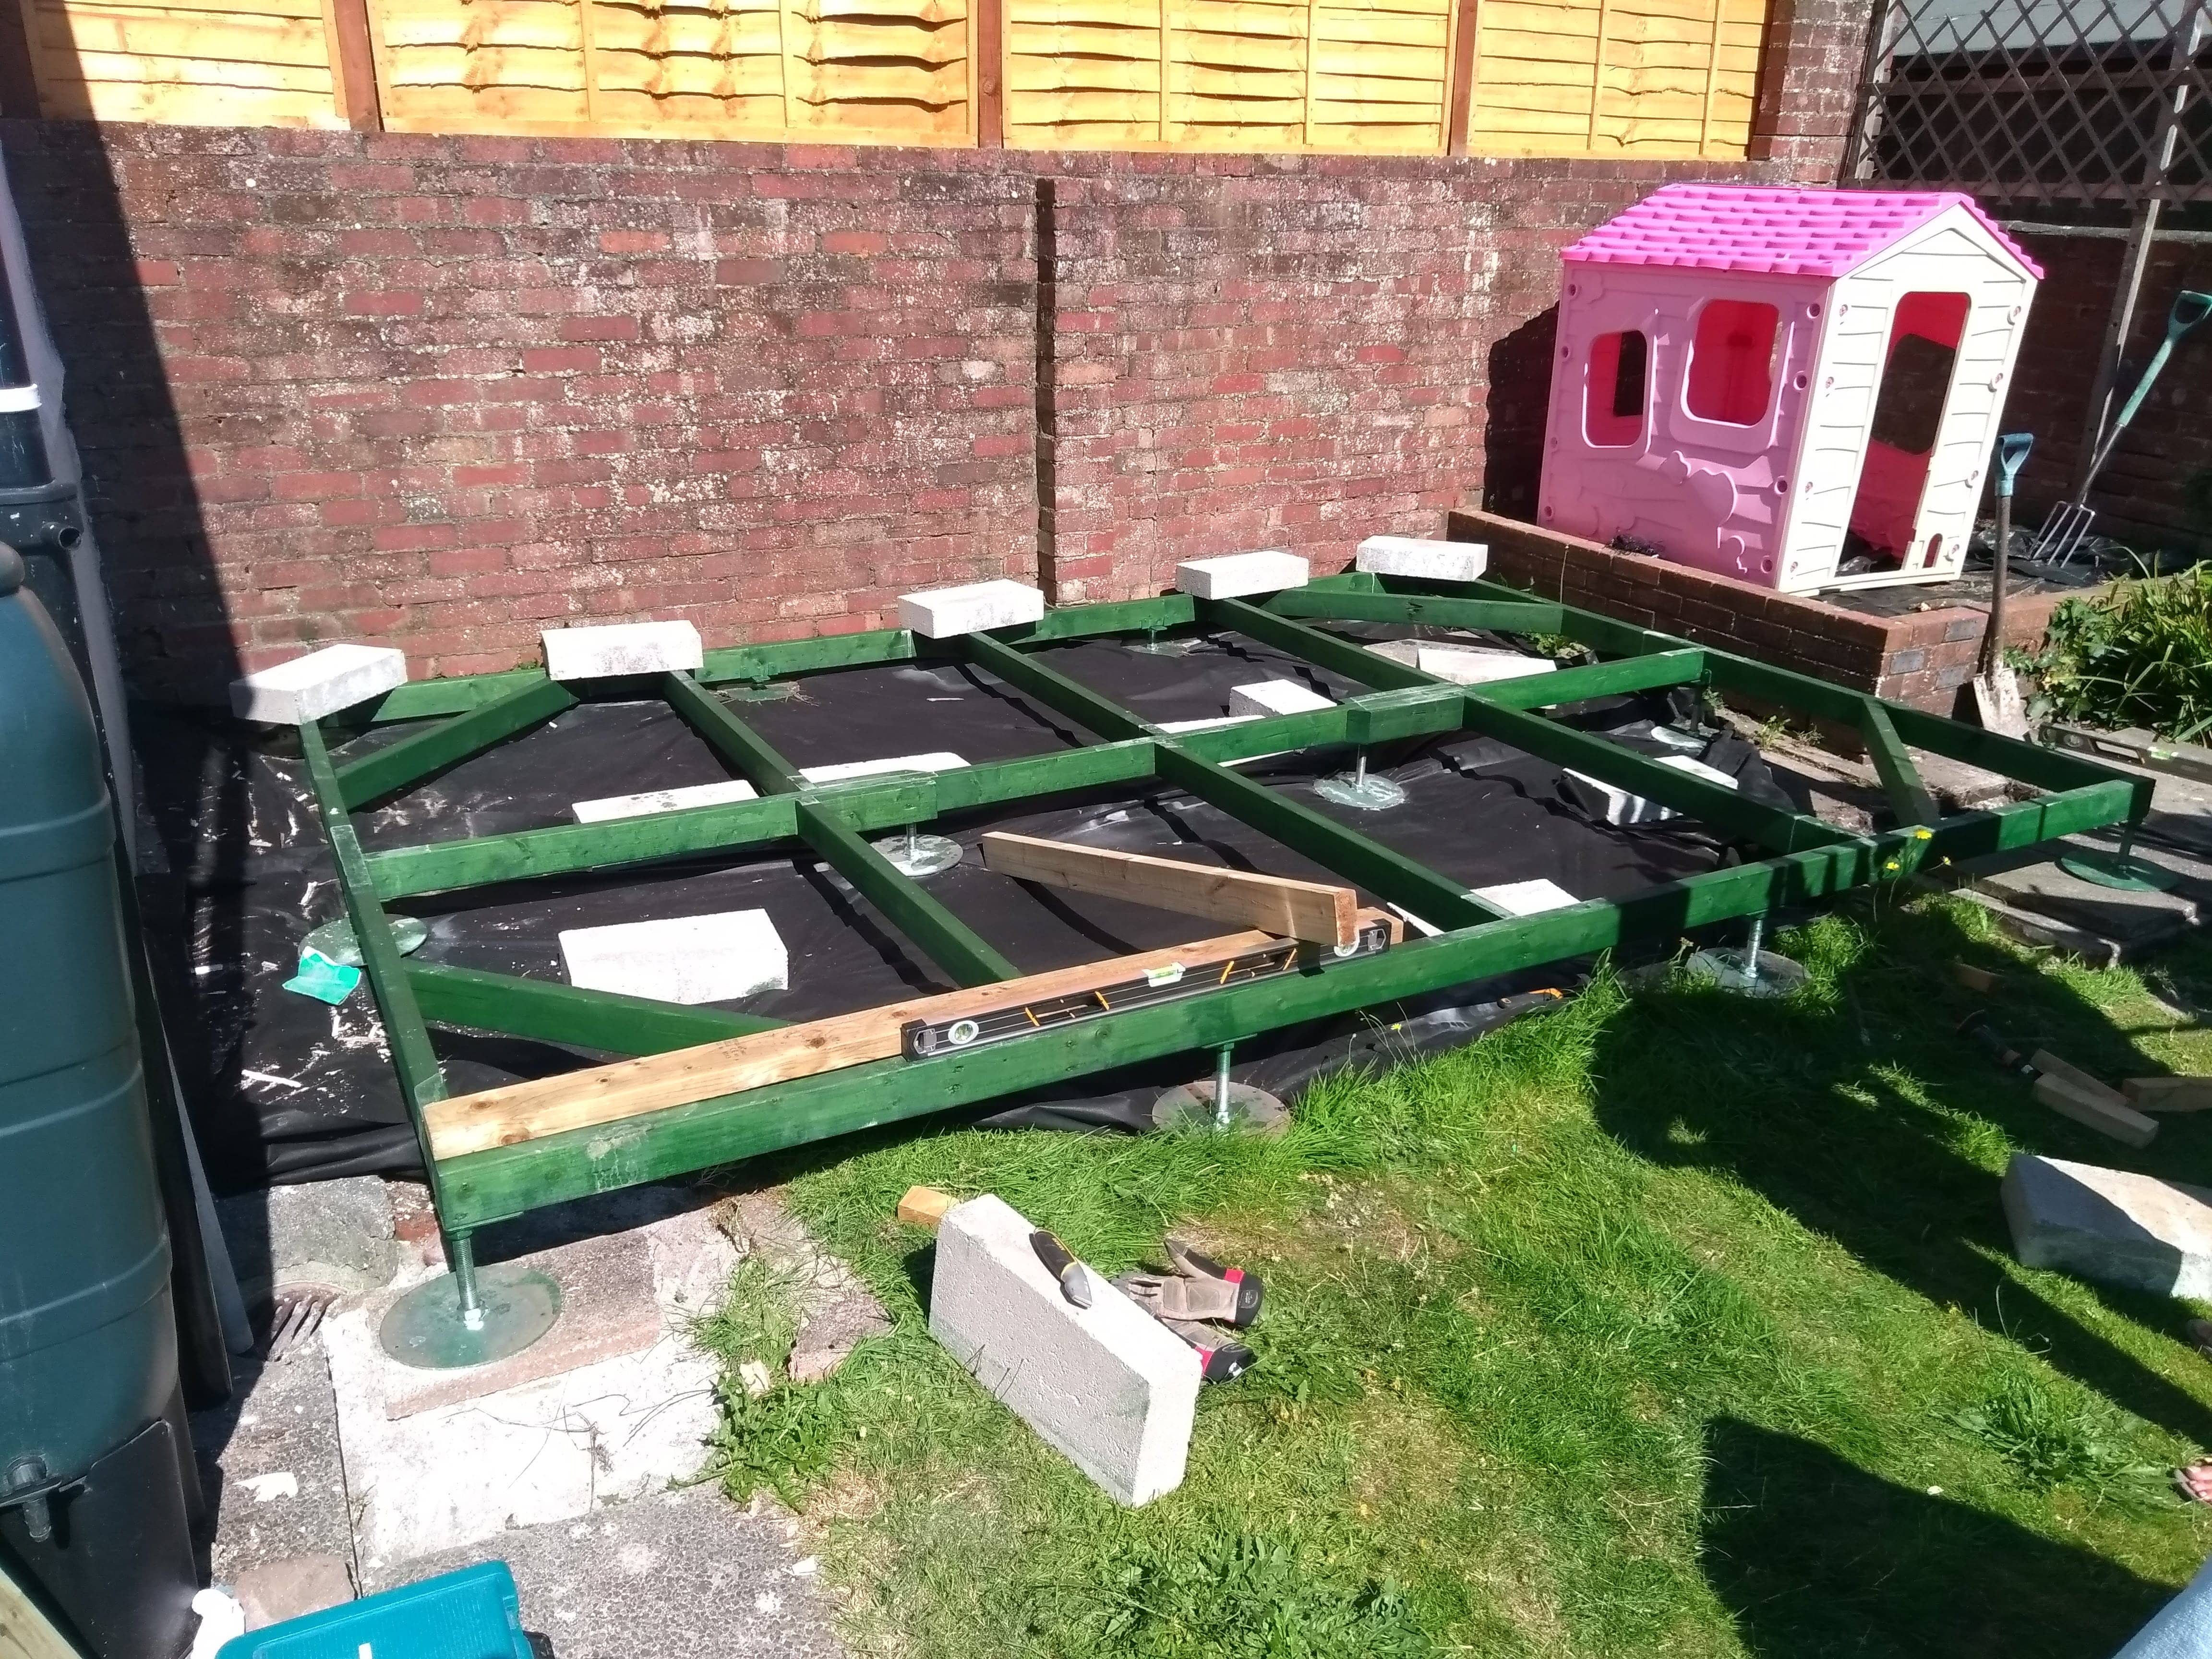
Dad had some leftover wood treatment from painting his fence so we painted the base with that for extra protection. Finally we put in knock-off kingspan board between the joists to insulate below the shed.
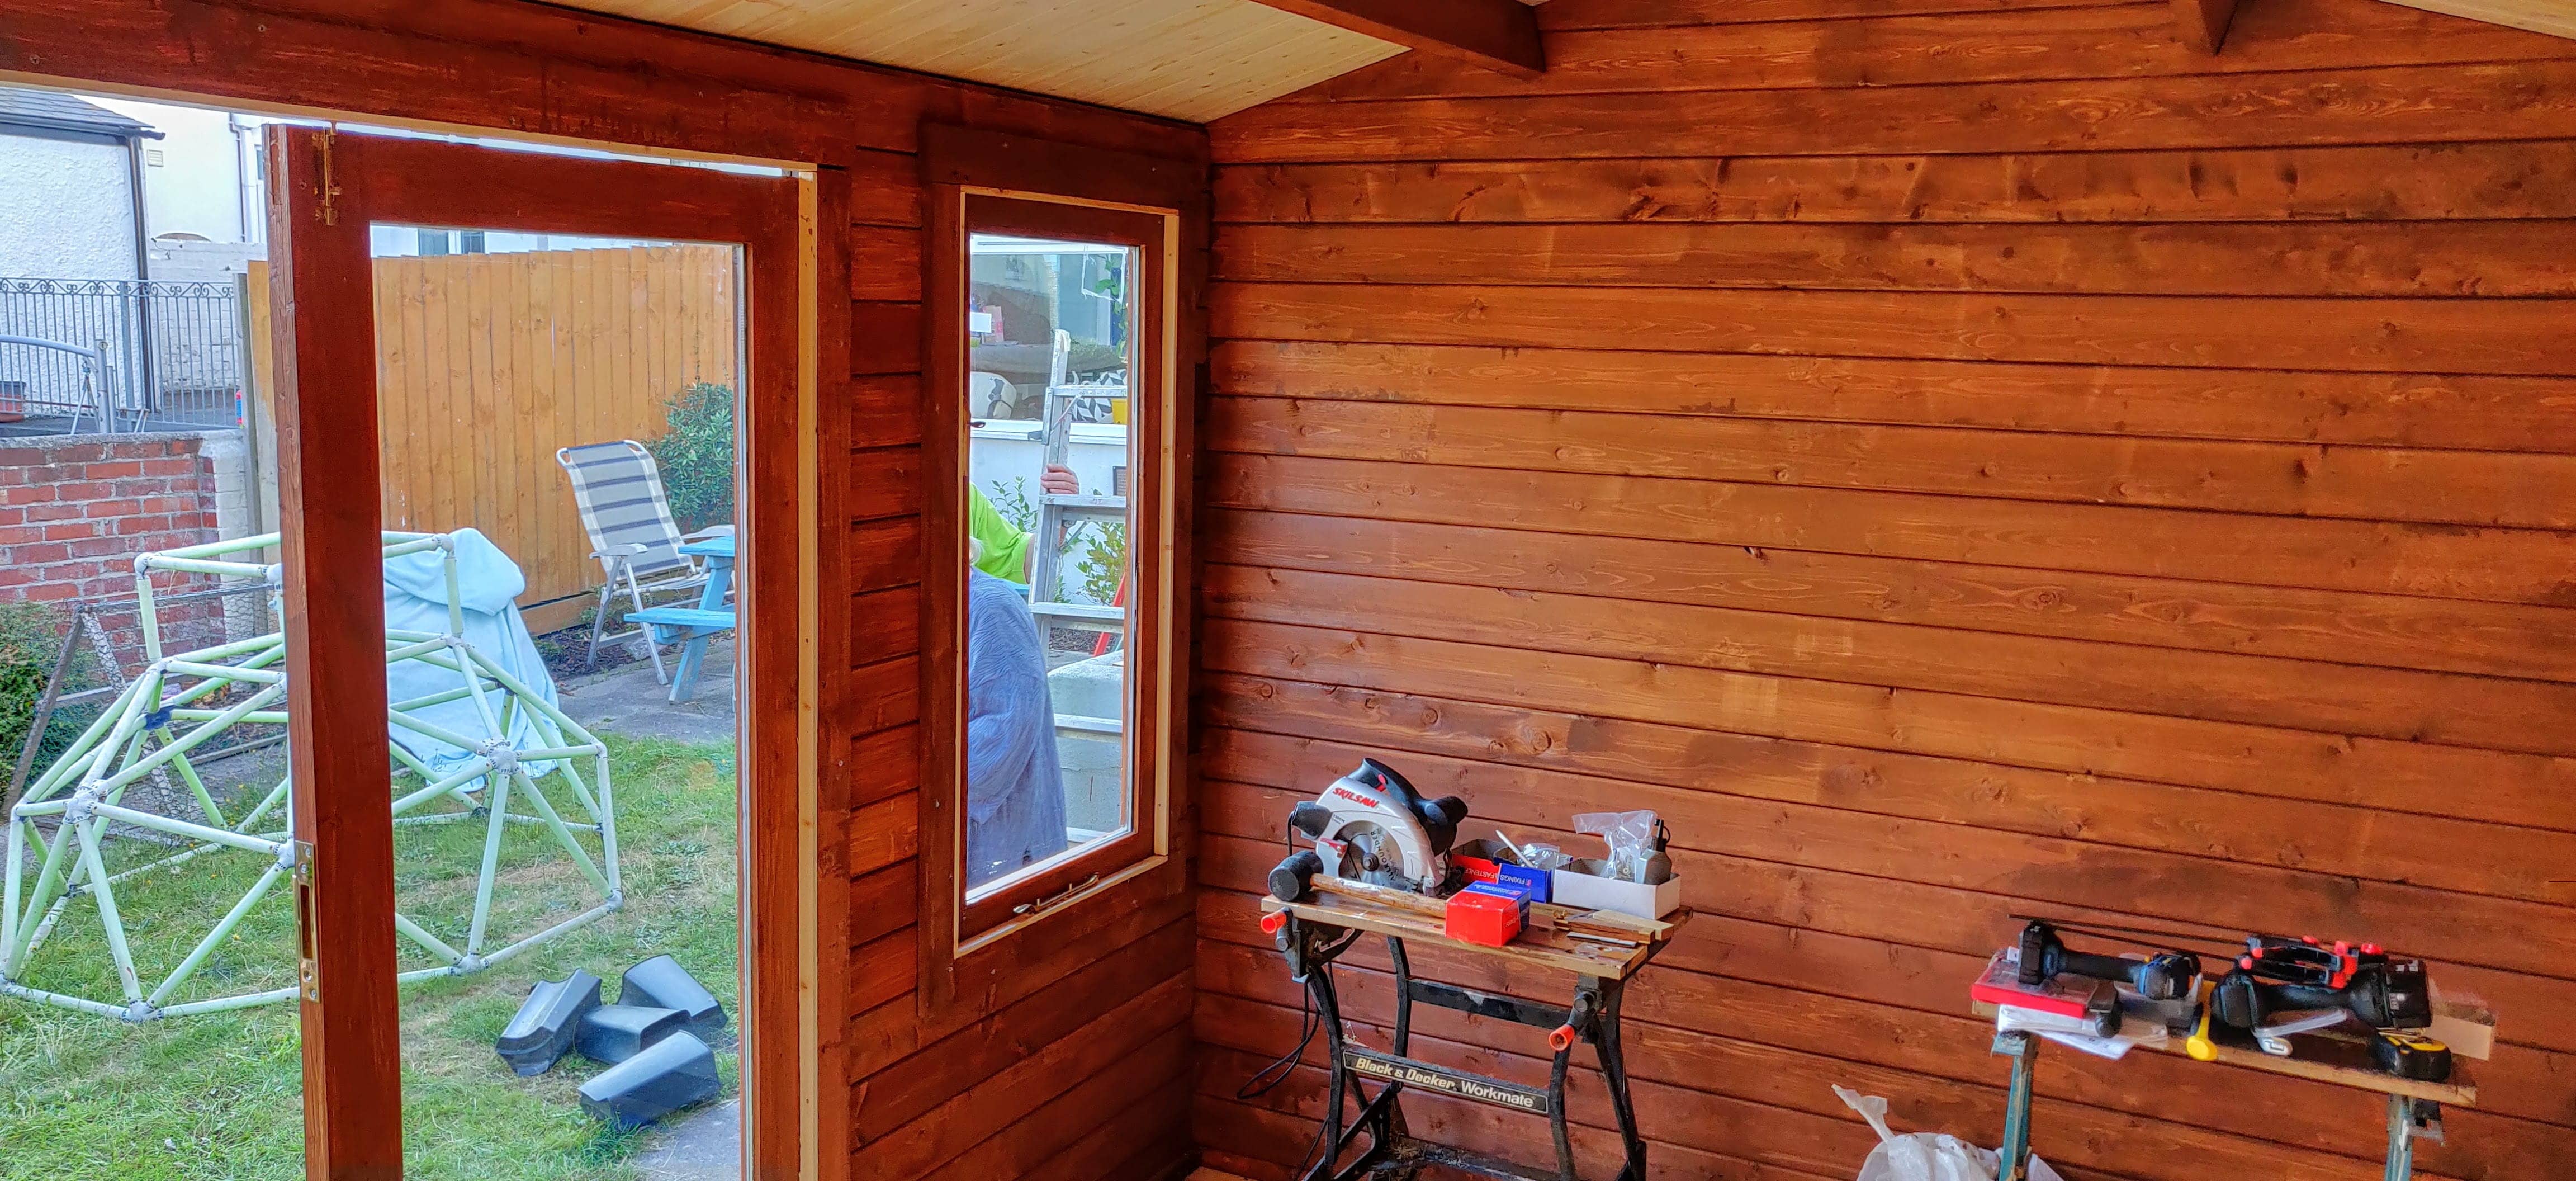
Building the shed
Now I must confess that I had very little to do with the sheds construction, I had just started a new job, and was travelling to London most weeks (how convenient), my Mum and Dad valiantly carried on without me. I think my Dad really enjoyed himself, but I know my mum never wants to varnish a plank of wood again!
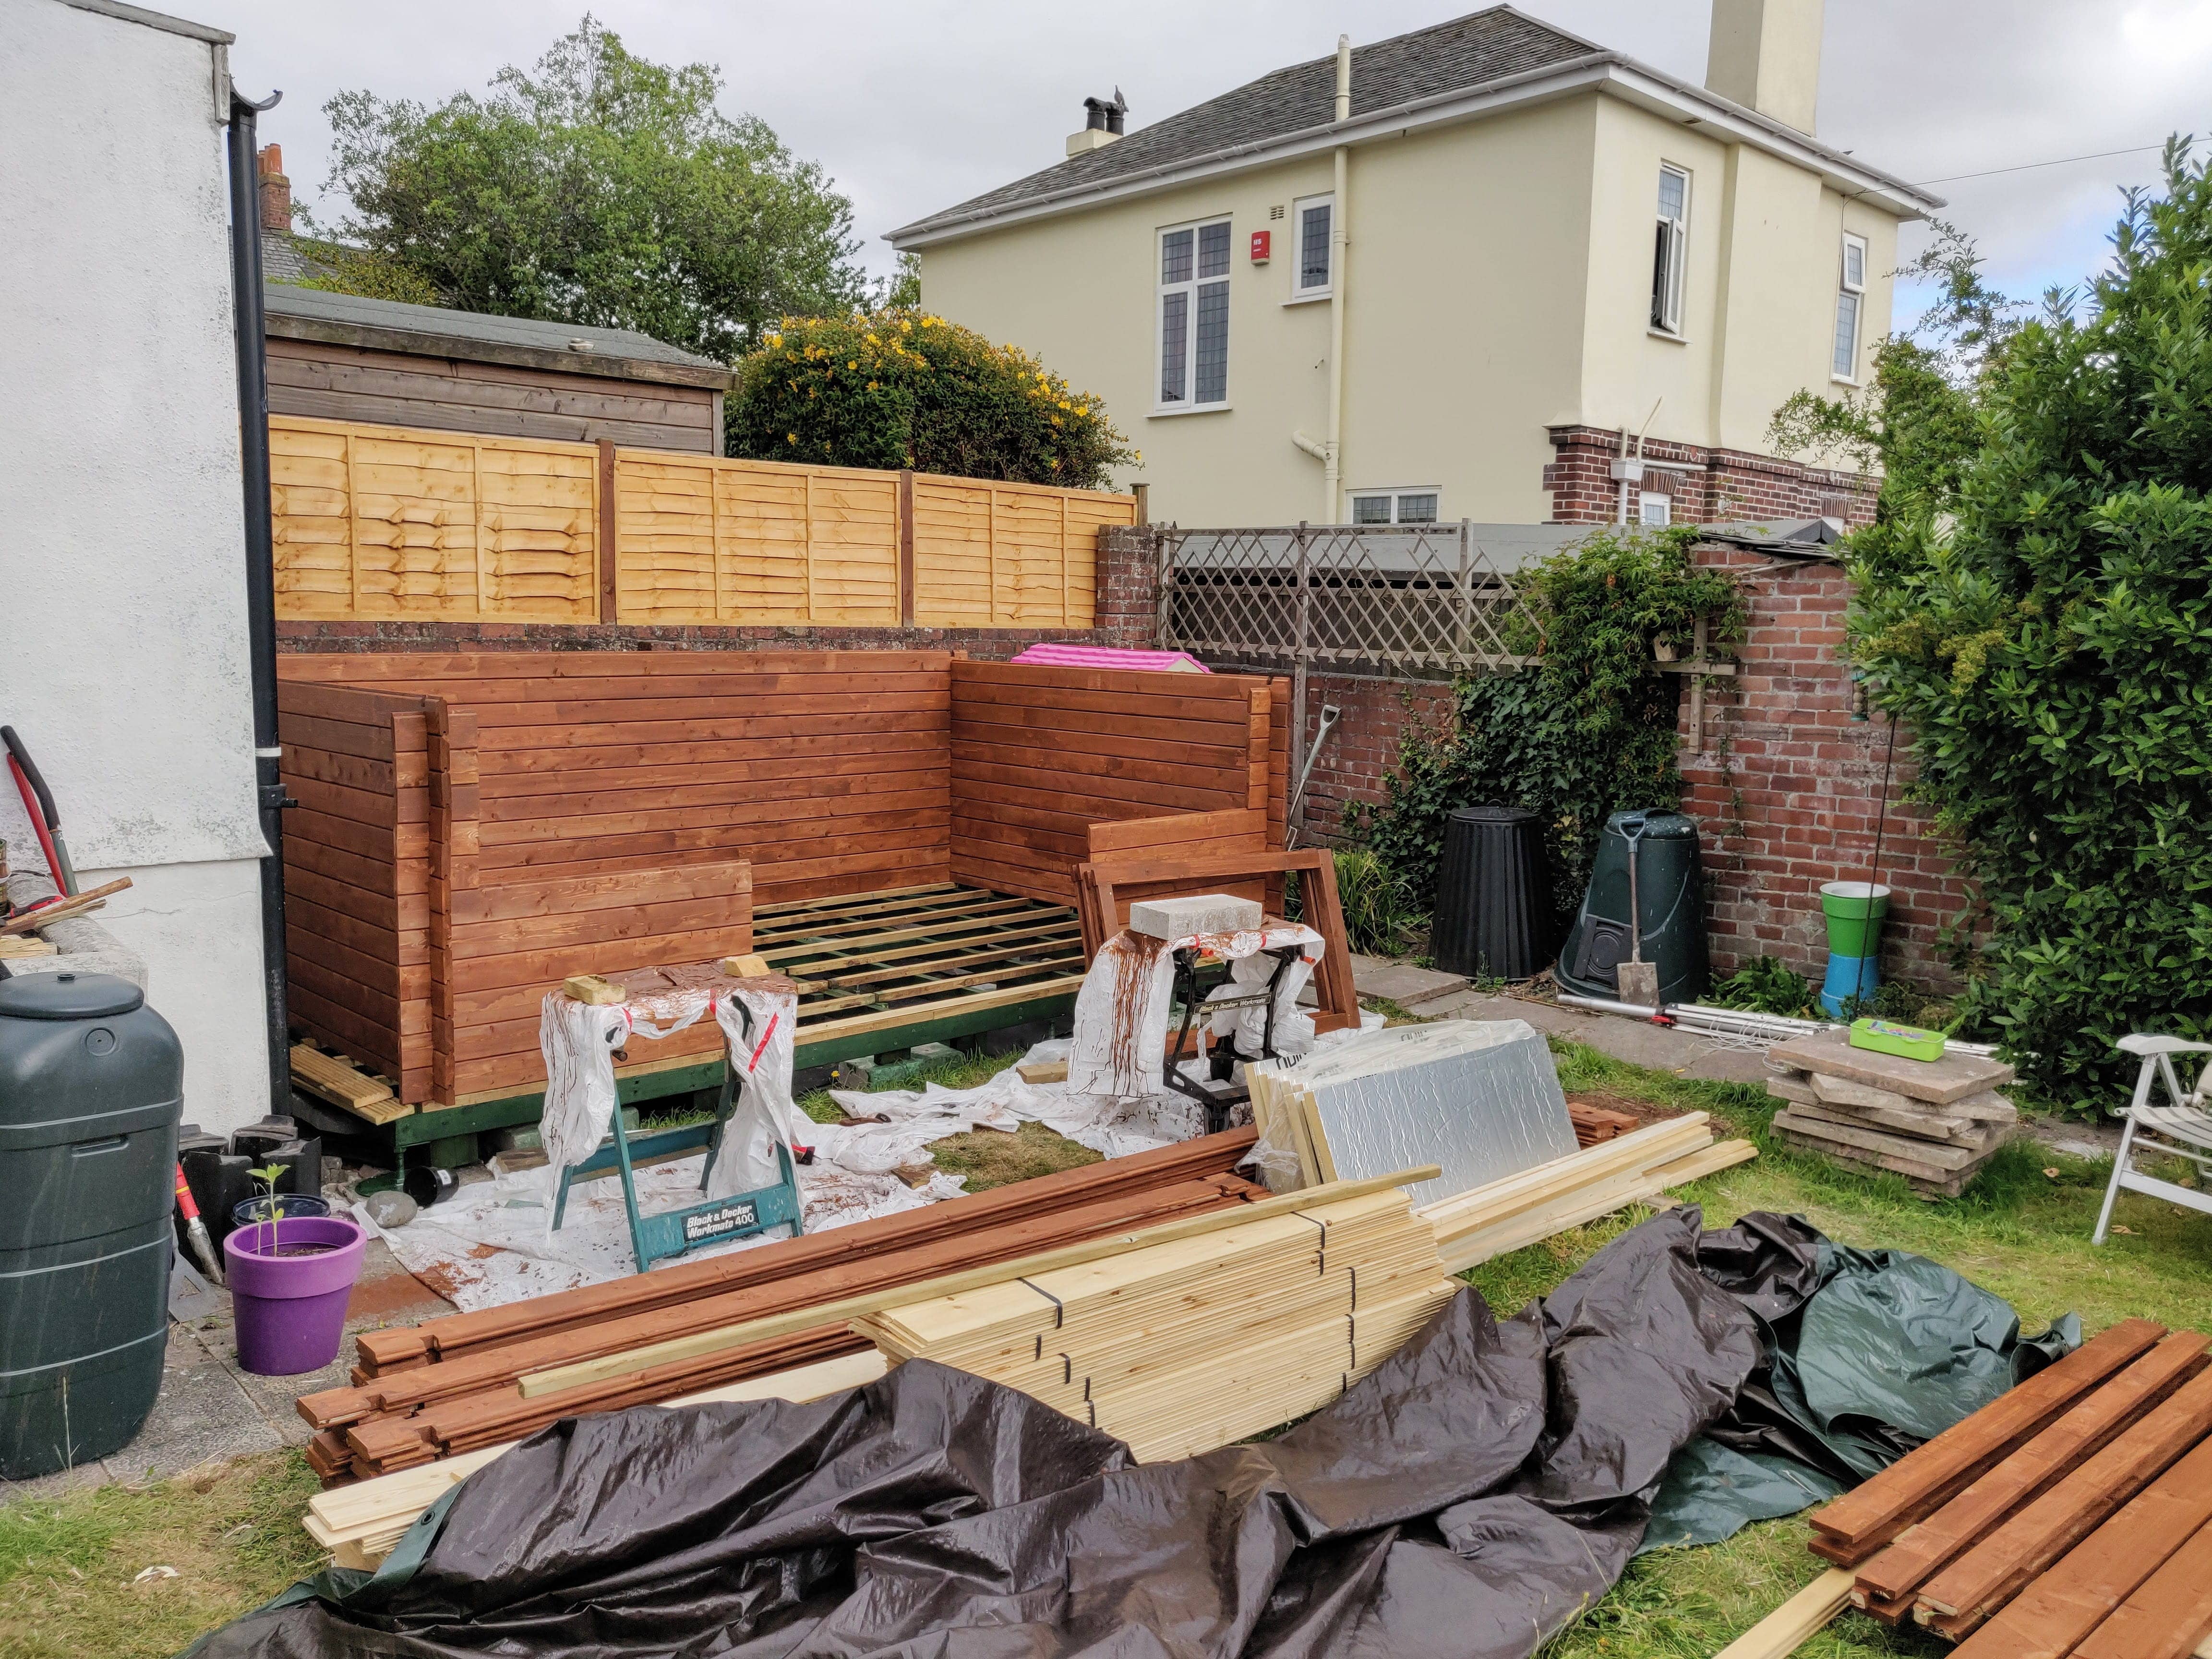
The shed is made of tongue and groove planks so slotted together relatively simply, luckily my old man is an ex-engineer so takes building stuff very seriously, it makes for fun conversations when he amplifies over-engineering everything and I amplify project managing!
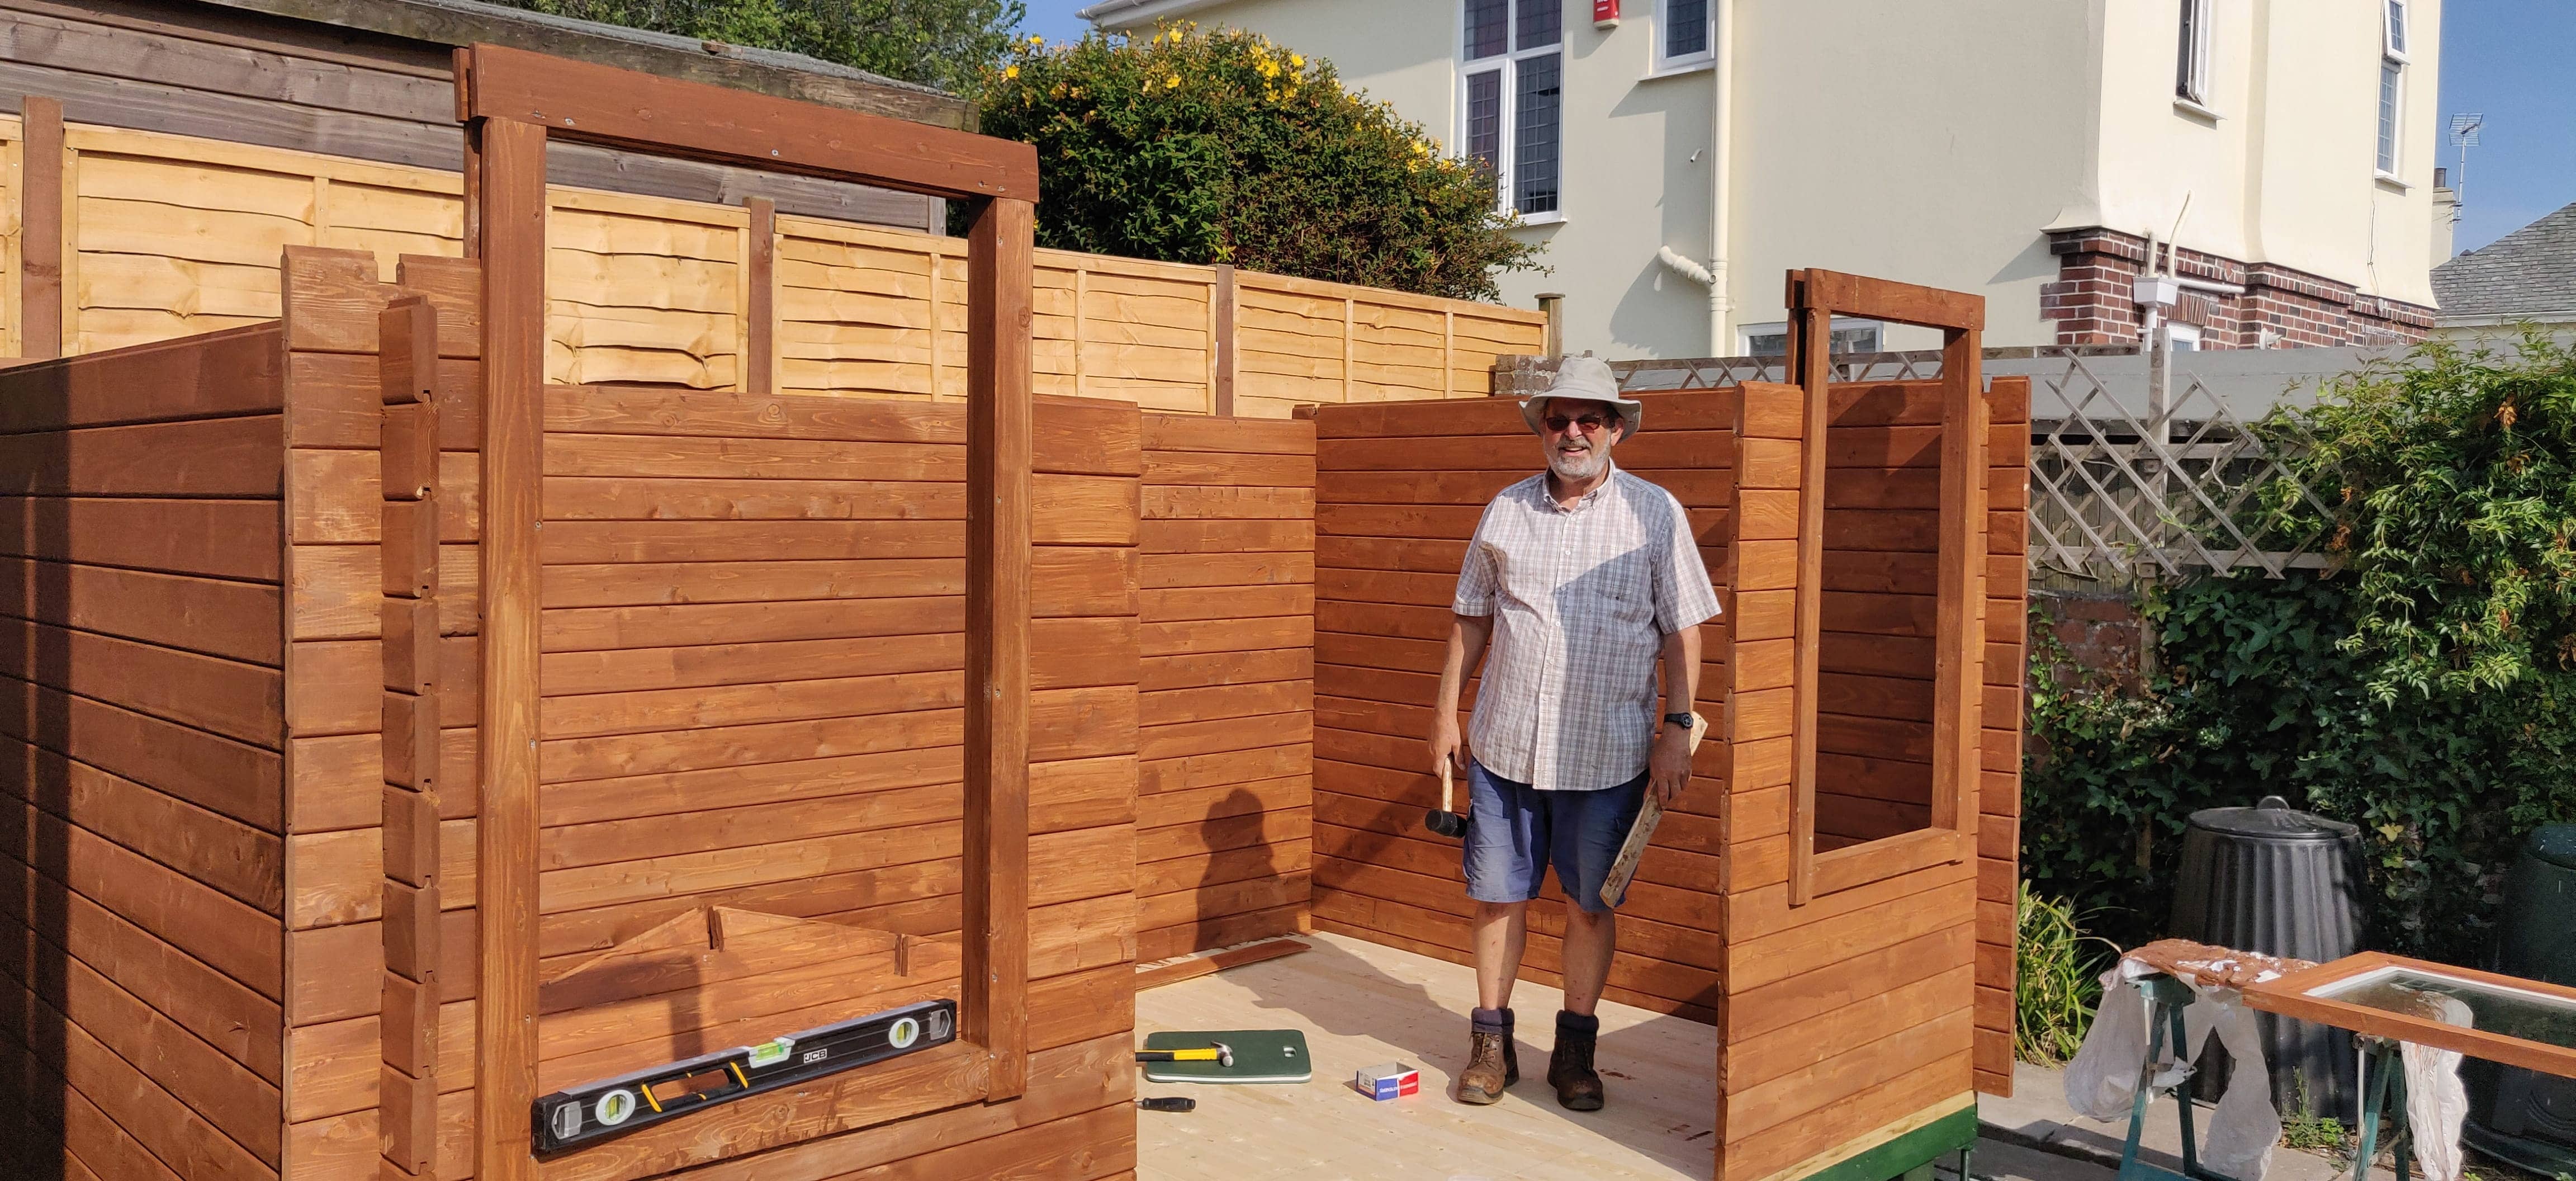
The windows arrived pre-installed in wood frames that slotted onto the walls, which was a tidy feature. The hardest part was the doors, being double glazed they were extremely heavy, and being double doors, the gap between them was large and had a lot of potential for being misshapen, it was at this point I was most happy with my Dad’s overly attentive approach to building, despite it taking ages.
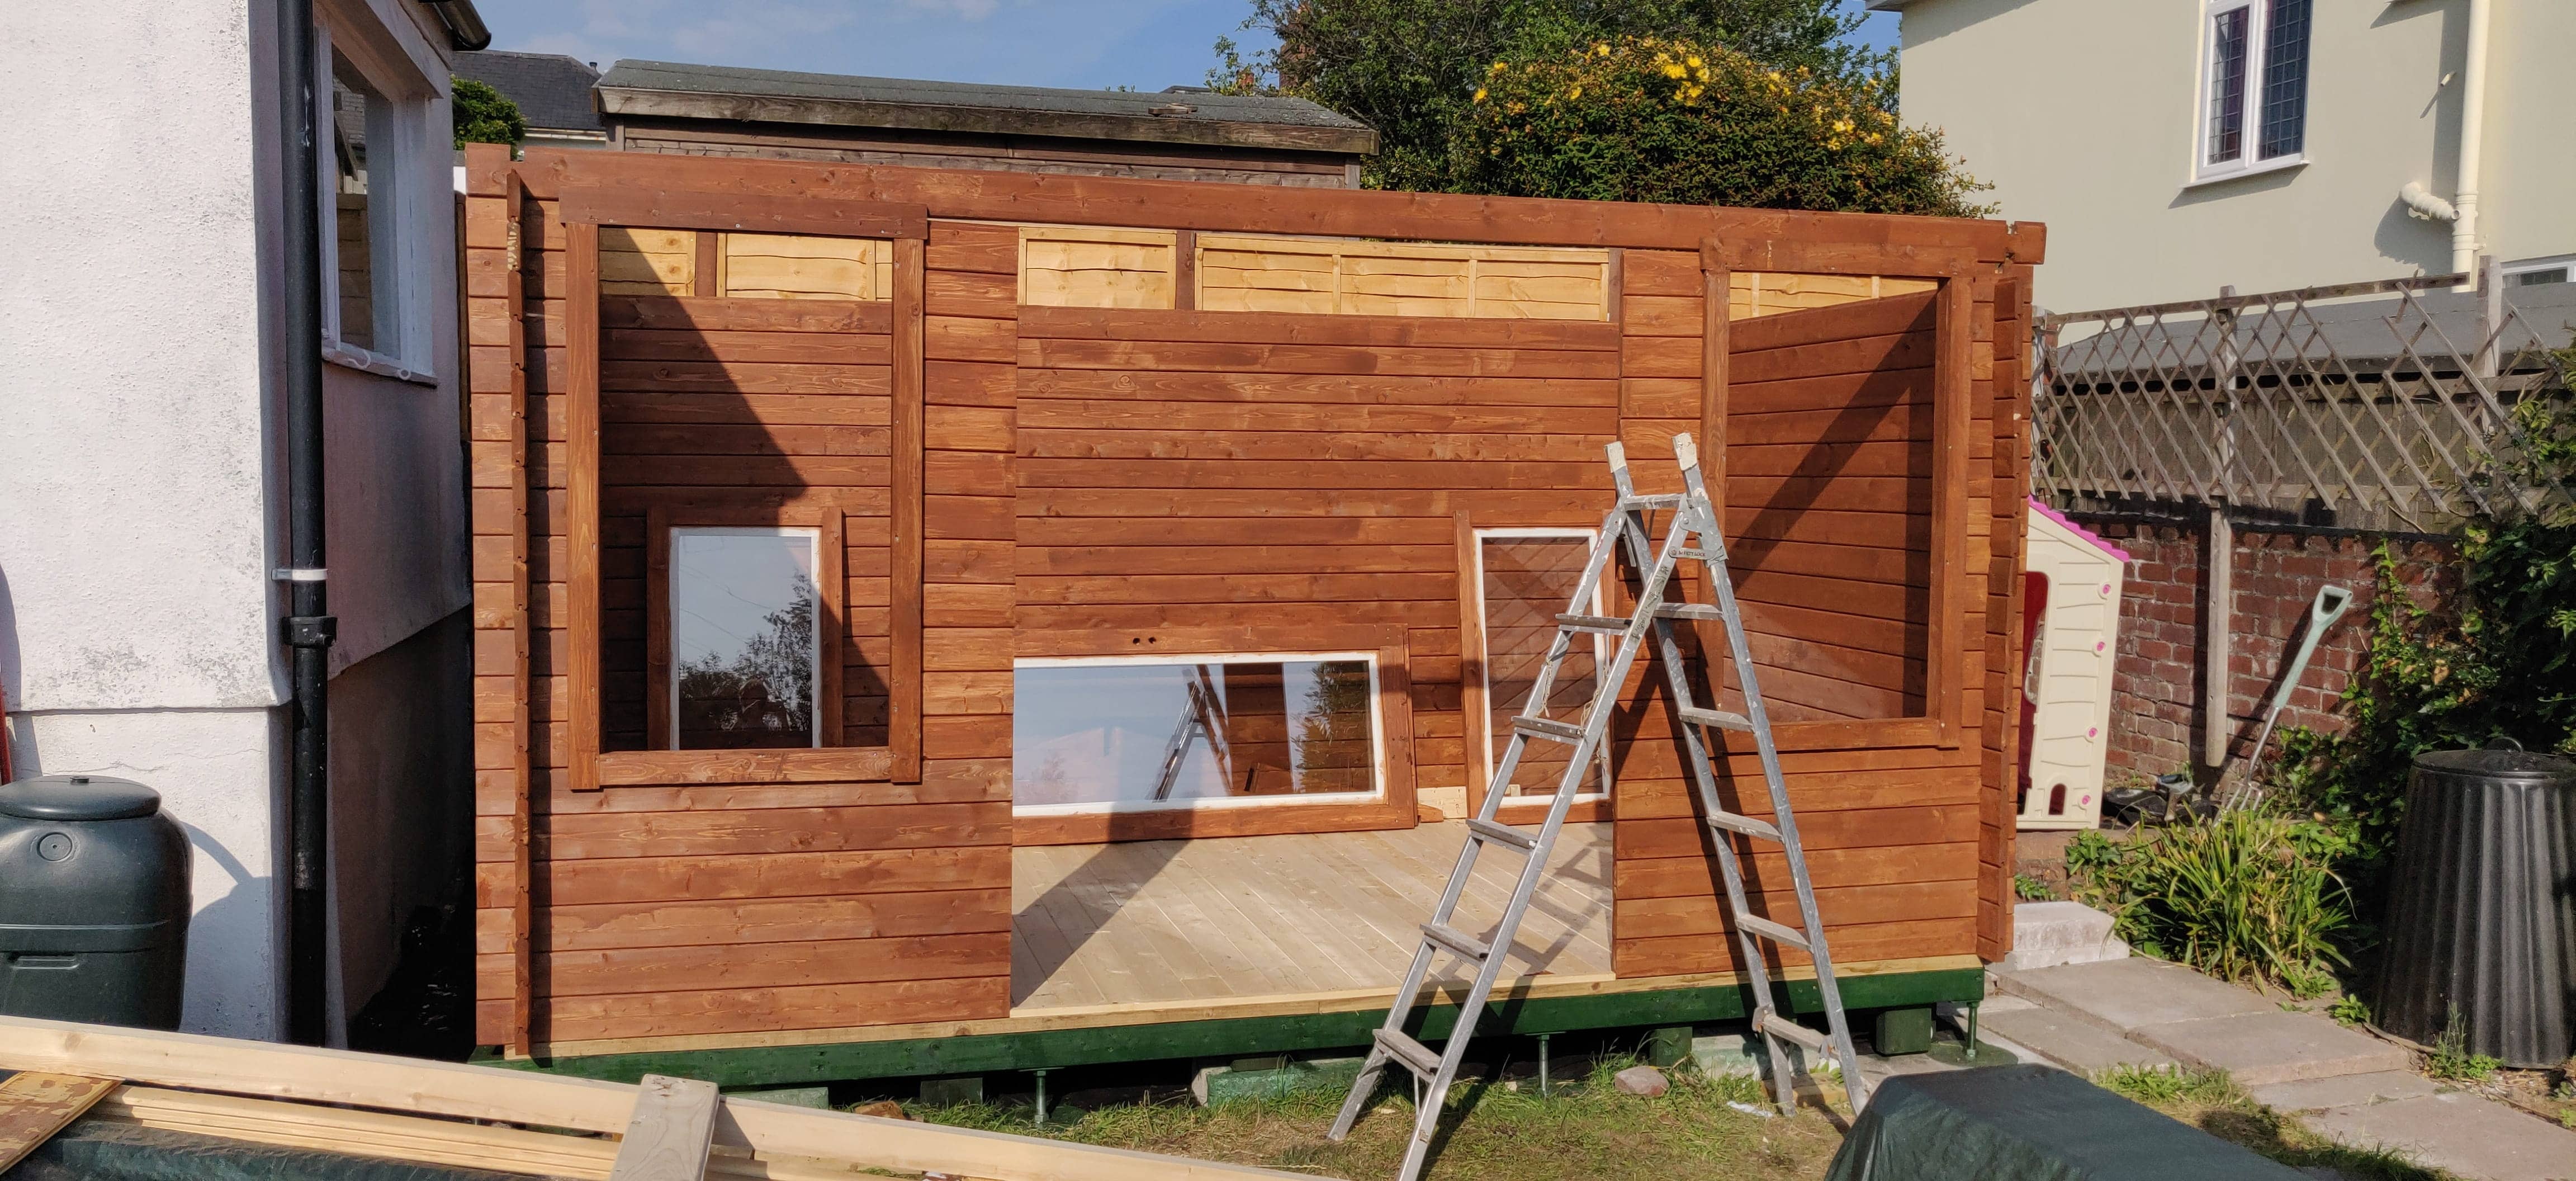
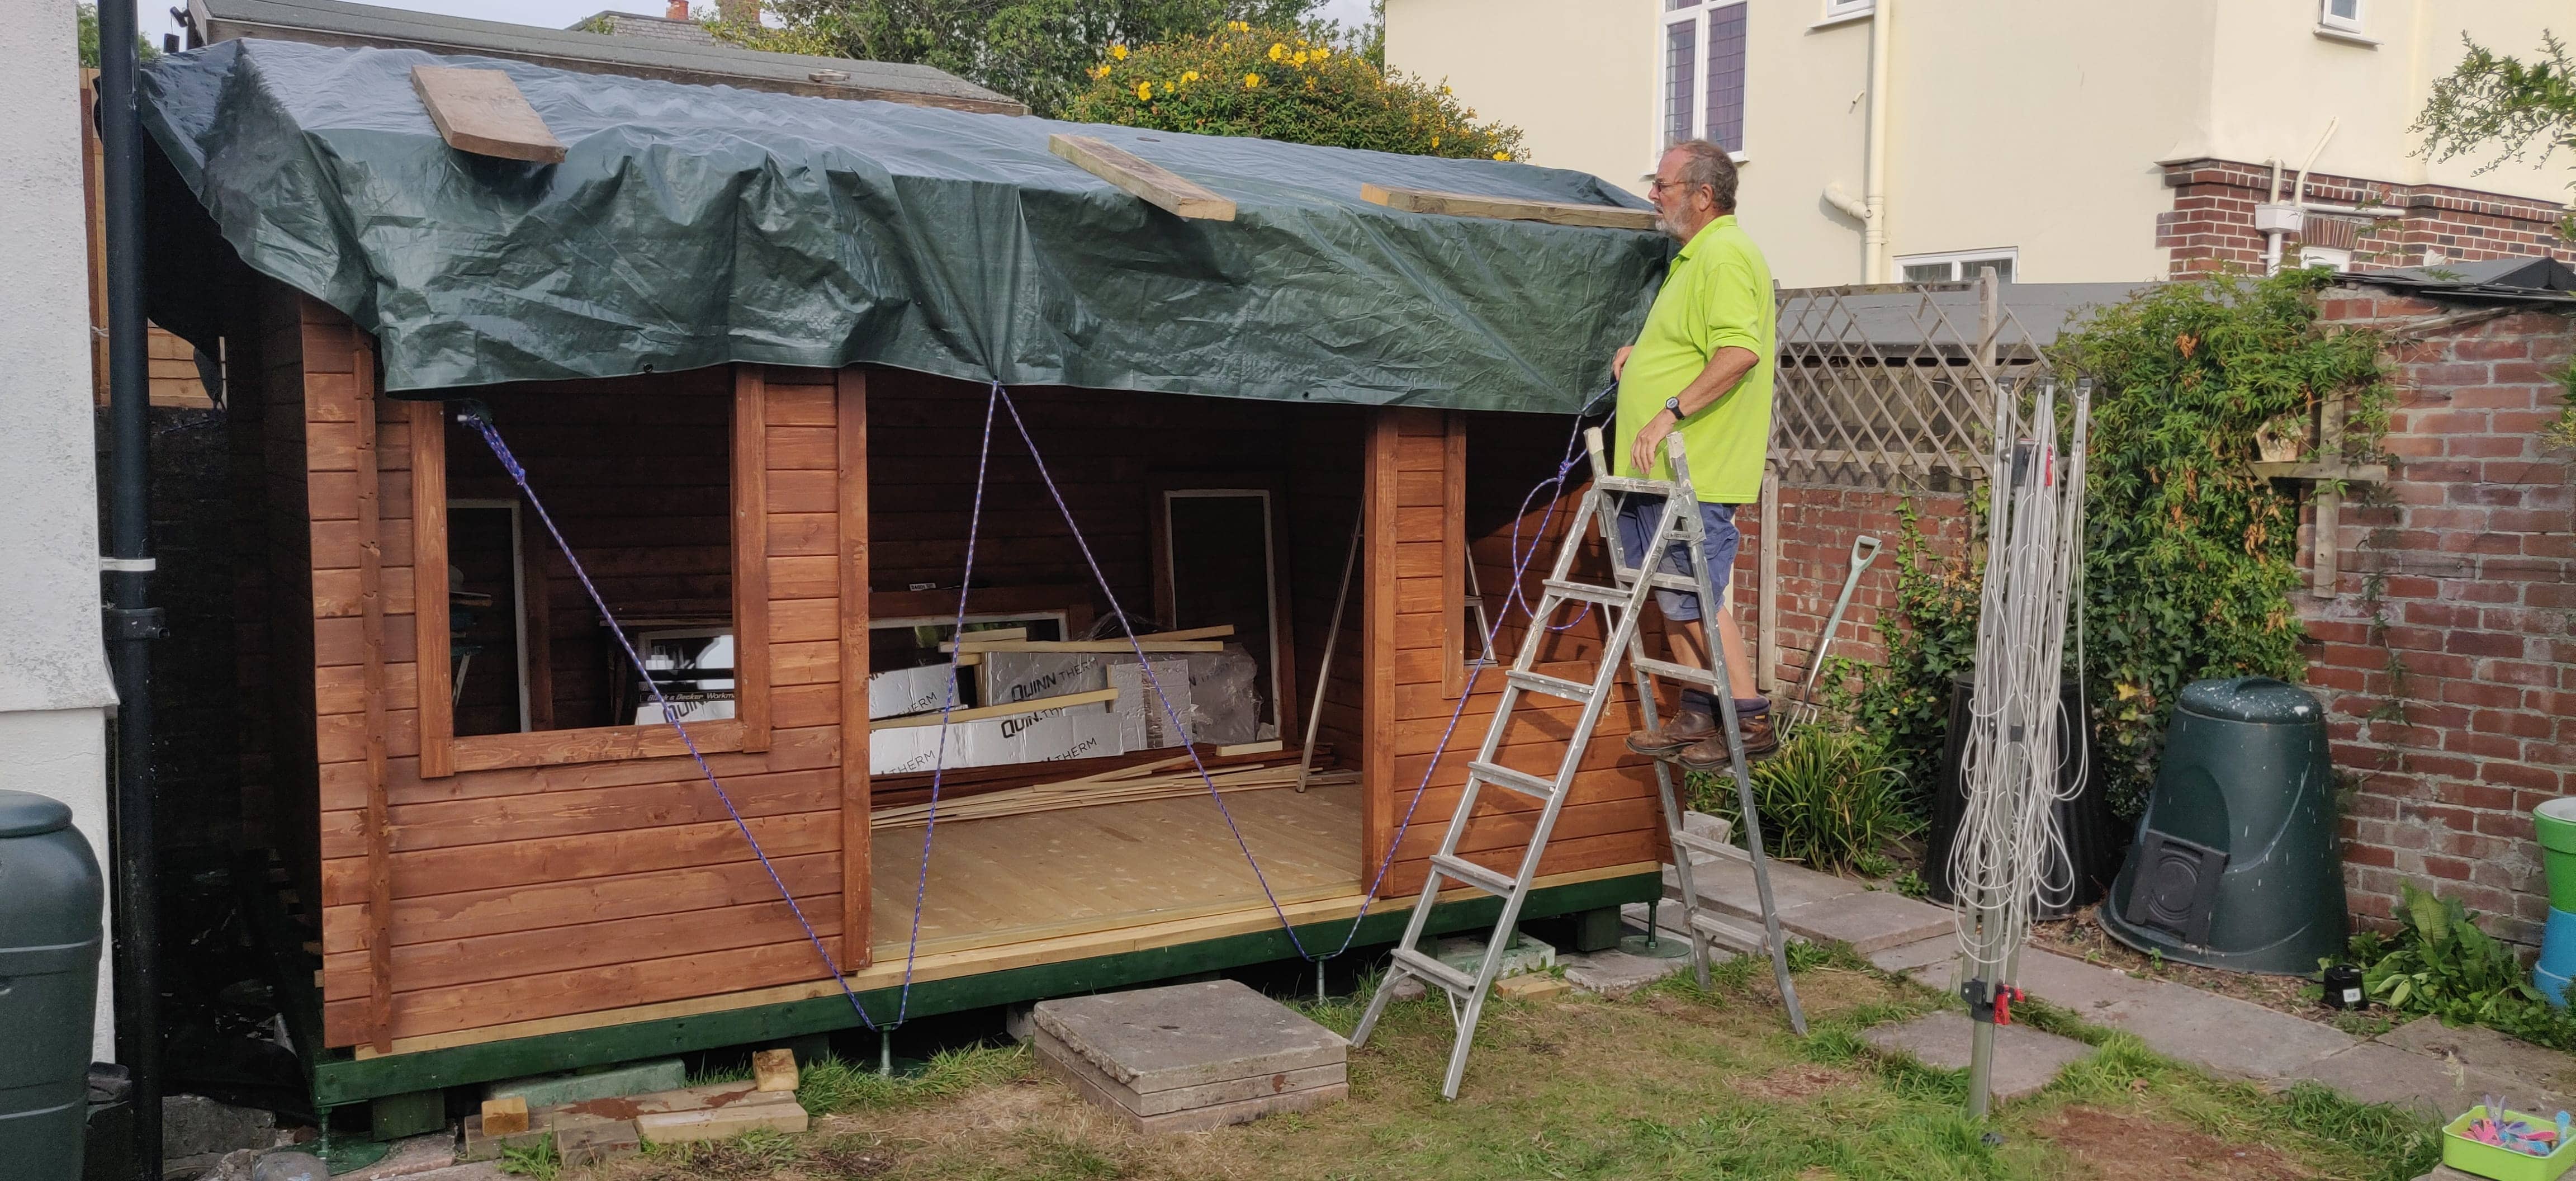
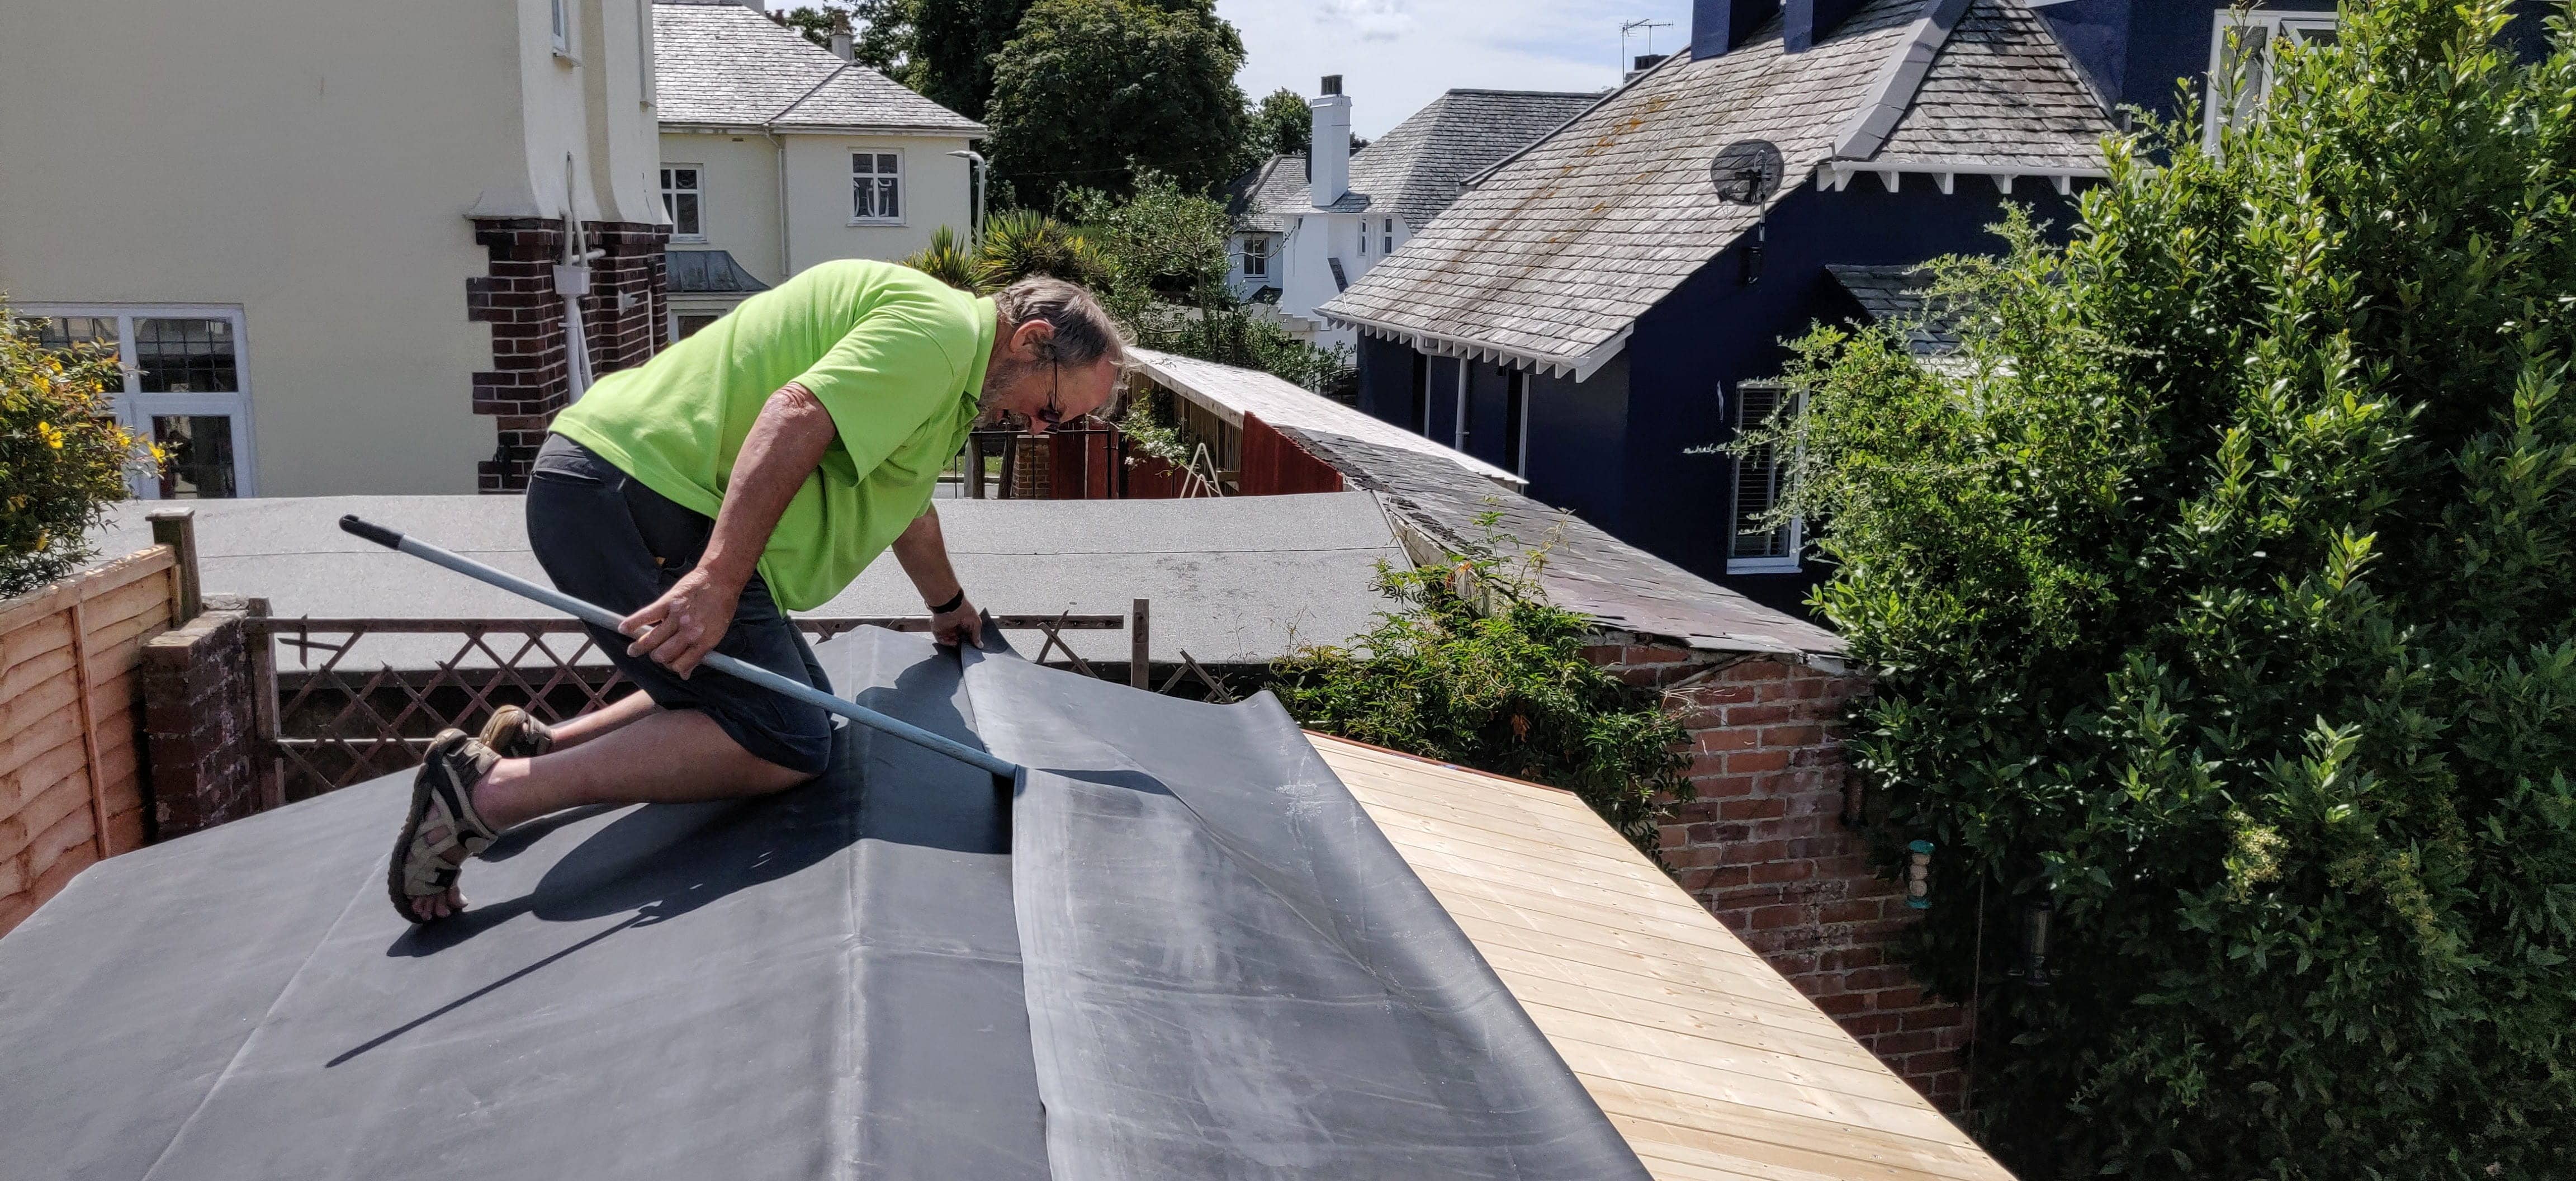
Finally the roof was added, the rubber roof arrived as a massive sheet that needed glueing down, we were both worried about putting the roof on wonky but it was fairly straight forward.
Adding electricity and networking.
The garage already had electricity so adding a spur on for the shed wasn’t too much of a big deal, beacause the garage is higher than the shed, we ran the cable through the wall to the shed in a protective case. We added 6 plugs on both short walls of the shed, where the desks would go, and a high up double plug in the centre of the longest wall for other things.
A seperate circuit for the lighting was also spurred off of the garage and an LED strip light was mounted inside, and we also fitted an outside light. Switches were added to both to the inside and outside (with waterproof switches) so the lights can be turned on and off after locking and unlocking the shed.
When I joined Surevine they provided an allowance for kitting out a home office and I used part of the allowance to install a mesh wifi network. I didn’t want to spend loads as I suspected that ethernet would be needed eventually, but the mesh got me up and running quickly. I bought a Tenda Wifi Mesh it worked ok, but as suspected wifi wasn’t quite up to the job. My colleague Woody very kindly sent me a 30m armoured cat6 ethernet cable, which required feeding through under the floor from the lounge, out of the house to the shed. At some point I will get around to running it through the garage but for now it is loose alongside the garage wall to the shed.
Finally I got a little 5-port netgear switch to provide ethernet access for Hannah, and the home server thats lurking in the shed waiting to be useful. Ethernet has helped immensely and I would add that to your todo list if your thinking of setting up an office shed.

Shed accessories
Fire extinguisher
Sitting in a shed with large quantities of electrical equipment, and wildly varying temperatures I deided to get a fire extinguisher fairly early. It’s a CO2 extinguisher and sits on a mount next to the door for easy access.
Standing desk
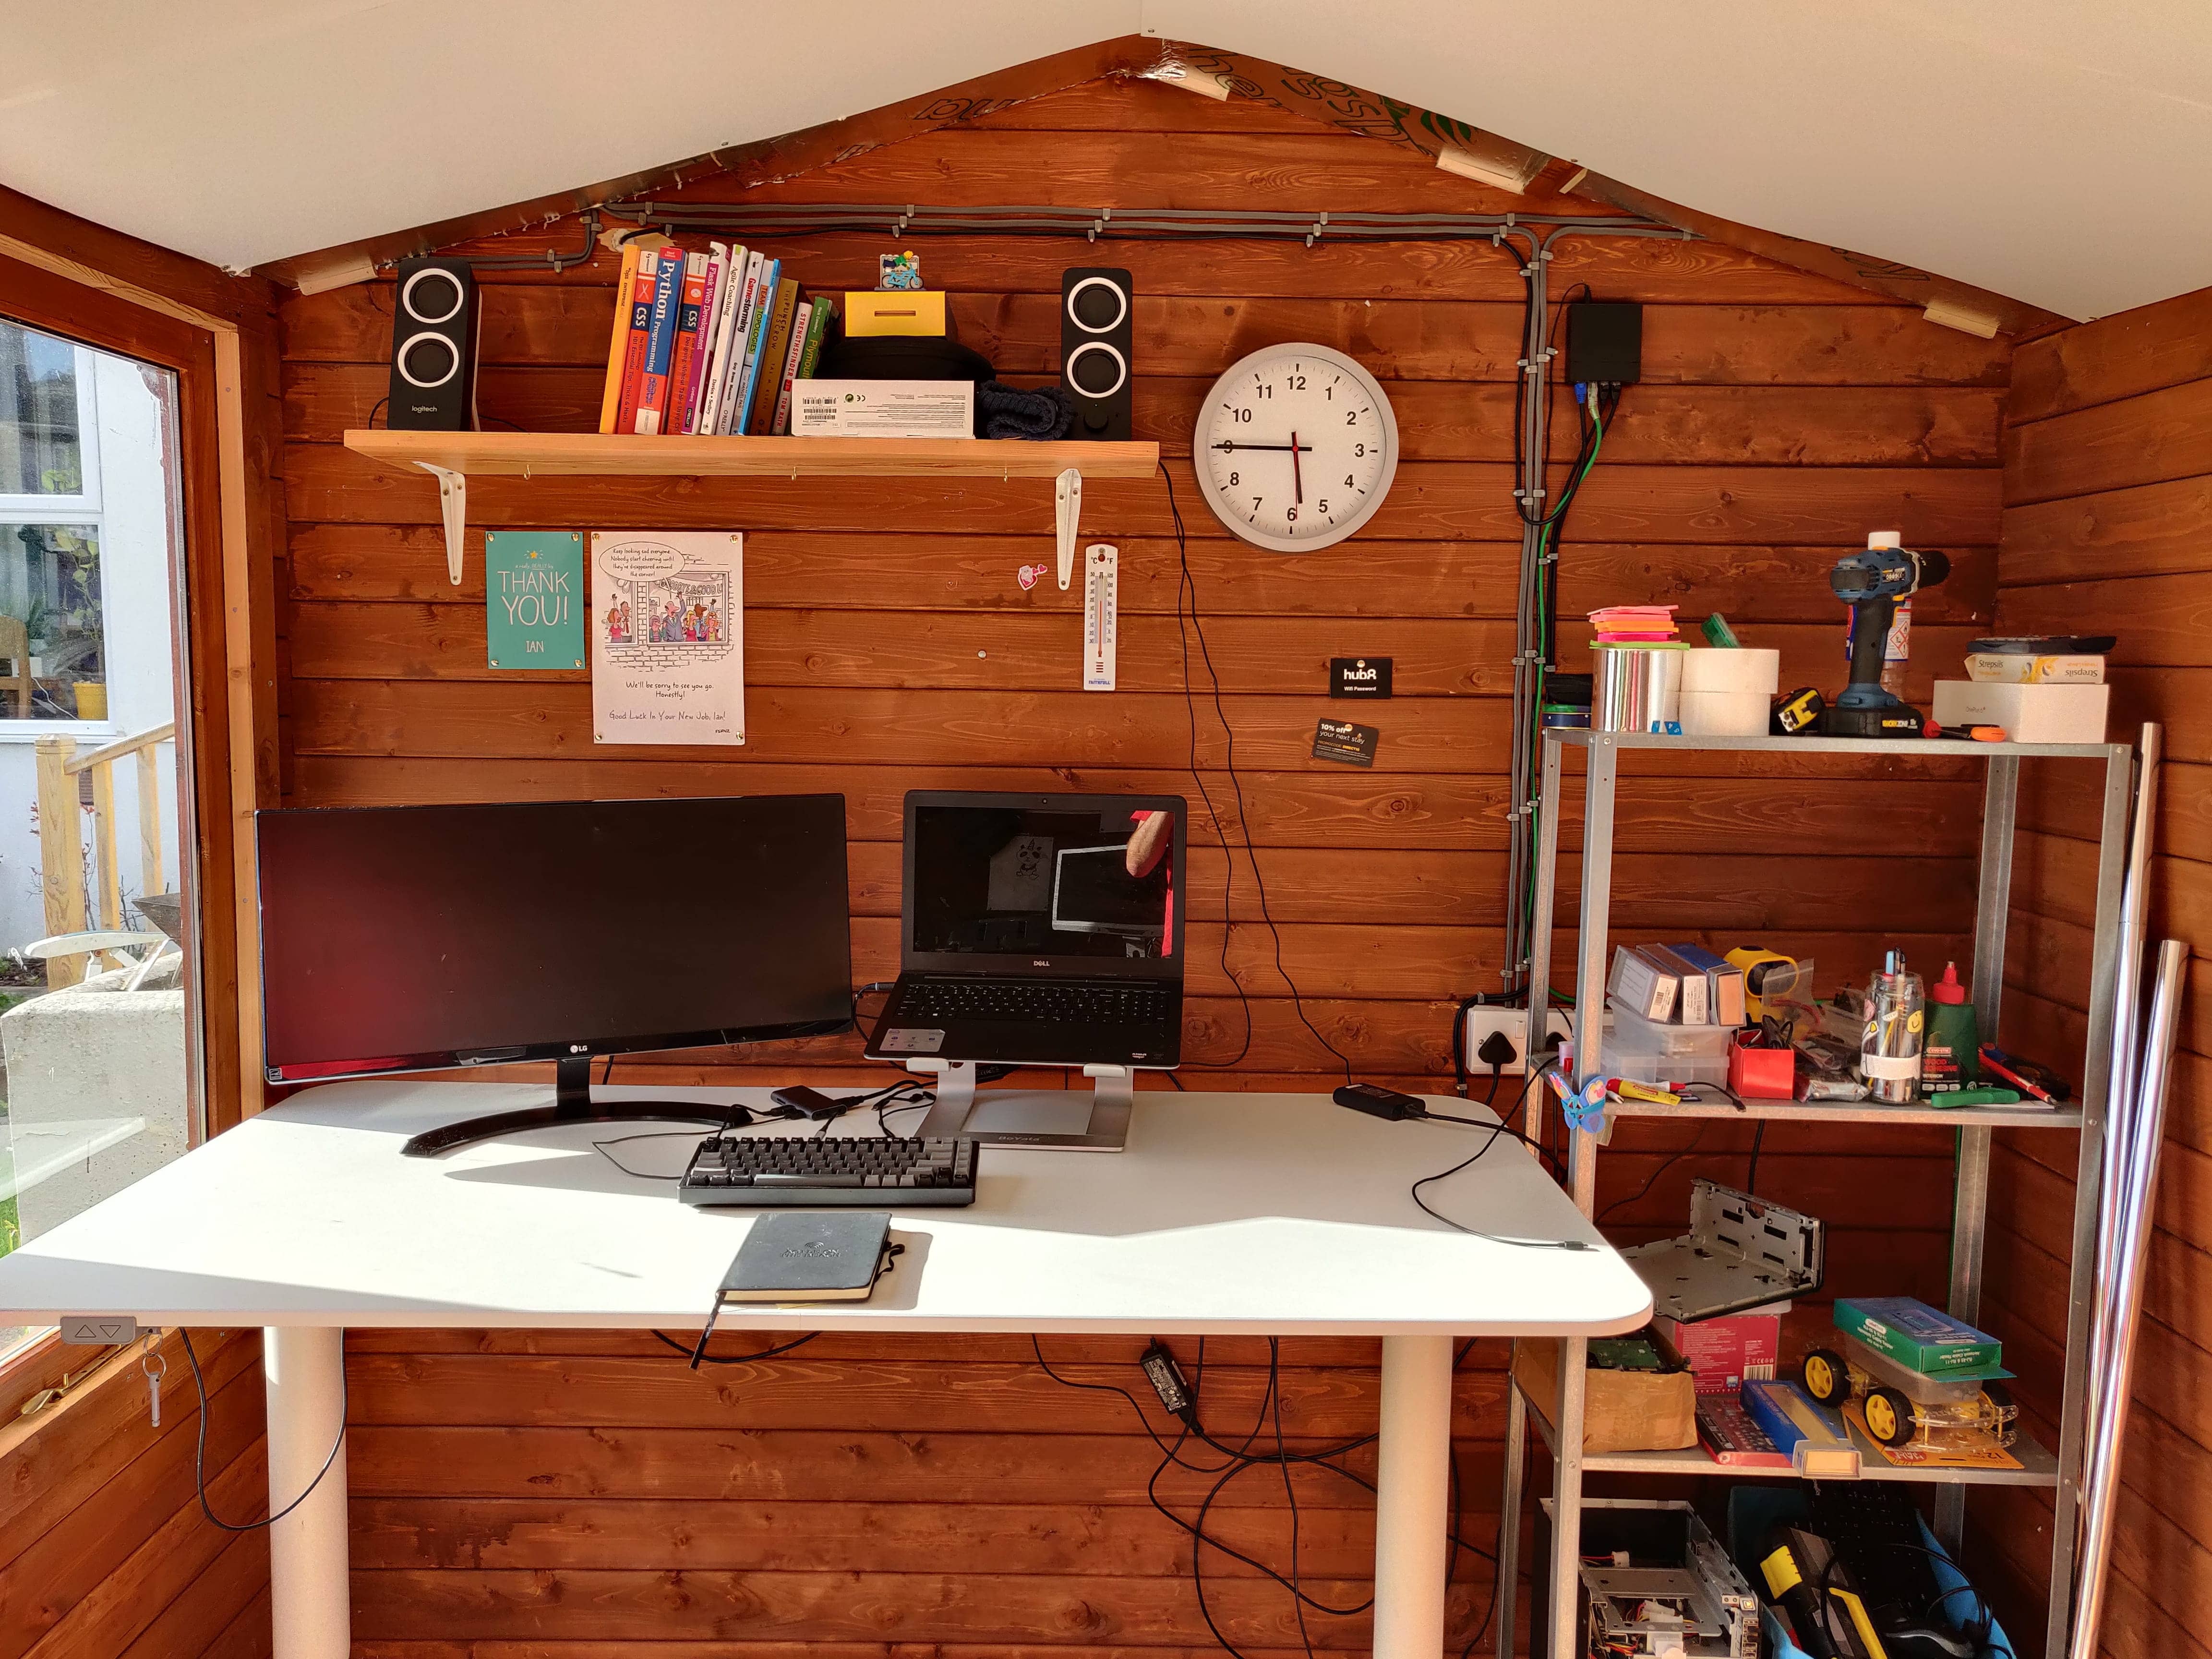
A large chunk of my office kitting-out budget went on a standing desk from ikea the hand cranked version was significantly cheaper, but I knew I would be too lazy to crank it and would end up not using it, the electric one I use regularly. I try to stand up in meetings, it helps me focus on keeping them short!
Widescreen monitor and laptop stand
I wasn’t particularly bothered about getting a super sharp 4k monitor, but I did want a widescreen one for as much screen real estate as possible. I managed to get an LG 29" monitor from ebuyer.com for not a lot of money. I also got a laptop stand to lift the laptop display to the same height as the monitor, effectively giving me dual displays. It also meant I could use the macs excellent webcam rather than spending money on a standalone one.
Clacky keyboard and wireless mouse
My colleague Andy kindly leant me his keychron K2 mechanical keyboard which is lovely to type on, but can sound like a machine gun for when I’m on calls, I have tried a variety of other keyboards but they have all been fairly ineffectual, mainly because I despise spending more 20 quid on a keyboard! I asked my colleagues for mouse recommendations, and they all suggested the Logitech MX master, they were right its the most comfortabe and useful mouse I have ever owned, and when the battery runs out the usb cable connects at the front and you can continue using it (I’m looking at you apple magic mouse).
Train!
The kids and I became a little bit obsessed with the Great model railway challenge last year and we decided to build a model railway, it was much bigger (and much more expensive) than I expected and had been in the garage getting covered in spiders, so when the shed was built, it felt like the perfect home for it.
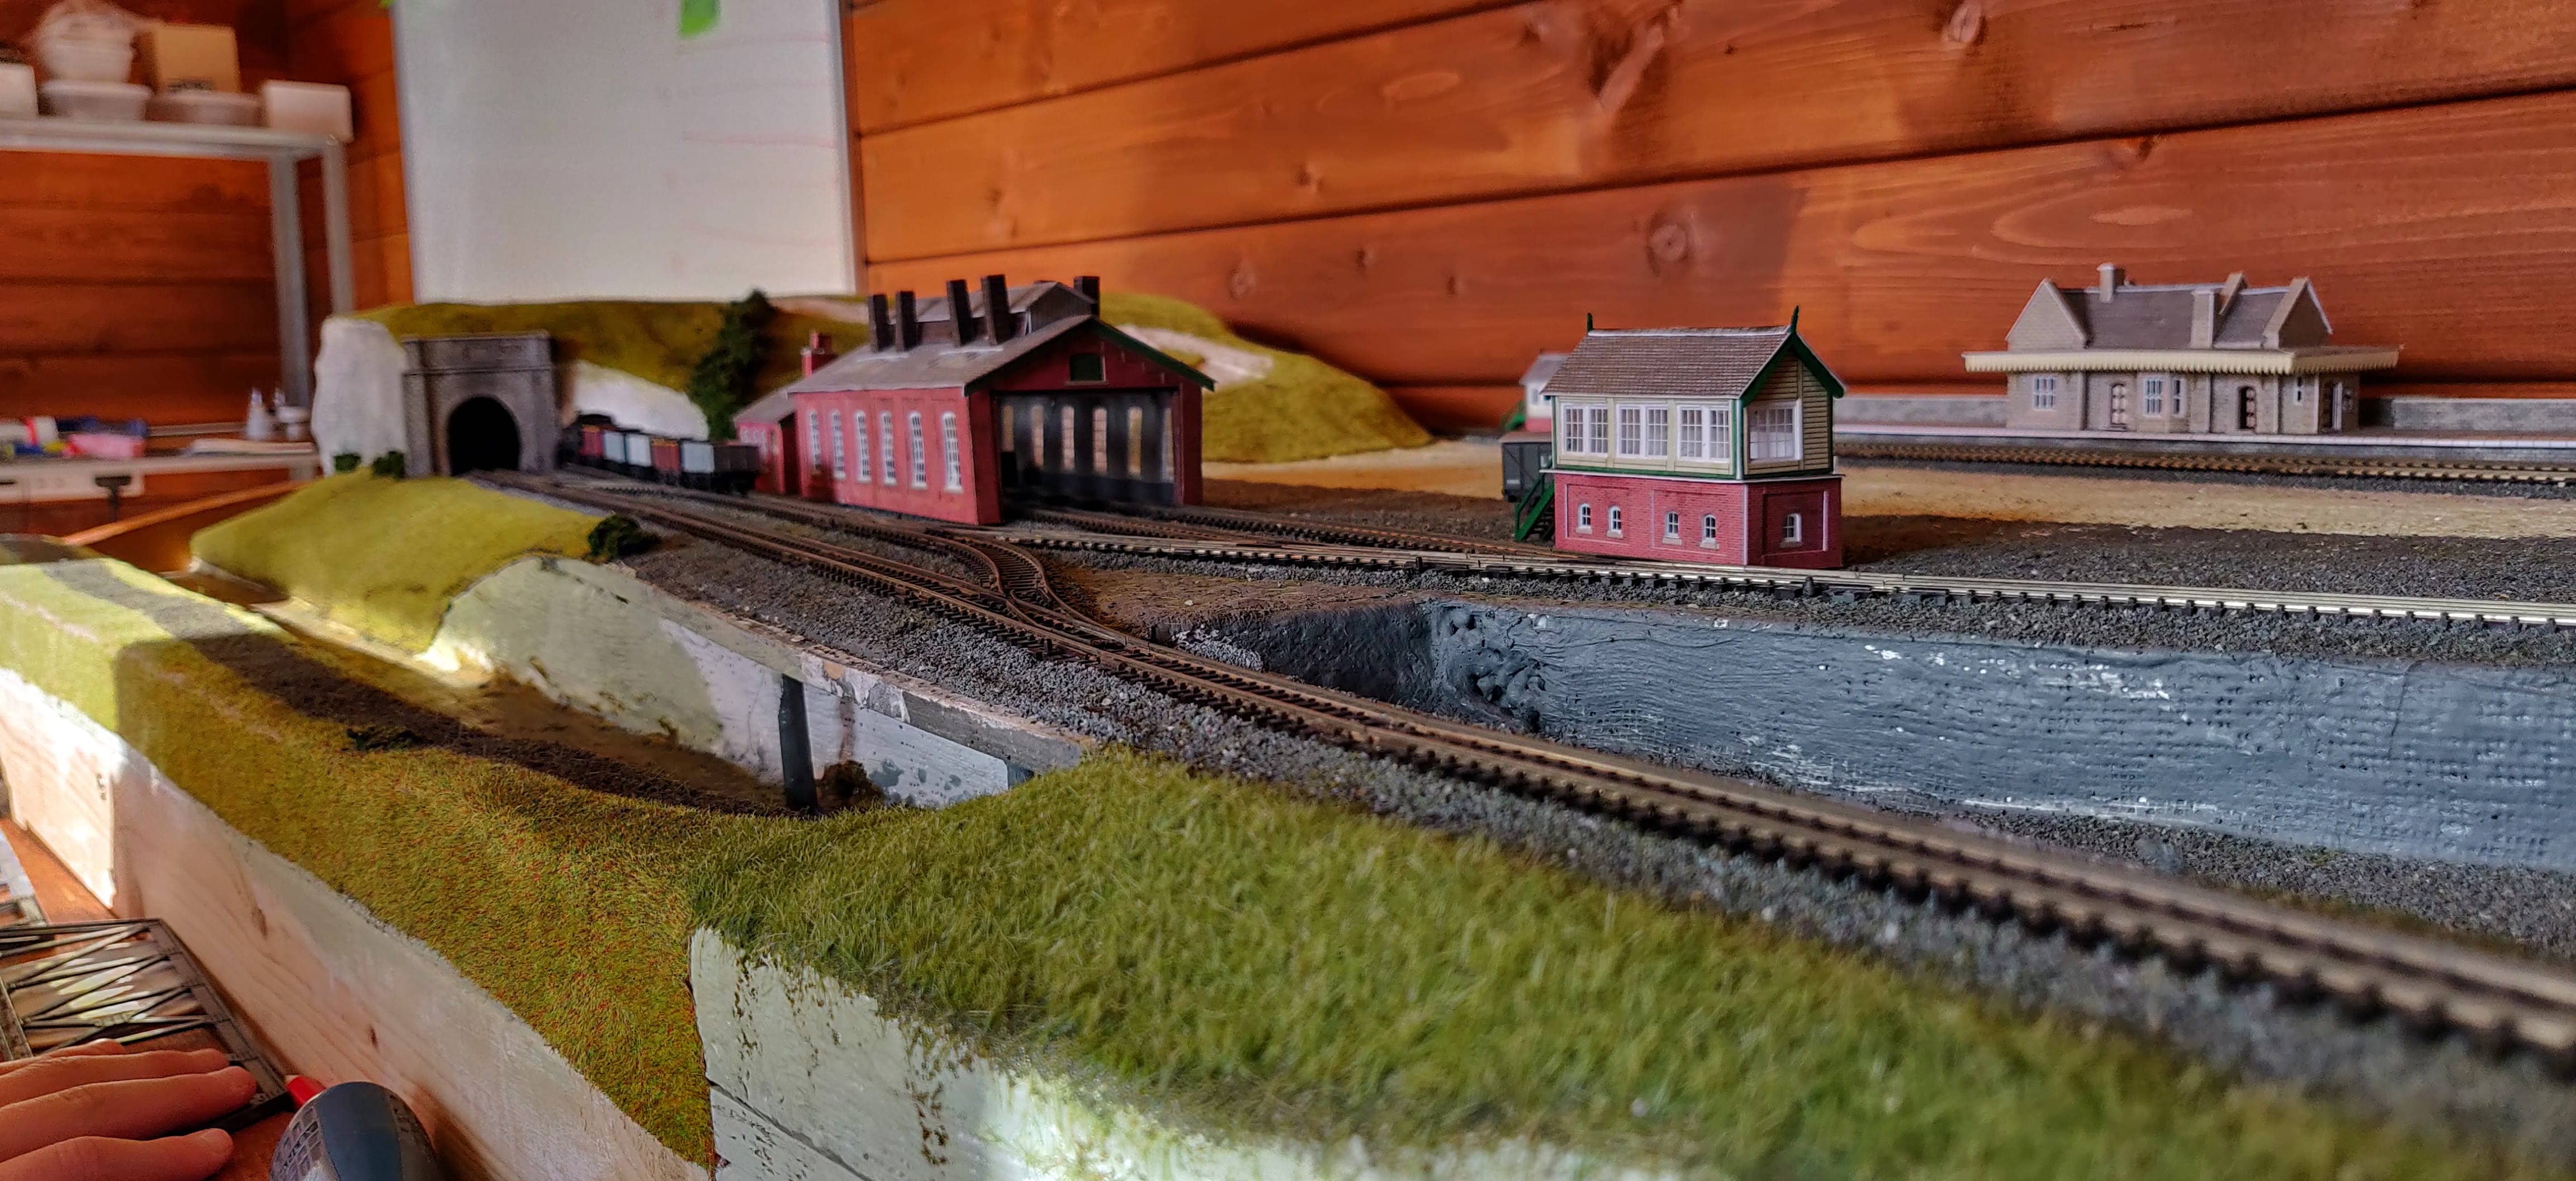
The reality was that in the shed it just didn’t get used so it has recently begrudgingly moved to the dining room.
Custom mugs
My colleague Woody very kindly got me some custom mugs for the shed with a design I knocked together, they are great for a cup of tea!

Shed problems
Leaks
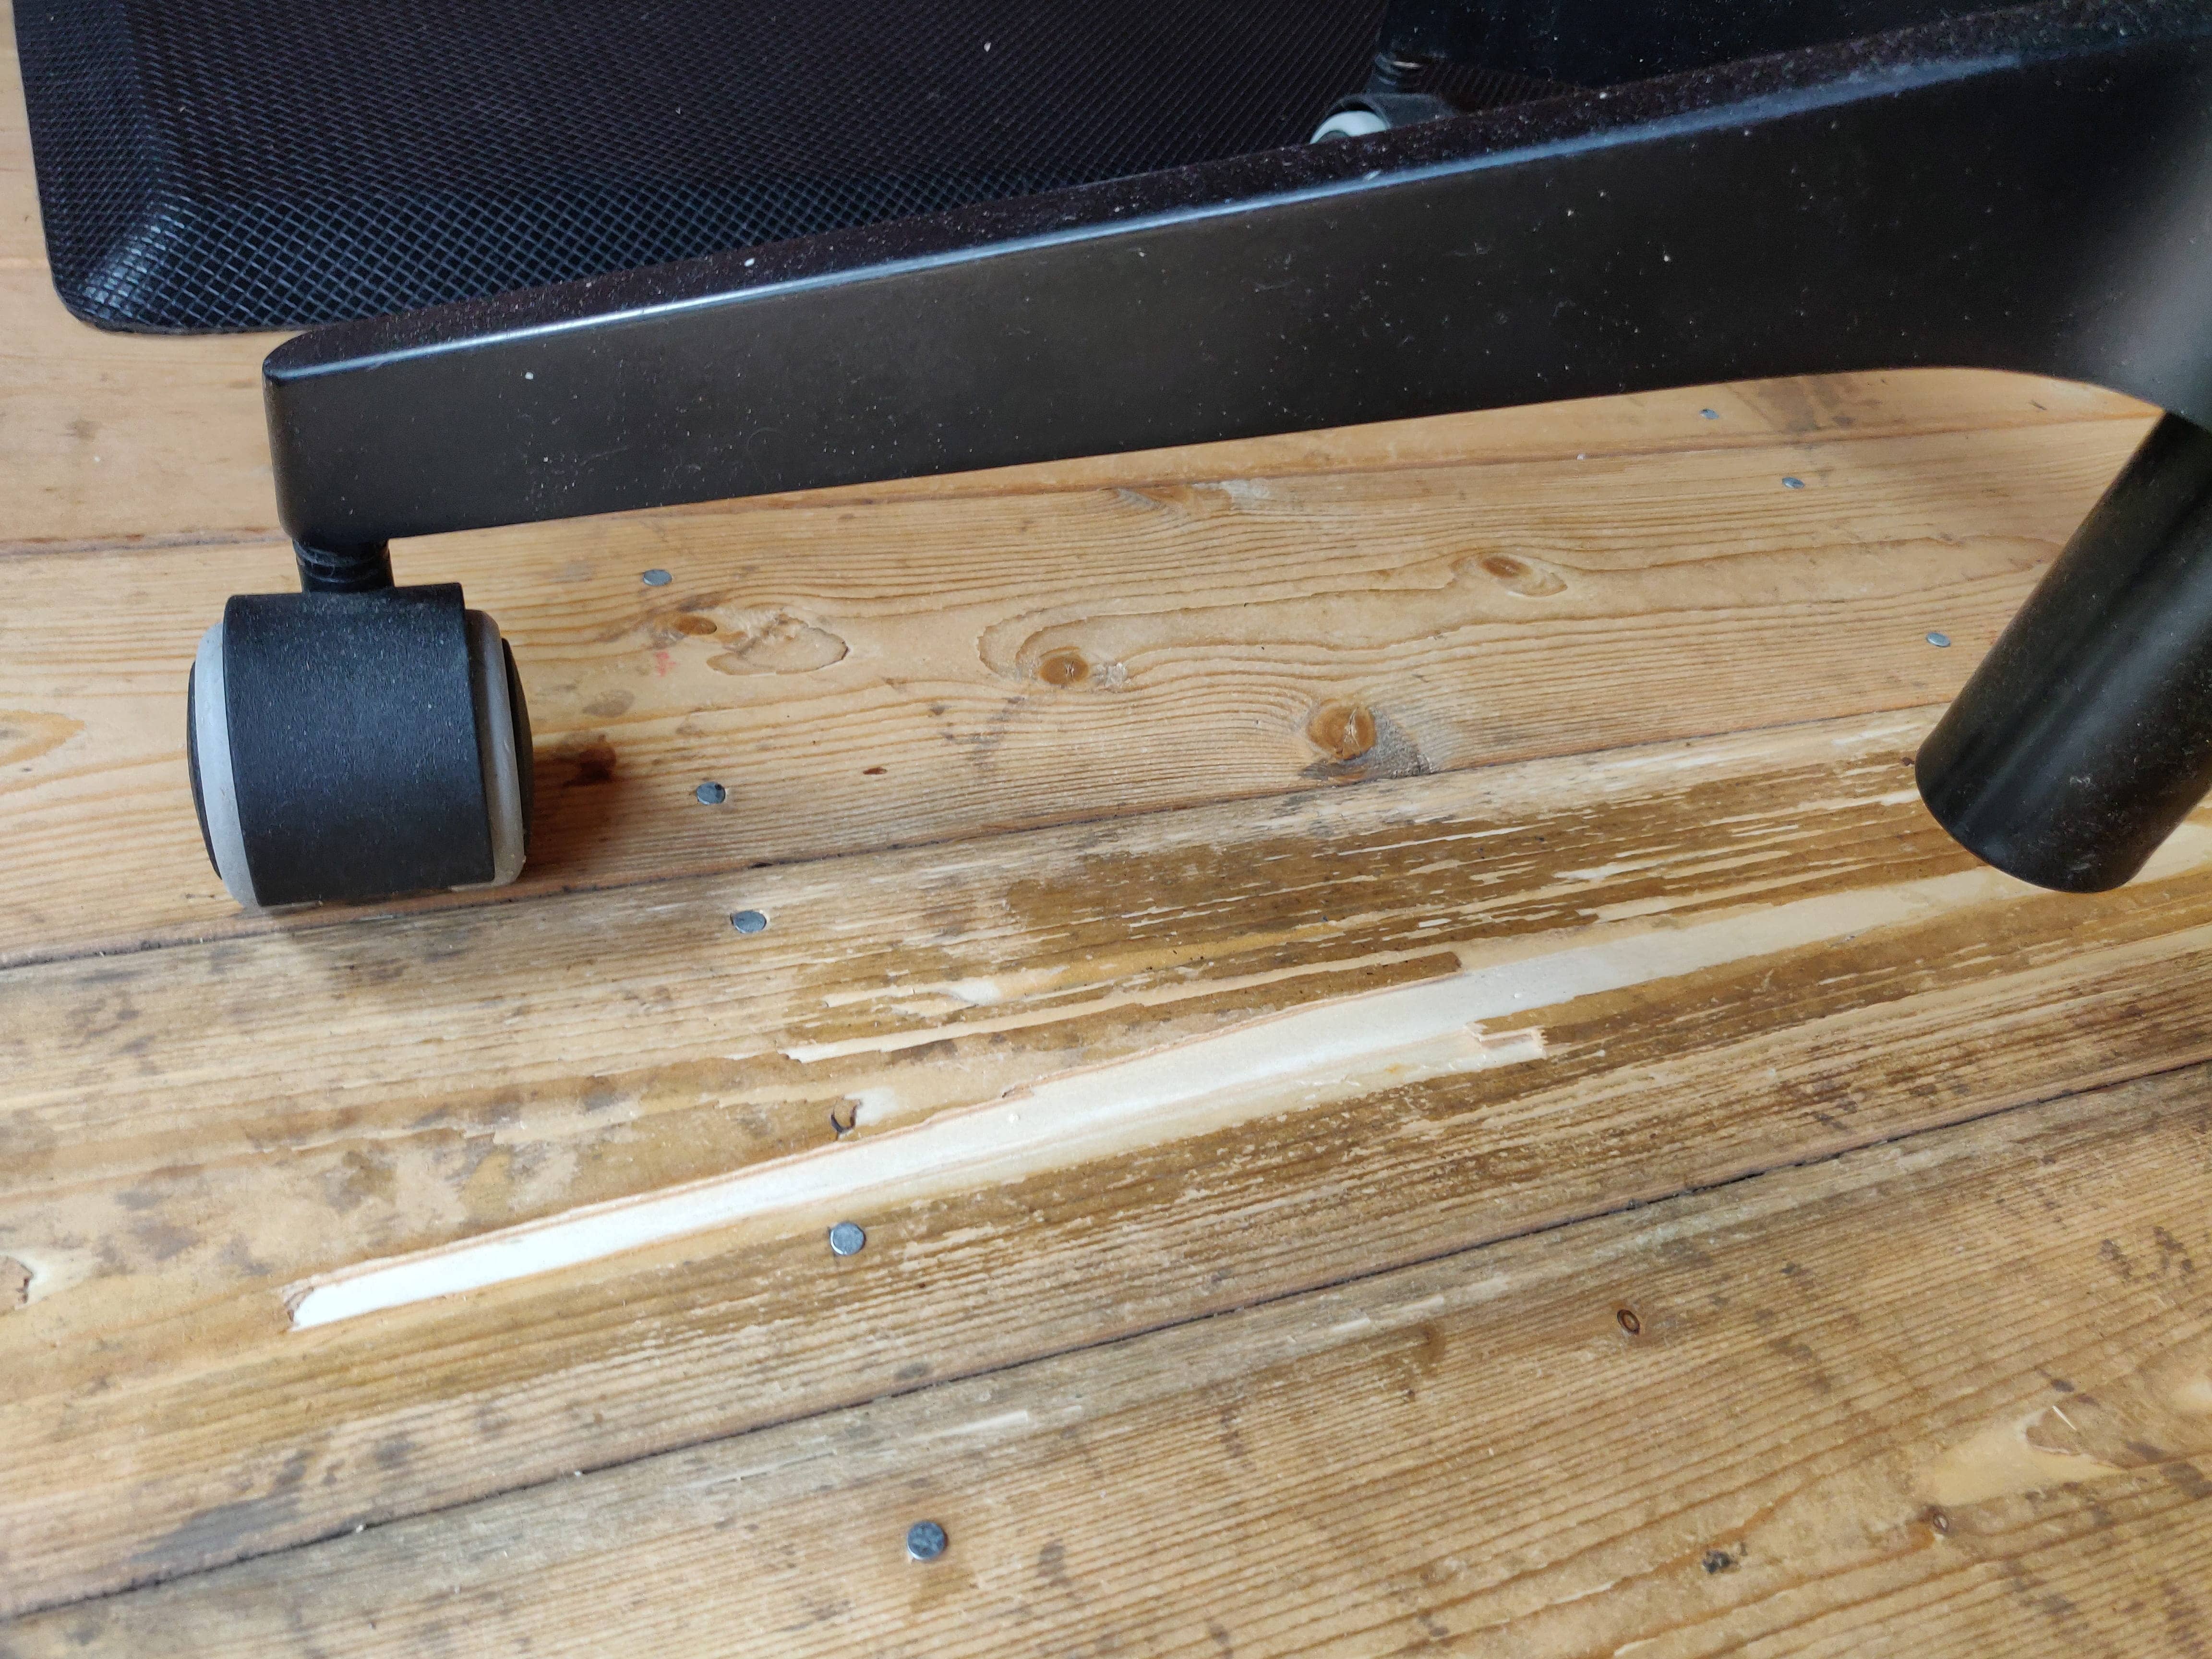
The shed has a few issues, some worse than others, the biggest problem has been a leaky window that made one of the floorboards so damp that some of the wood ripped off when I wheeled over it with my chair. This was fixed relatiely easily with some bathroom sealant. Apart from this one issue, the shed has been surprisingly dry and hasn’t shown any signs of damp.

Temperature
There are two temperatures in the shed, freezing cold or nuclear hot. I knew I was going to have to do something about it when I had to wear a wooly hat last October!

The first attempt was to insulate the roof with kingspan-like insulation. I glued it to the roof with no nails. It wasnt enough on its own so I bought an oil filled electric radiator. This worked well in Spring and Autumn but still wasn’t enough in Winter. I managed to get another oil filled radiator, and finally succumbed to forking out an extortionate amount for thermal curtains to cover the windows, despite them being double glazed this was where most of the warmth was escaping.
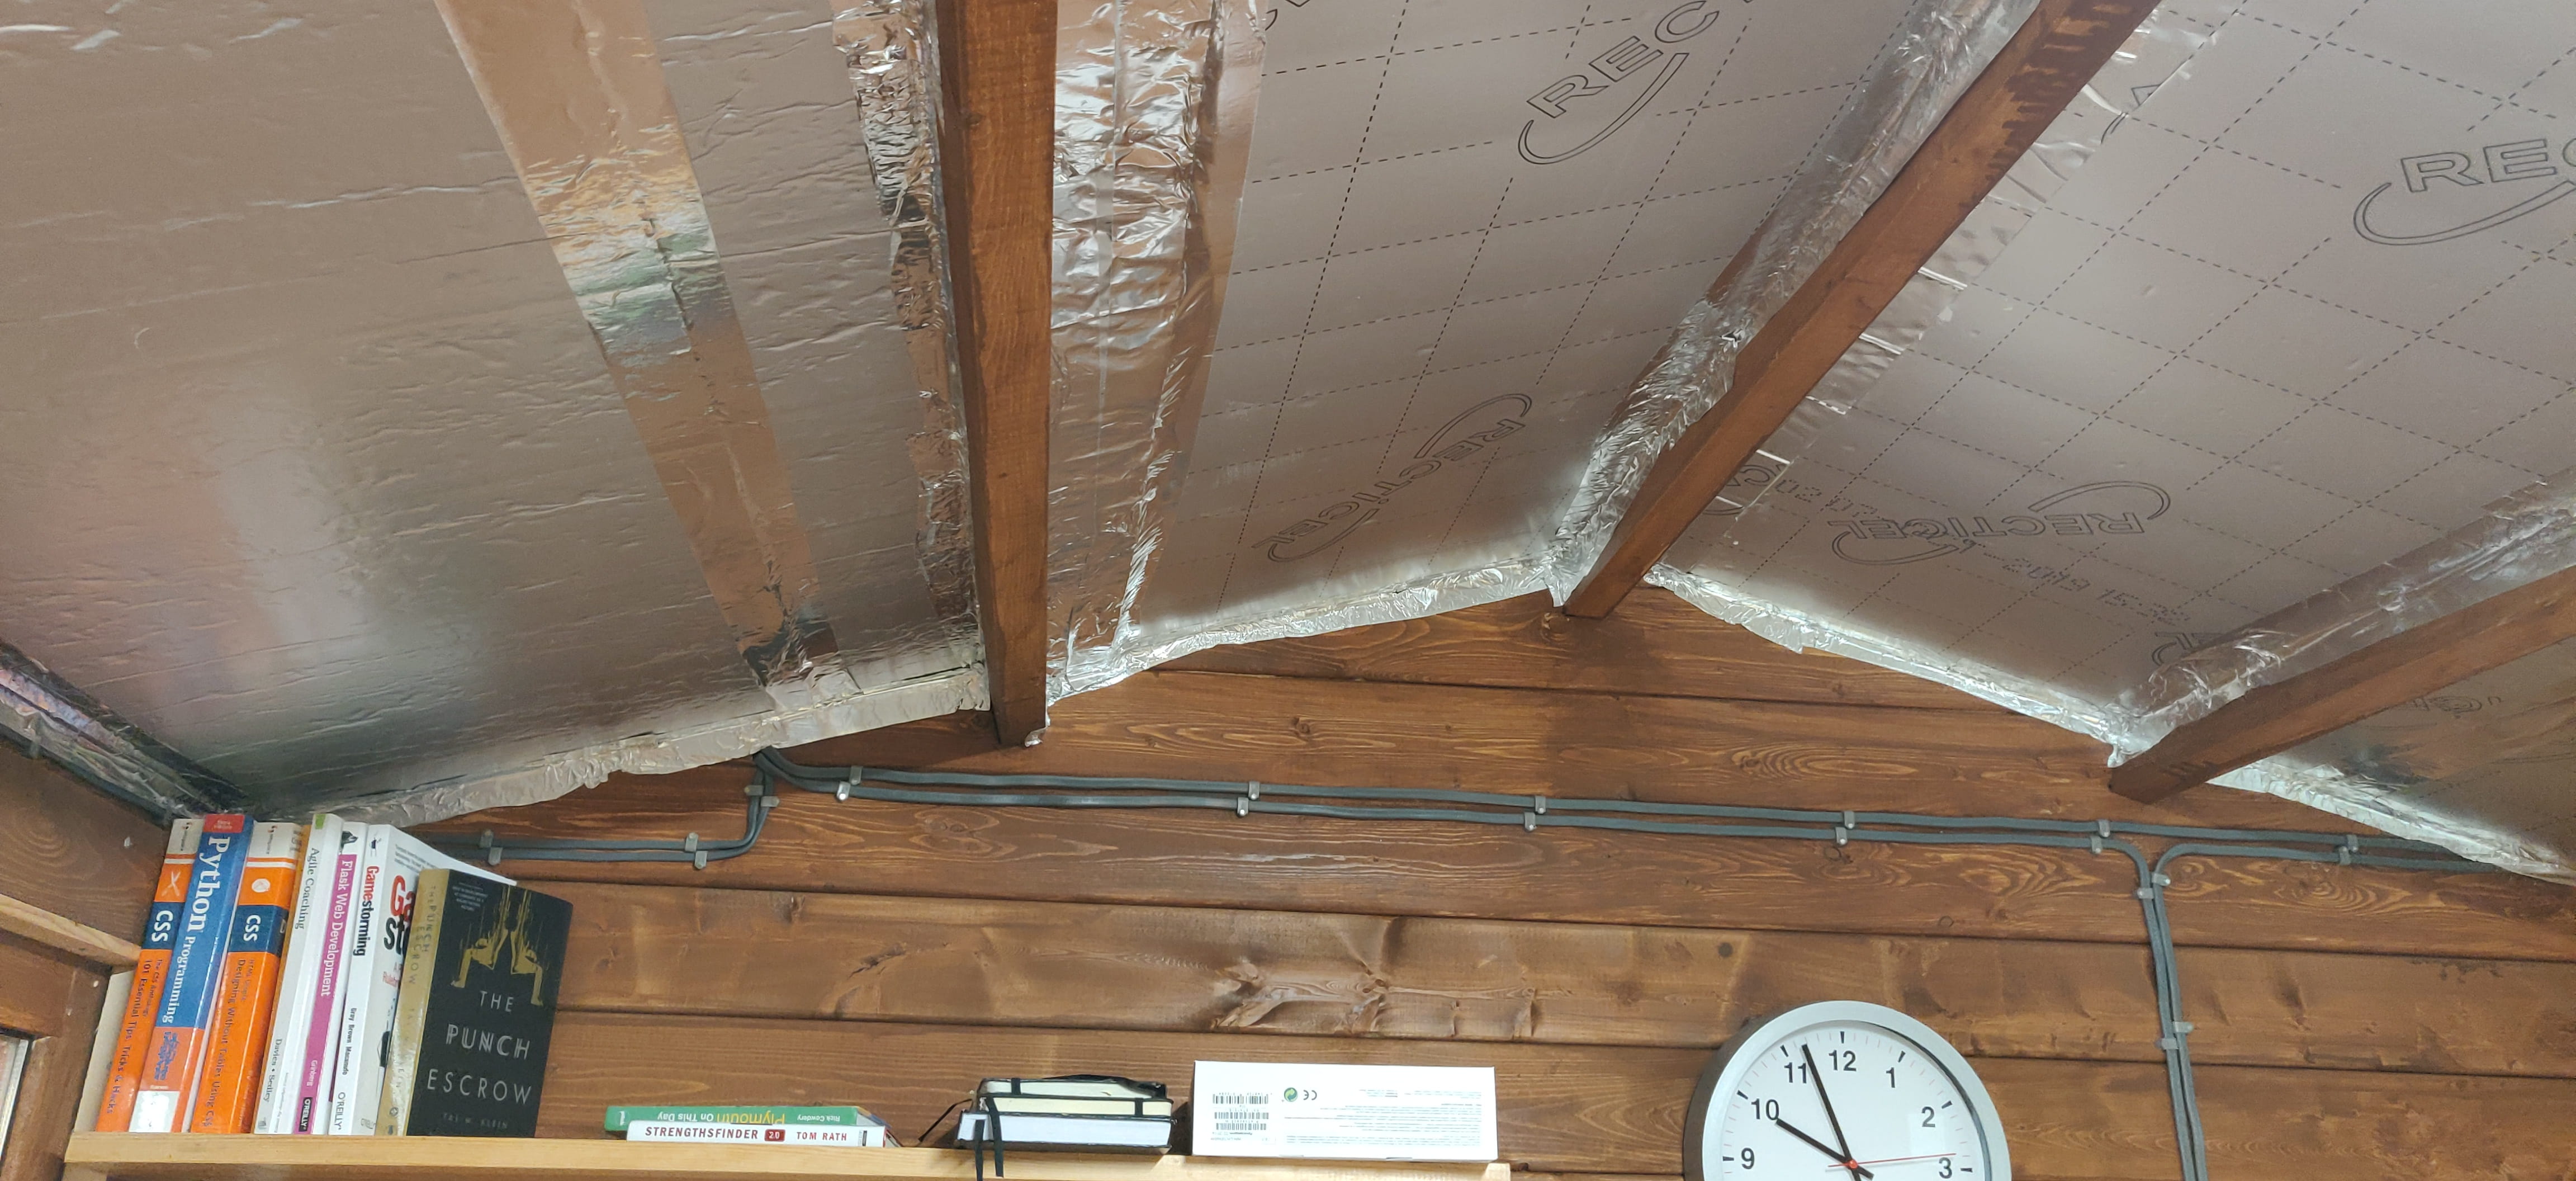
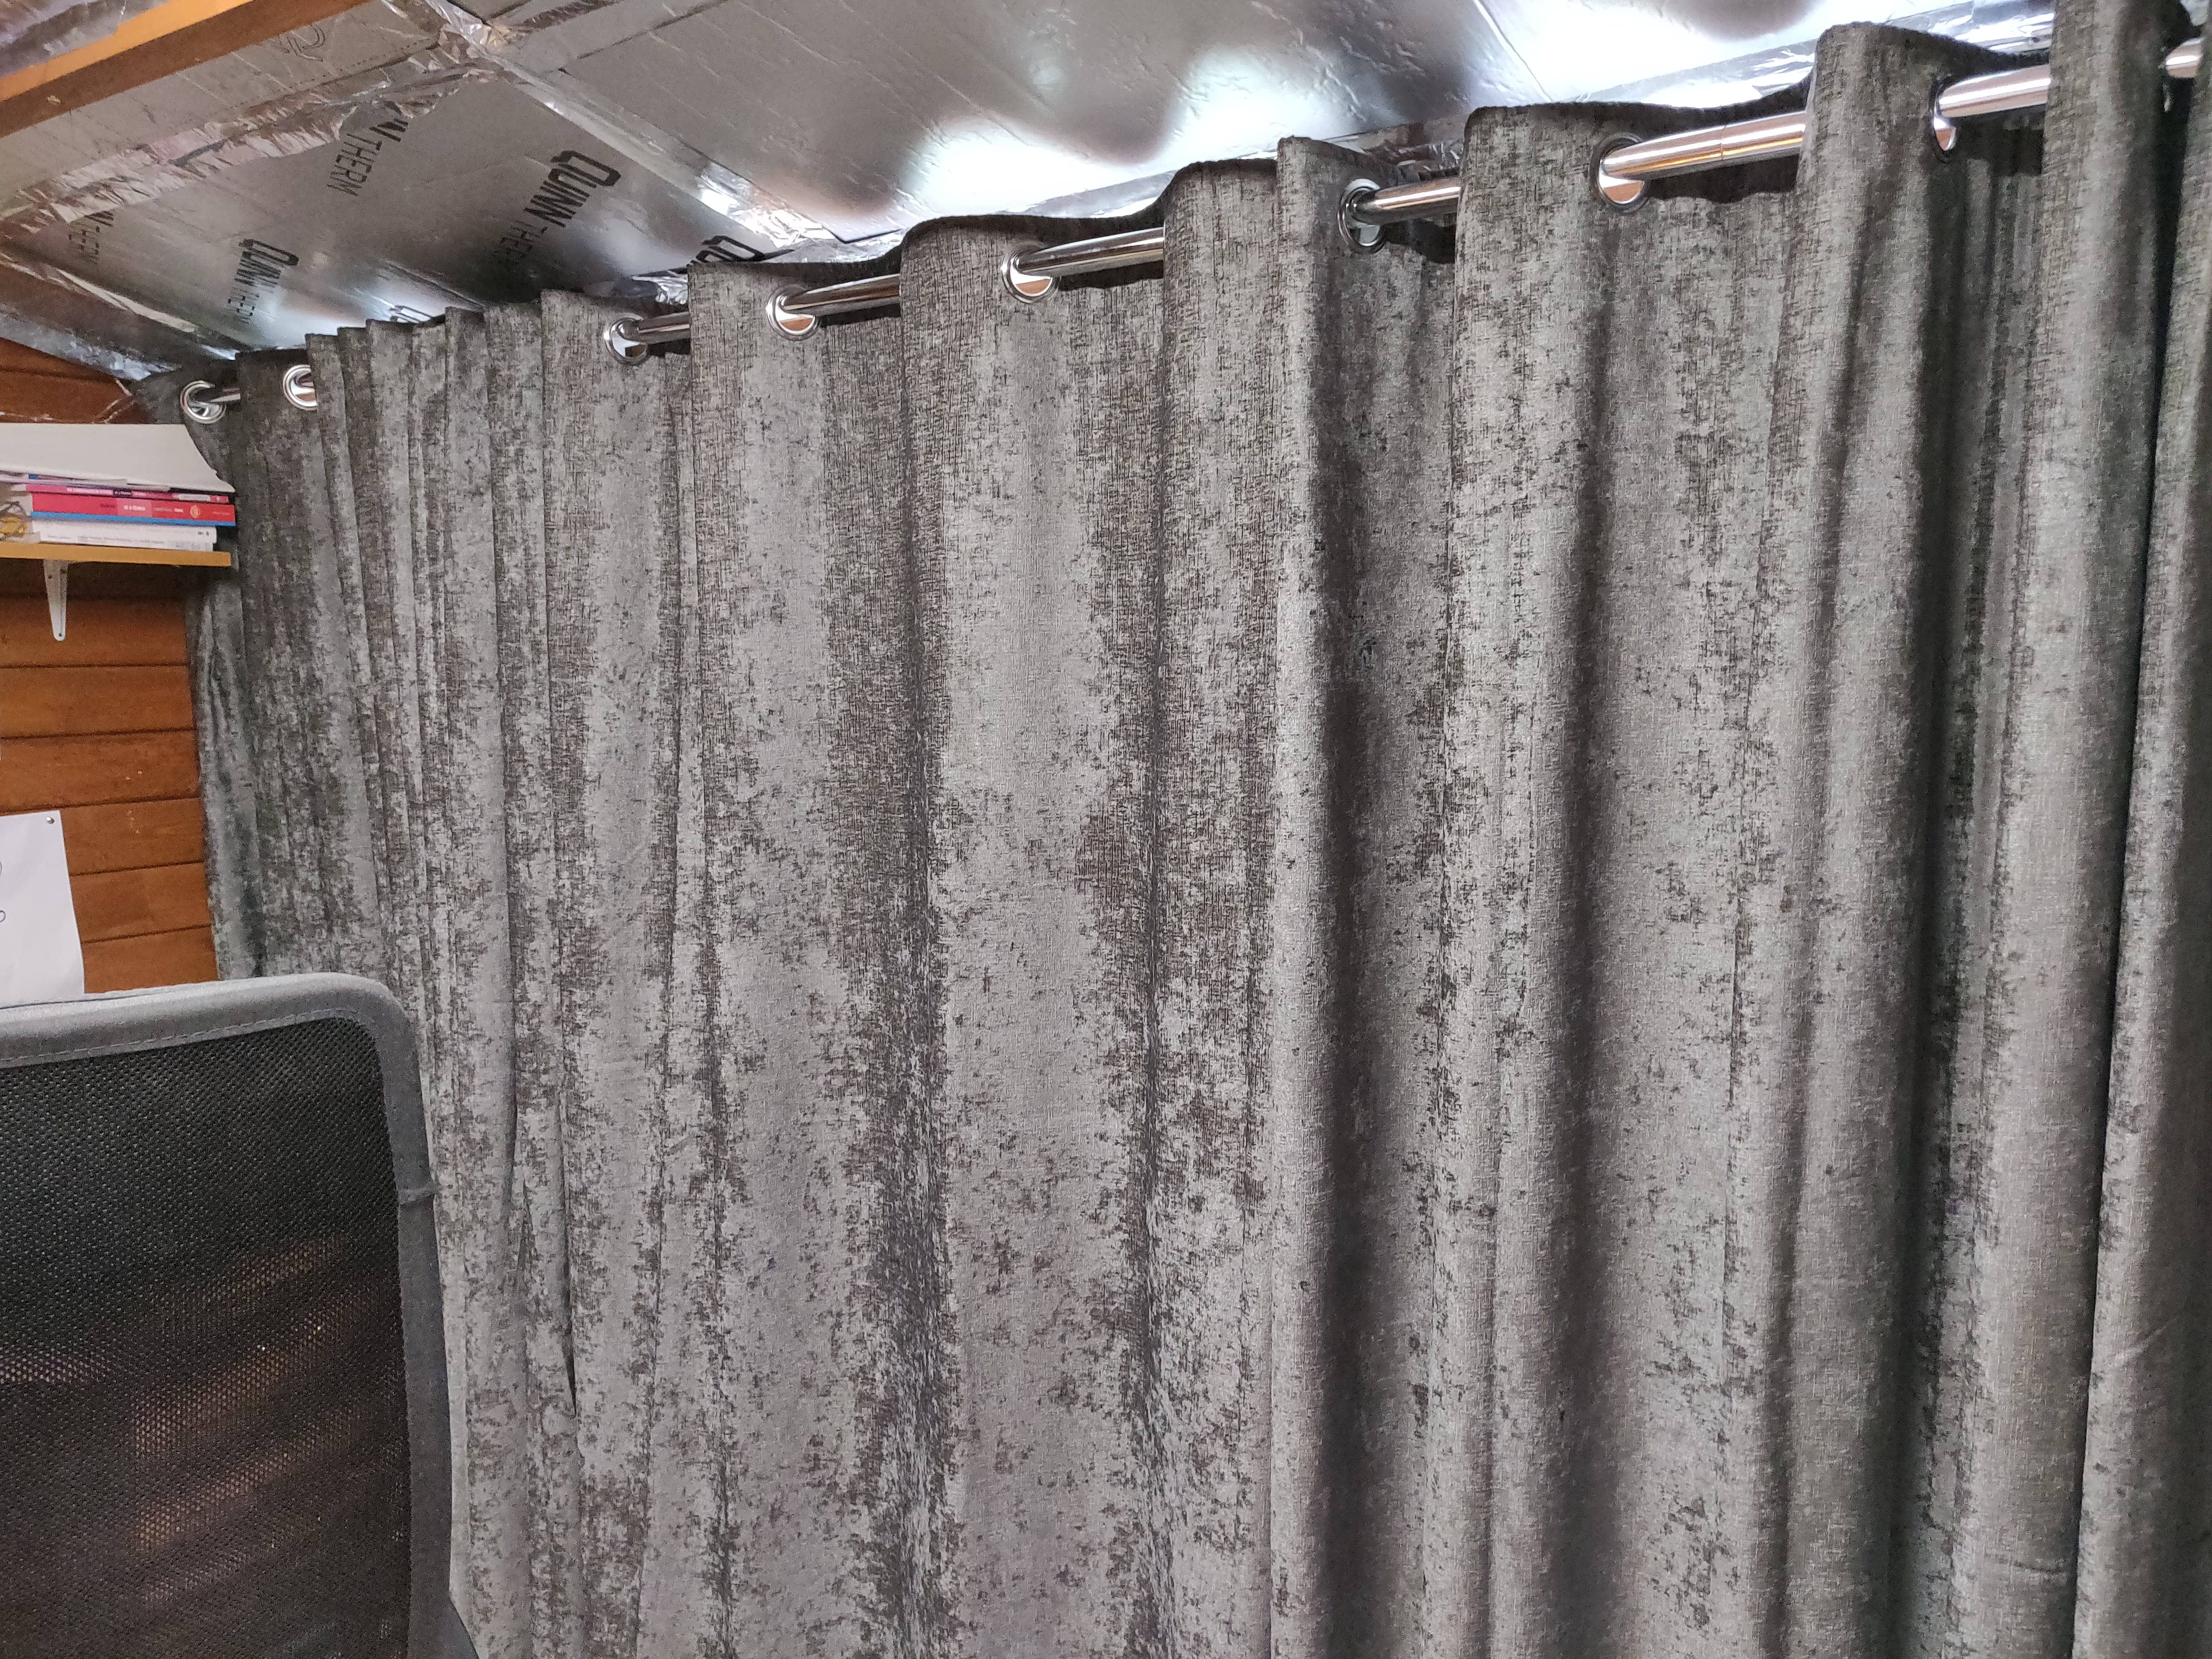
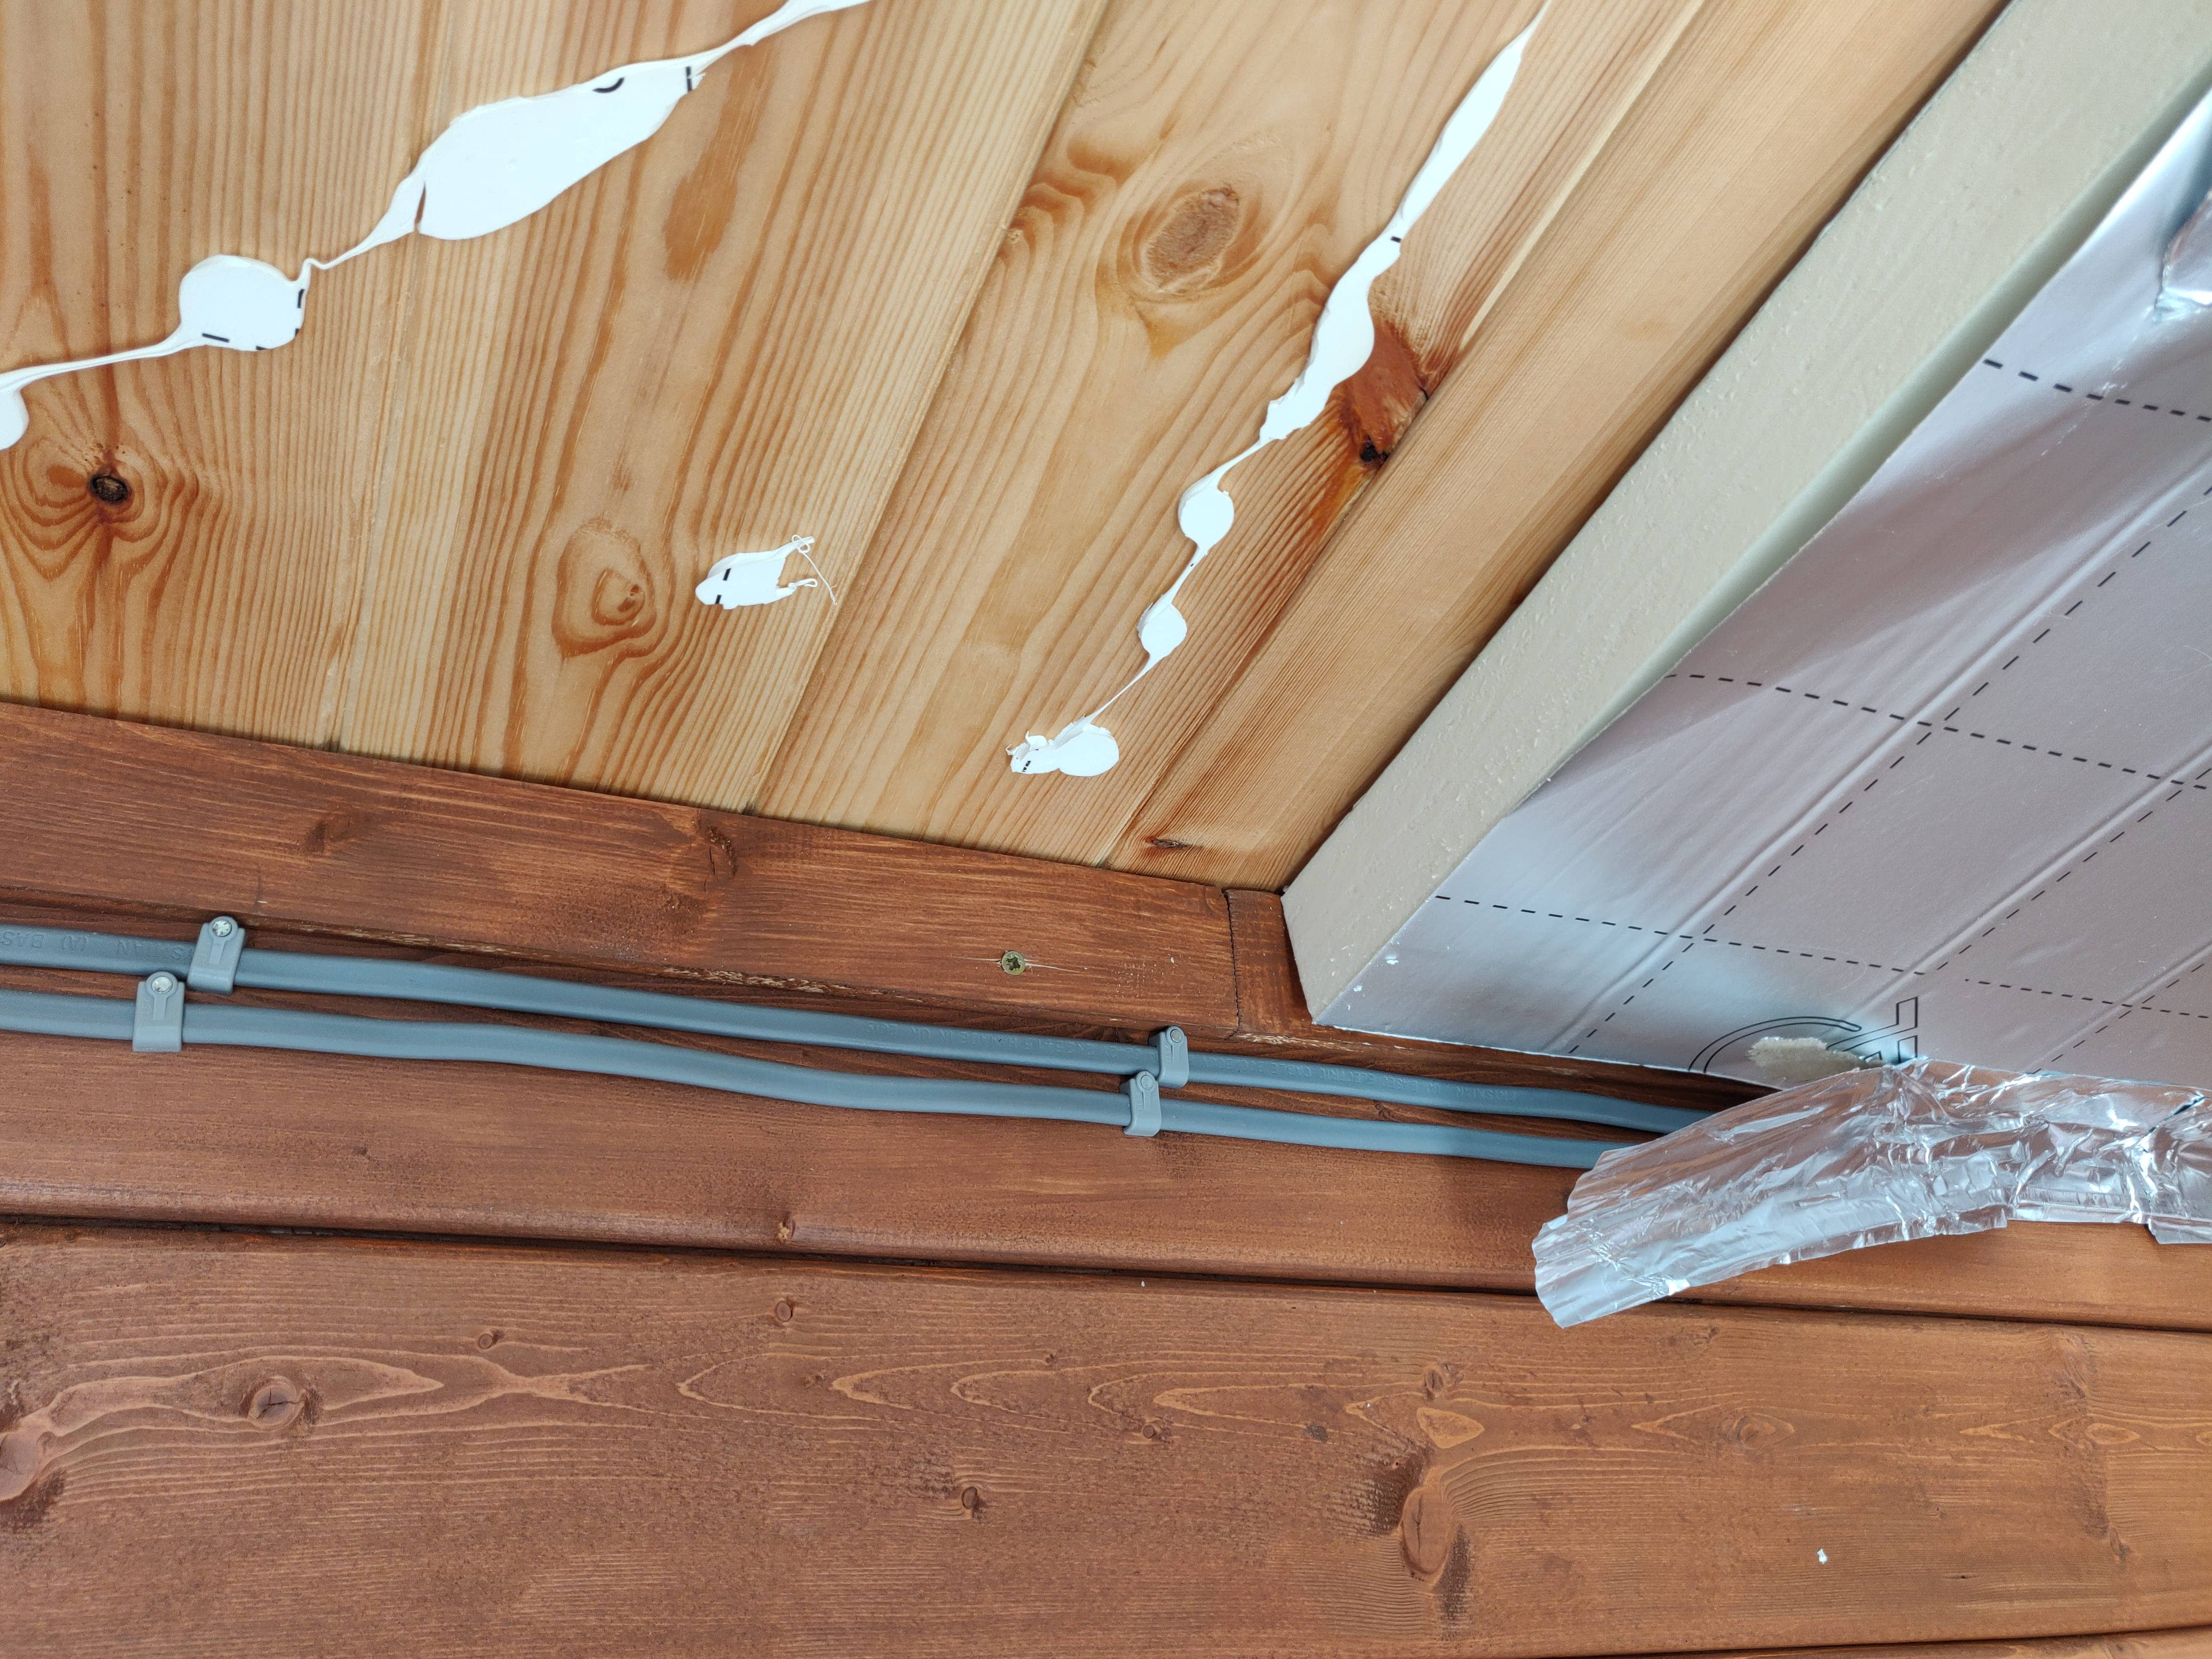
As spring turned to summer, the curtains came into their own. In the afternoon they effectively stopped the shed getting to 40℃ on most days by blocking the sun. The extreme heat meant that the glue holding up the insulation started to fail and a few panels fell off the roof. Recently I have put up n additional layer of kingspan and fixed them with wood dowels, I have boarded over the insulation to make it all look a bit nicer. Hopefully it should be warm and snuggly this winter, if not the next stage will be to insulate the walls.
Dropped door
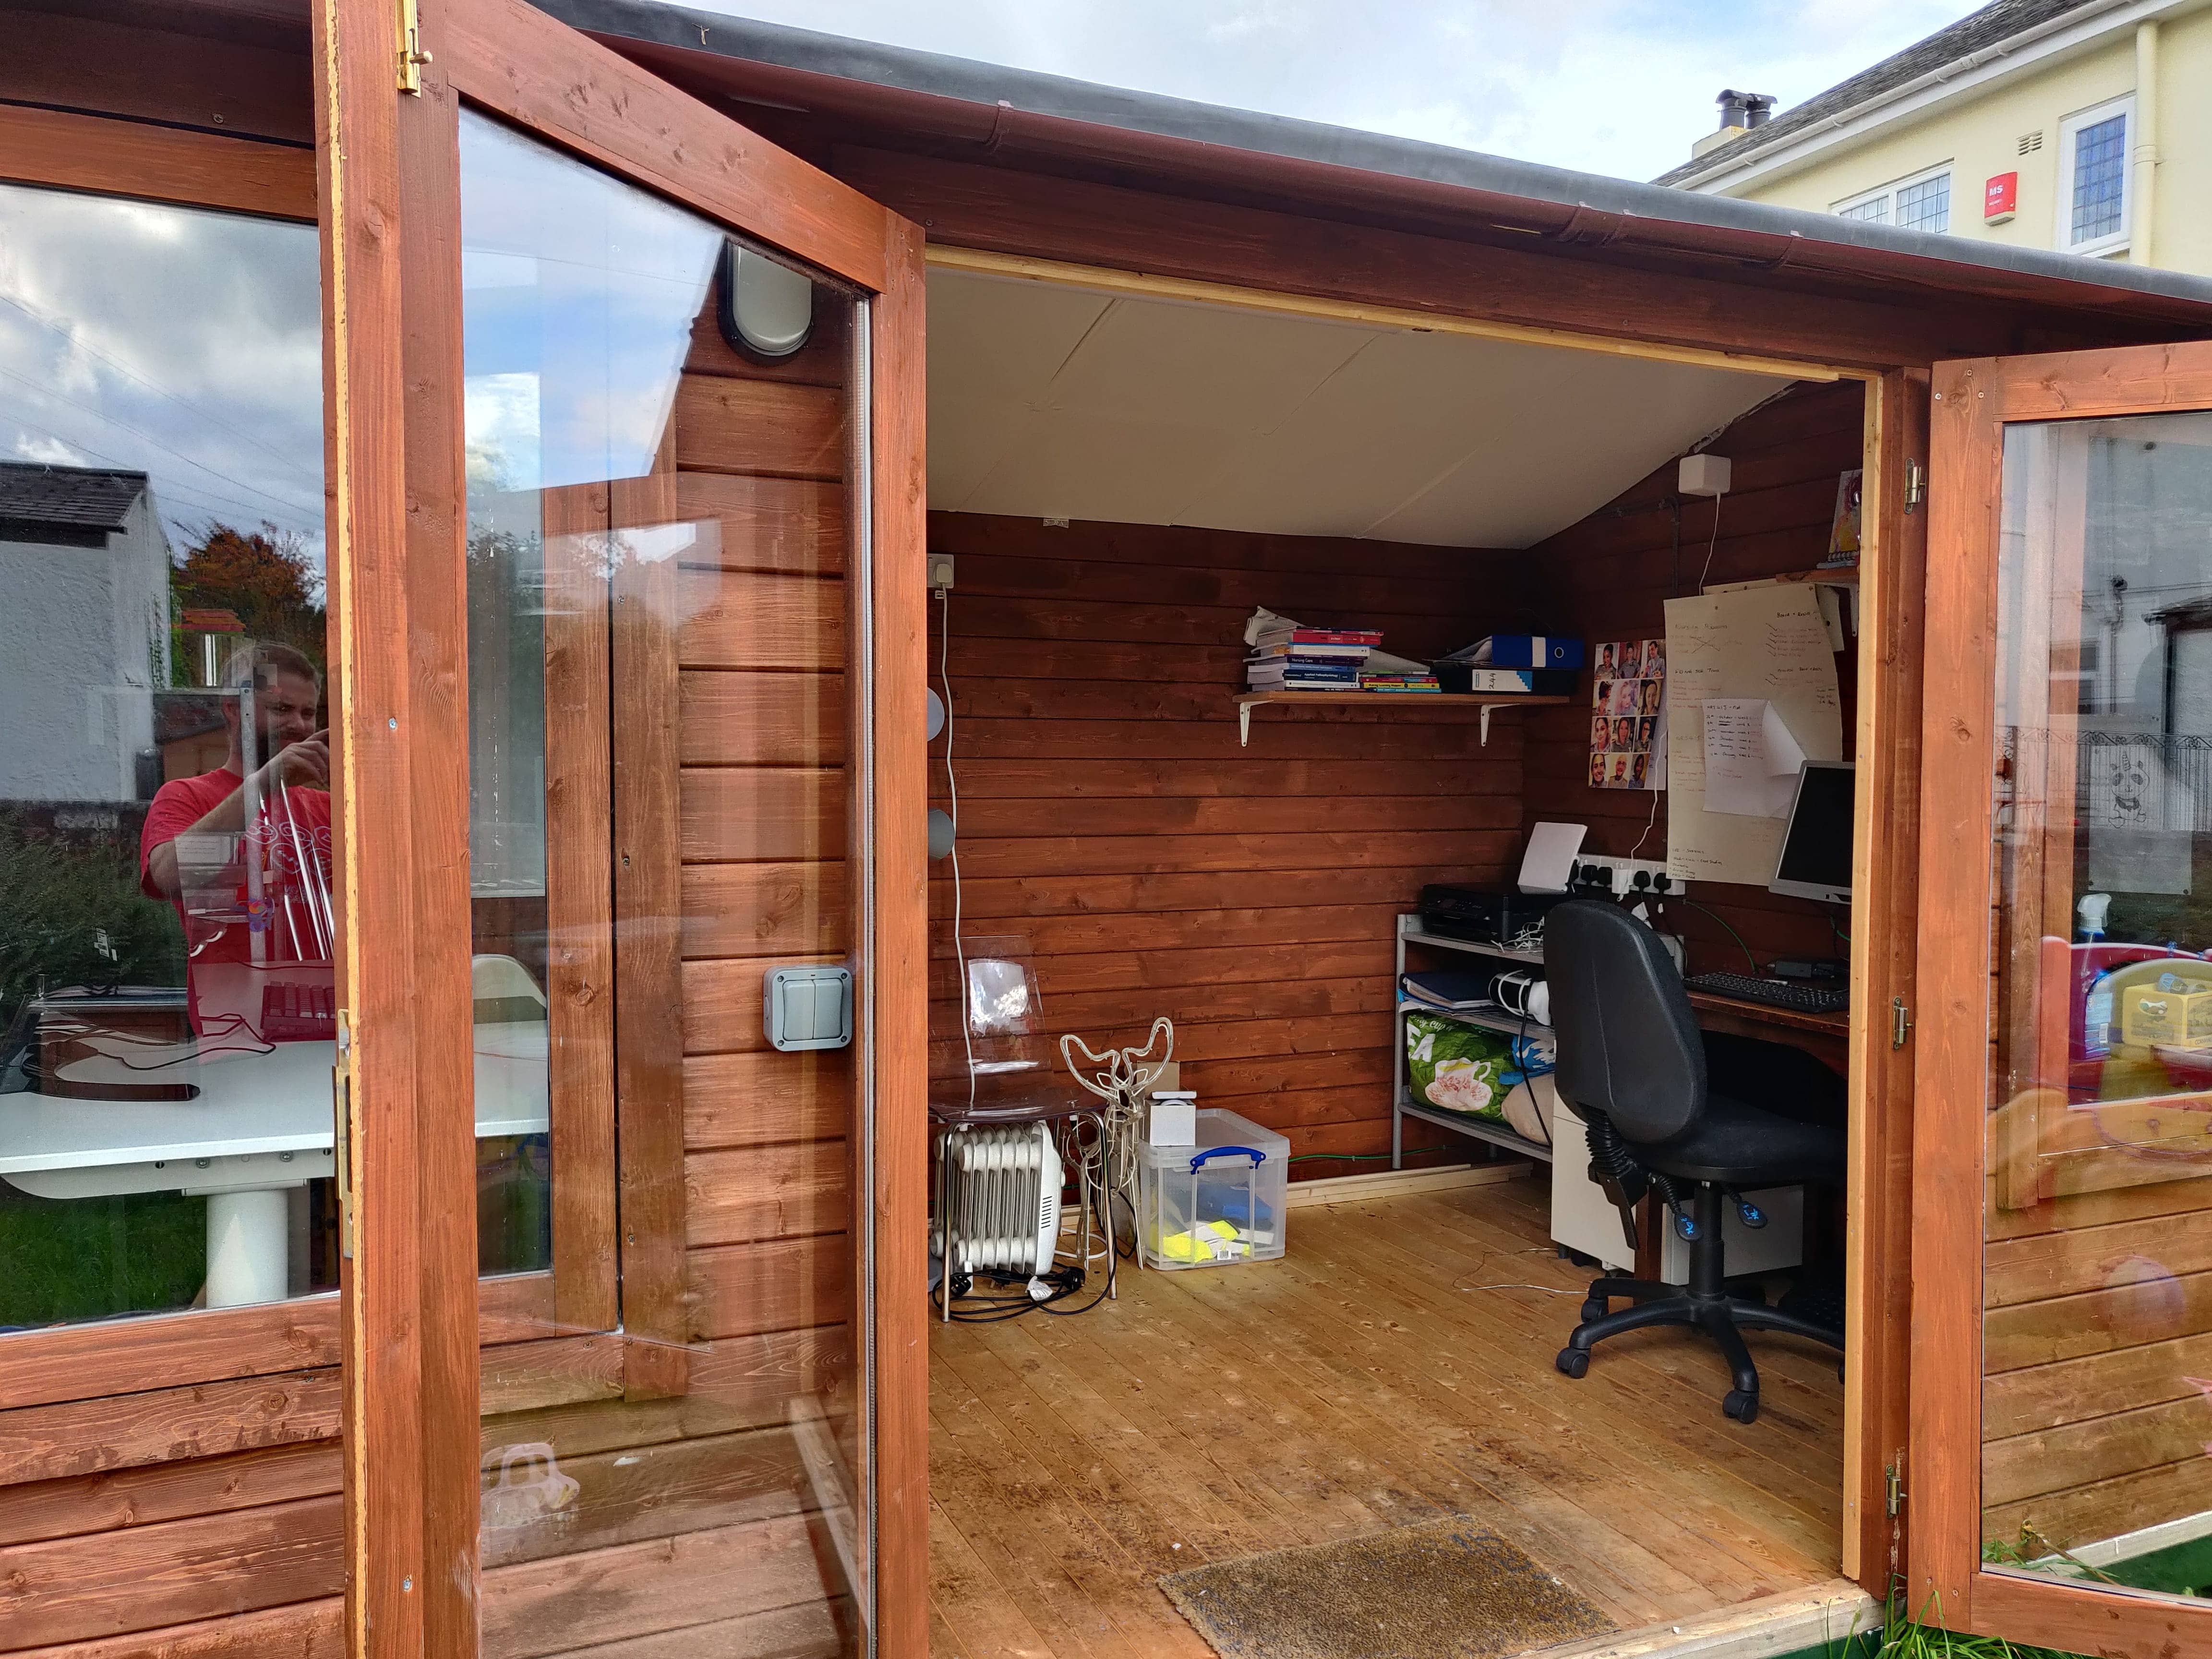
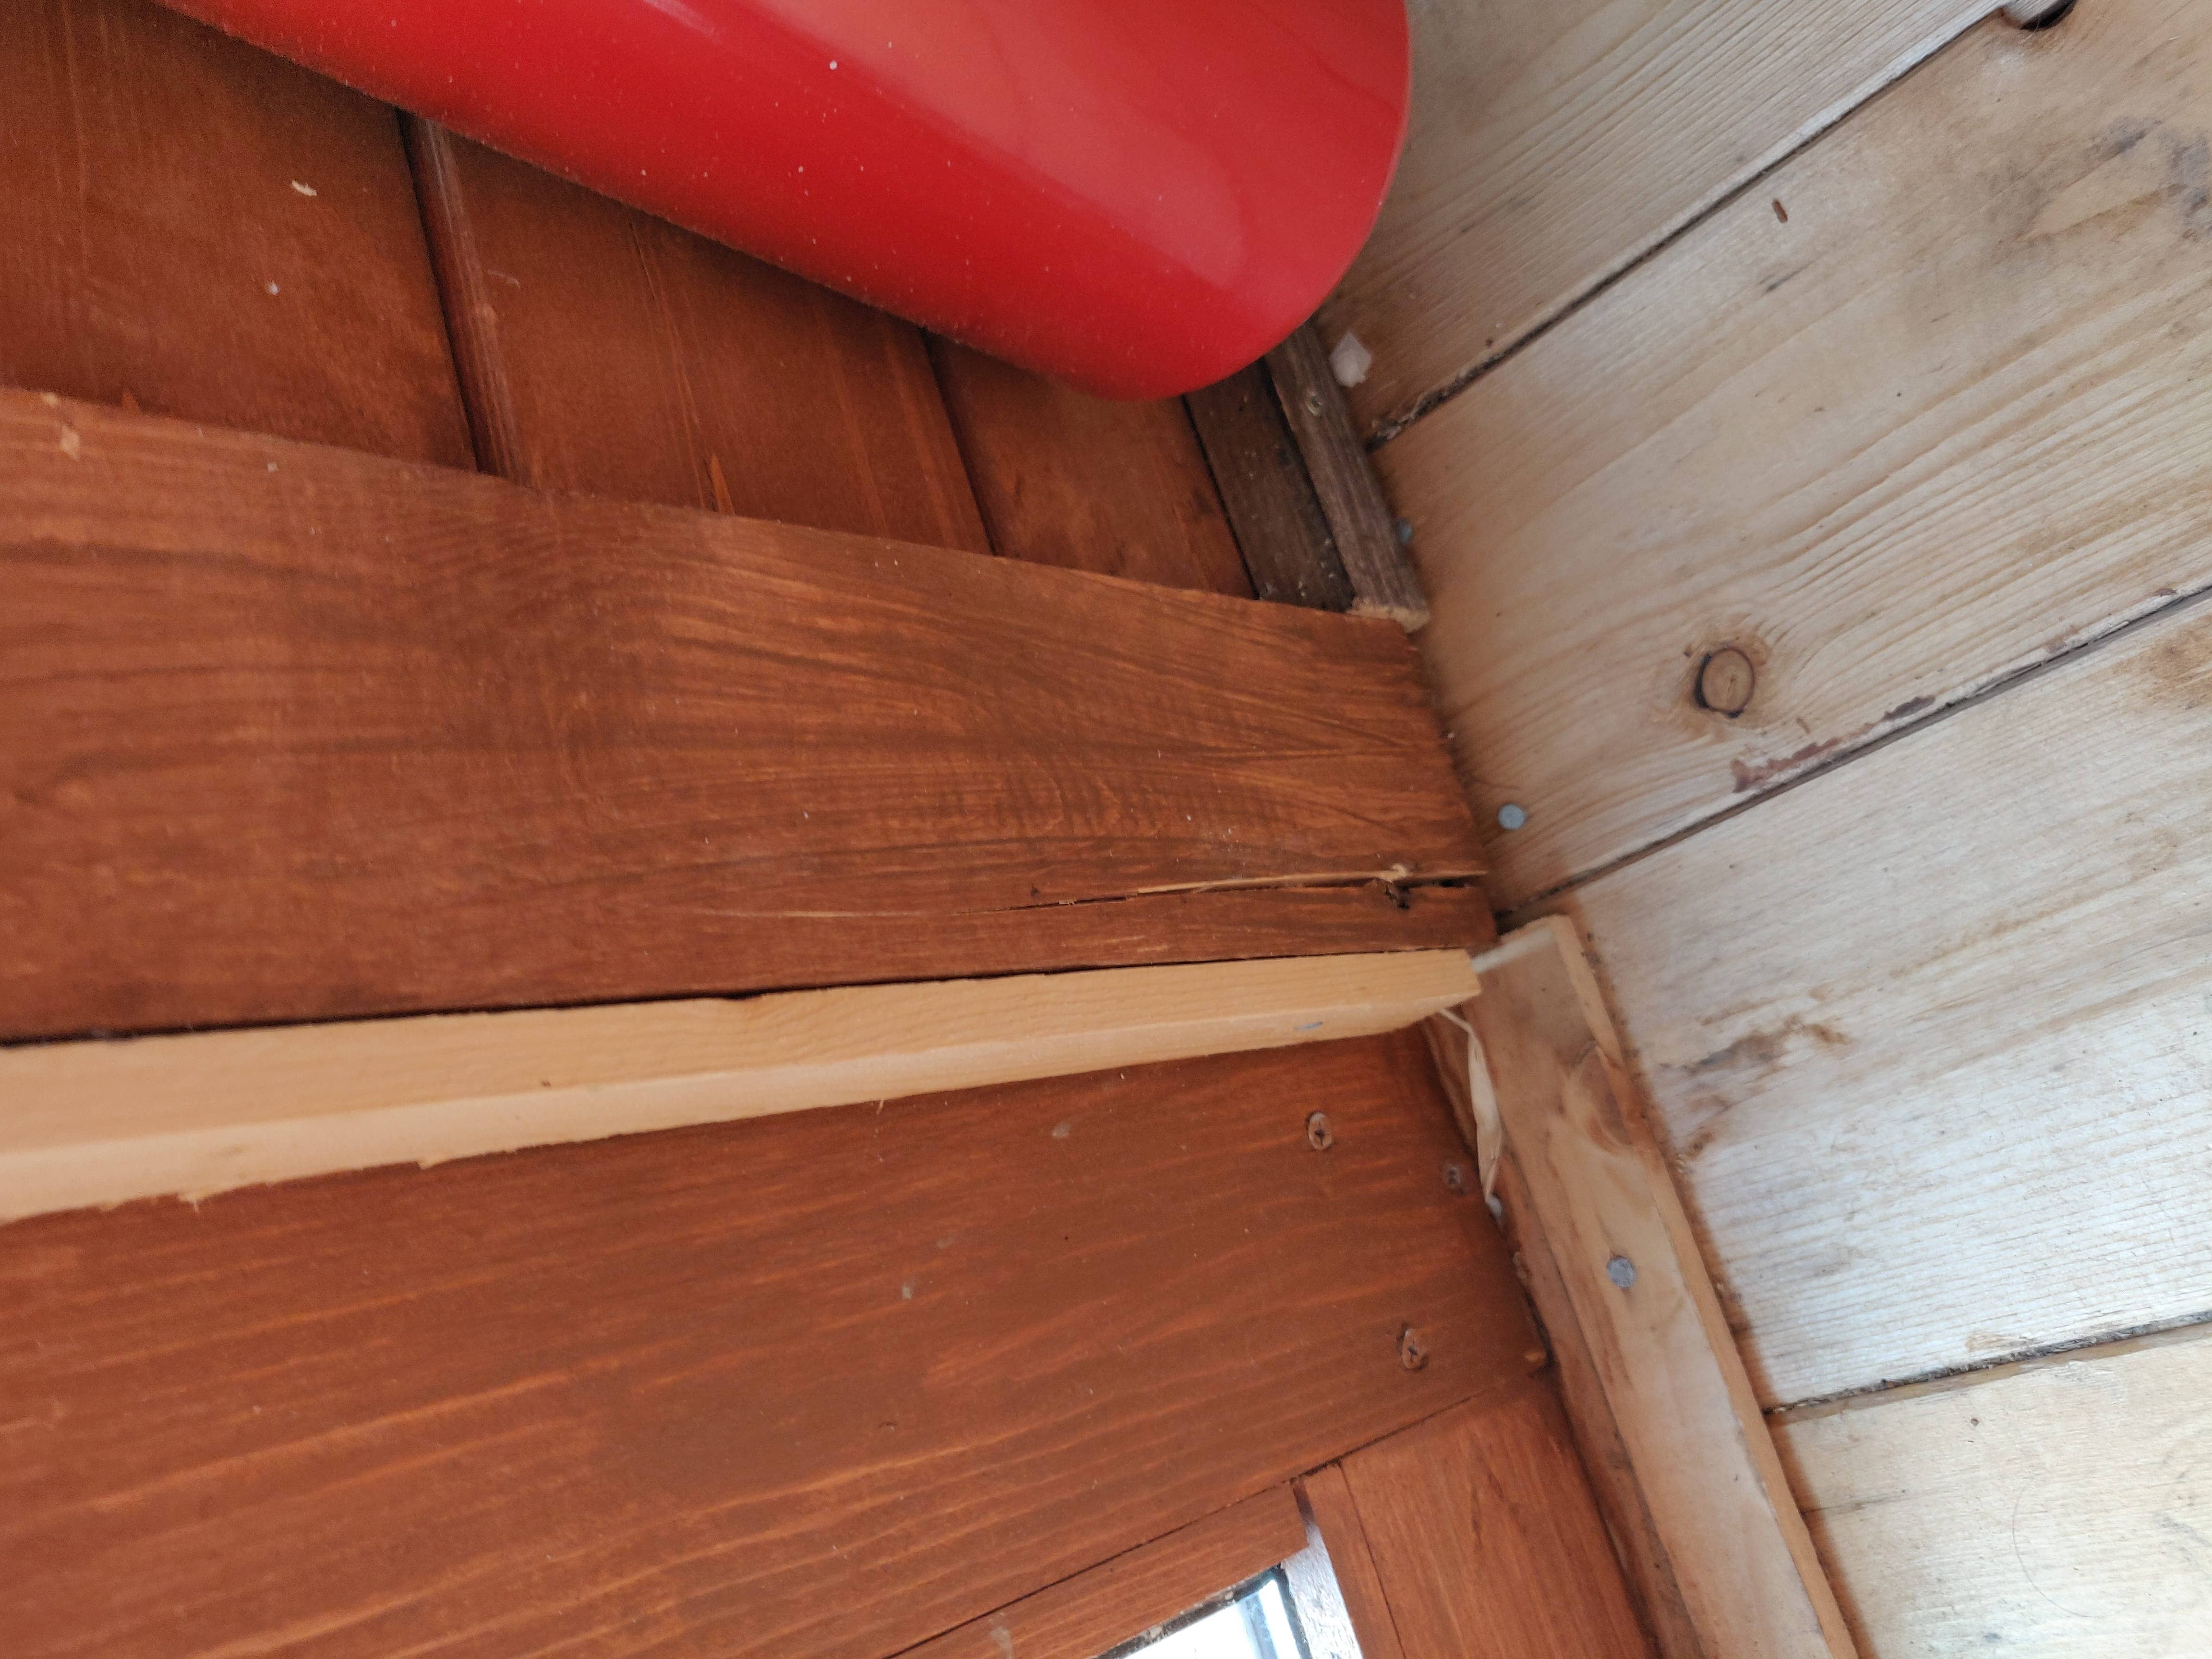
The doors are a bit heavy for the shed, and being double doors it must put a lot of strain on the frame when they are both open. The left hand door (looking towards the shed) has dropped as a result, when it first happened I didn’t notice and carelessly slammed the door shut, causing the frame to crack. It hasn’t become a massive issue but I now take much more care closing the doors, sometimes having to lift them slighty before shutting.
Wonky wall
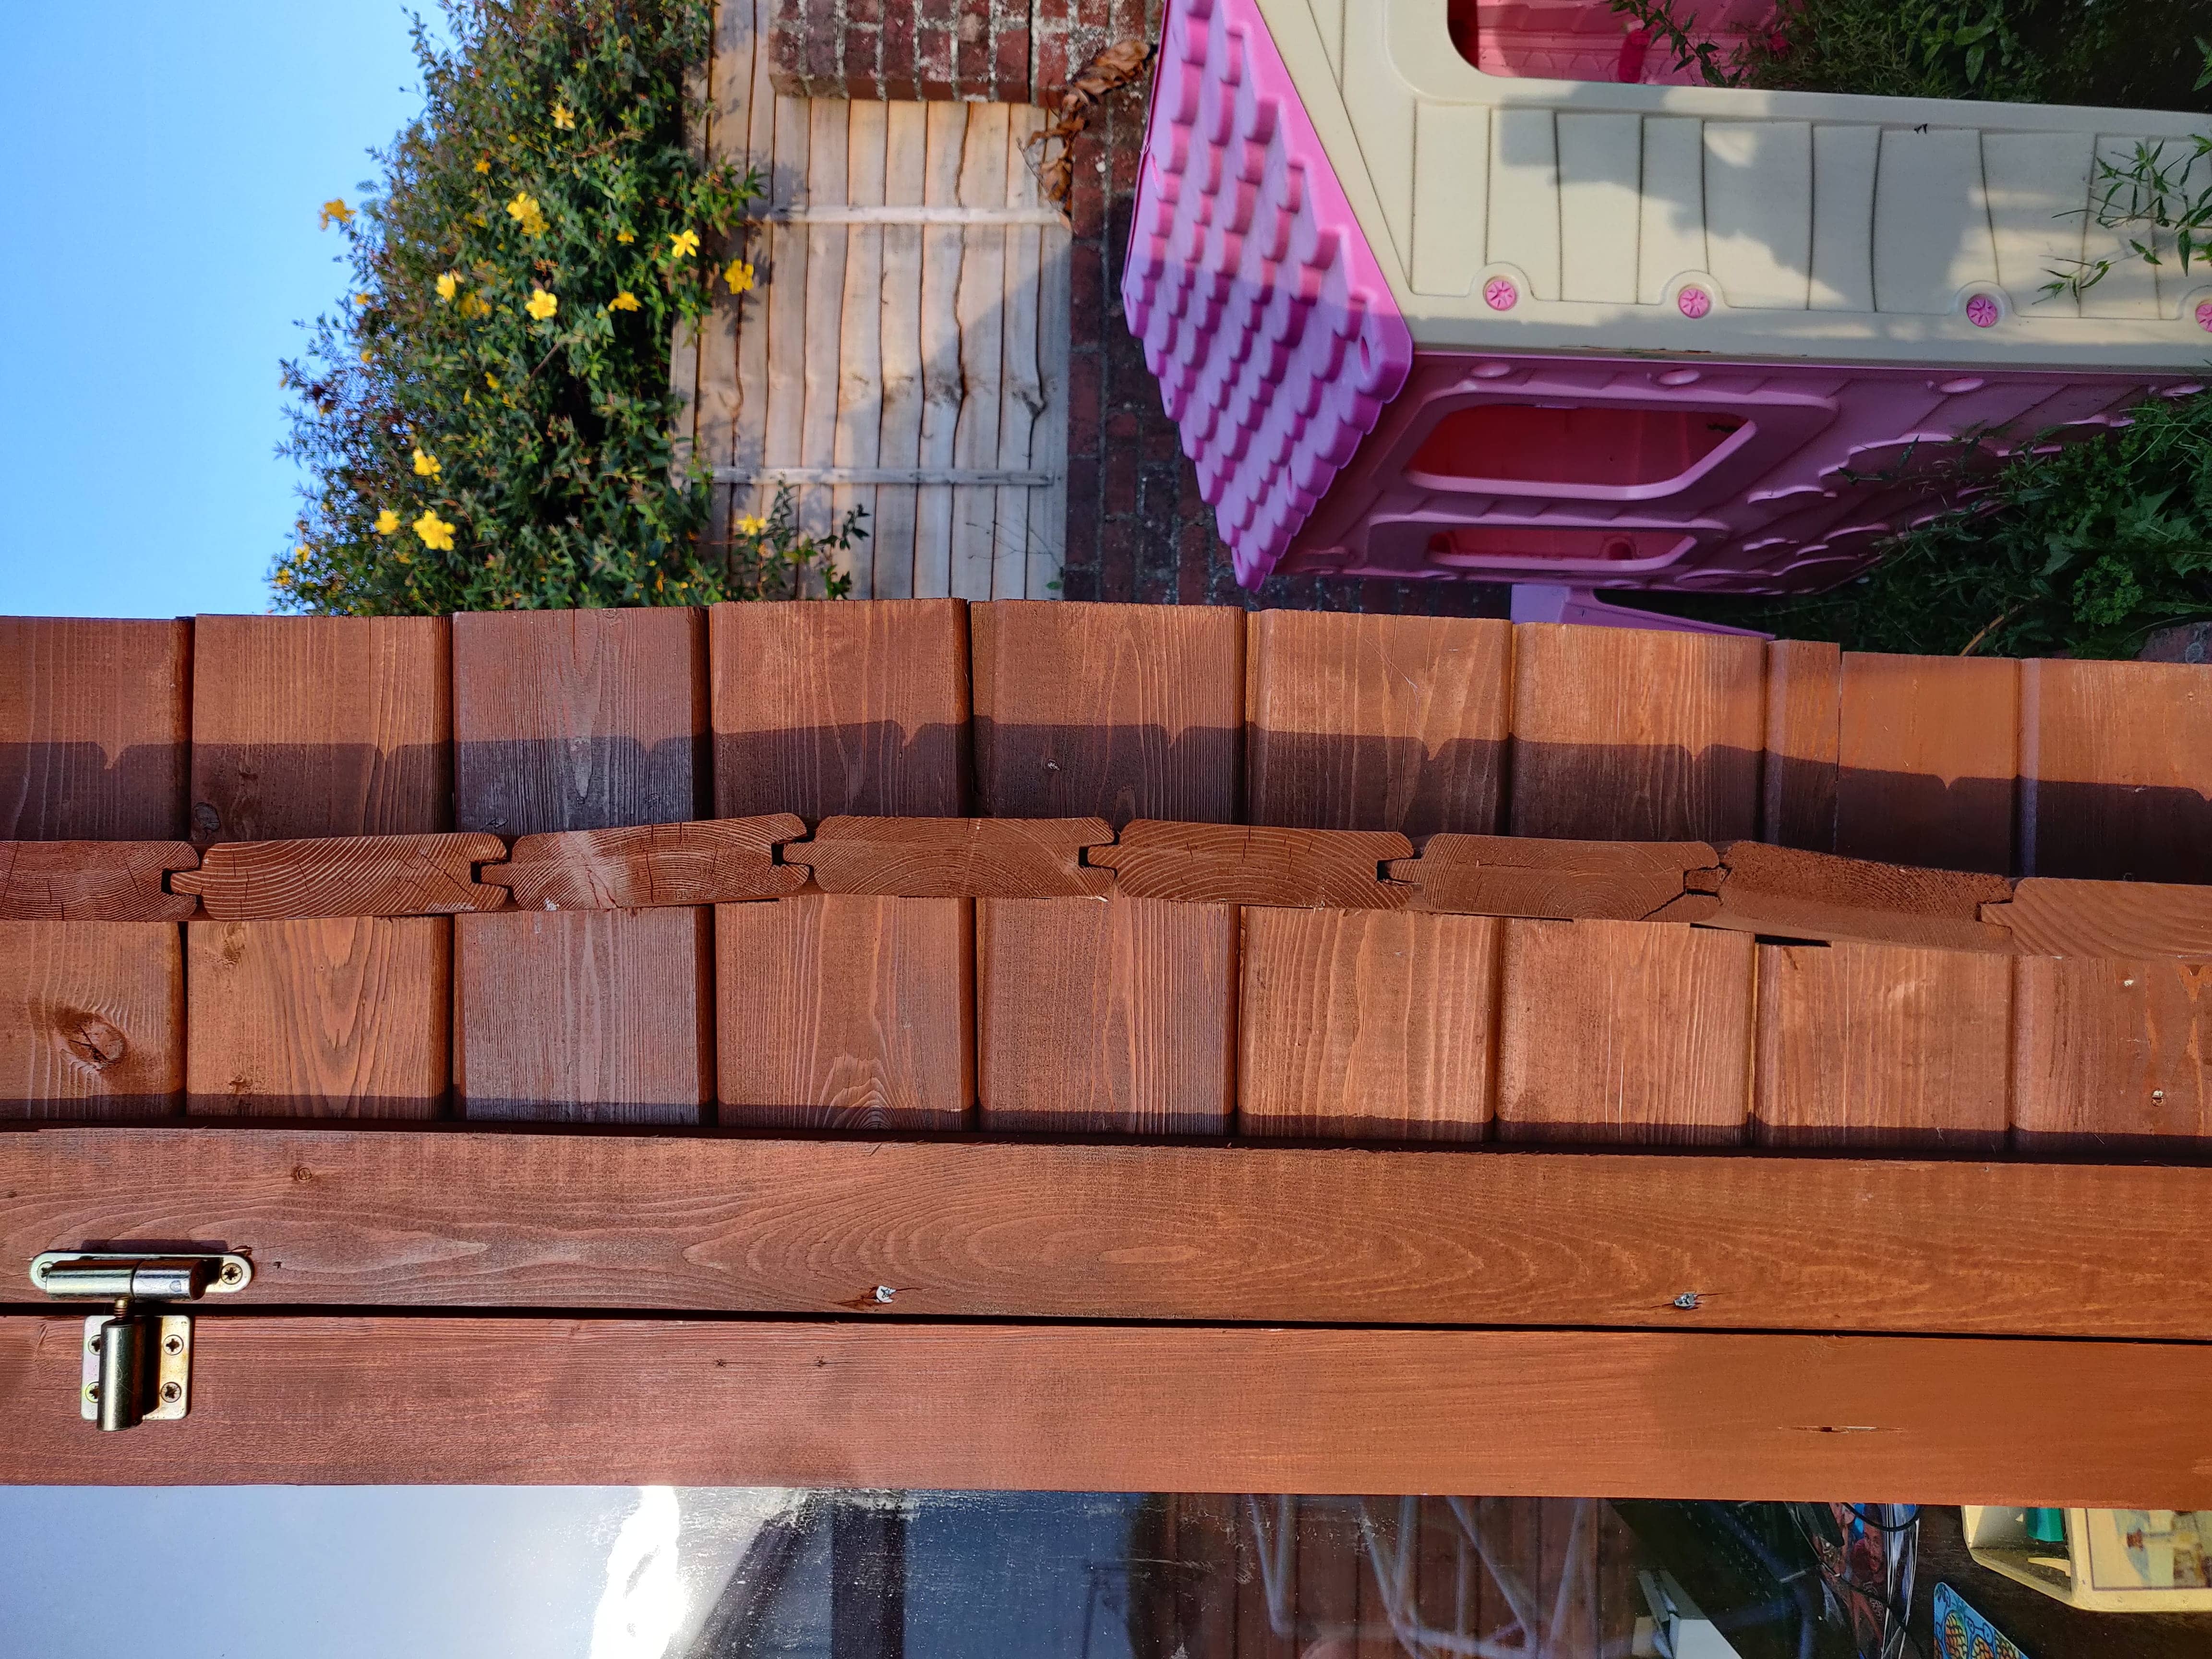
As the shed has settled, the right hand wall has started to go on the wonk, I’ve braced the wall but it’s not back to true. This is the problem I’m most worried about long-term but there’s not a lot I can do about it.
Turning the lawn into a quagmire
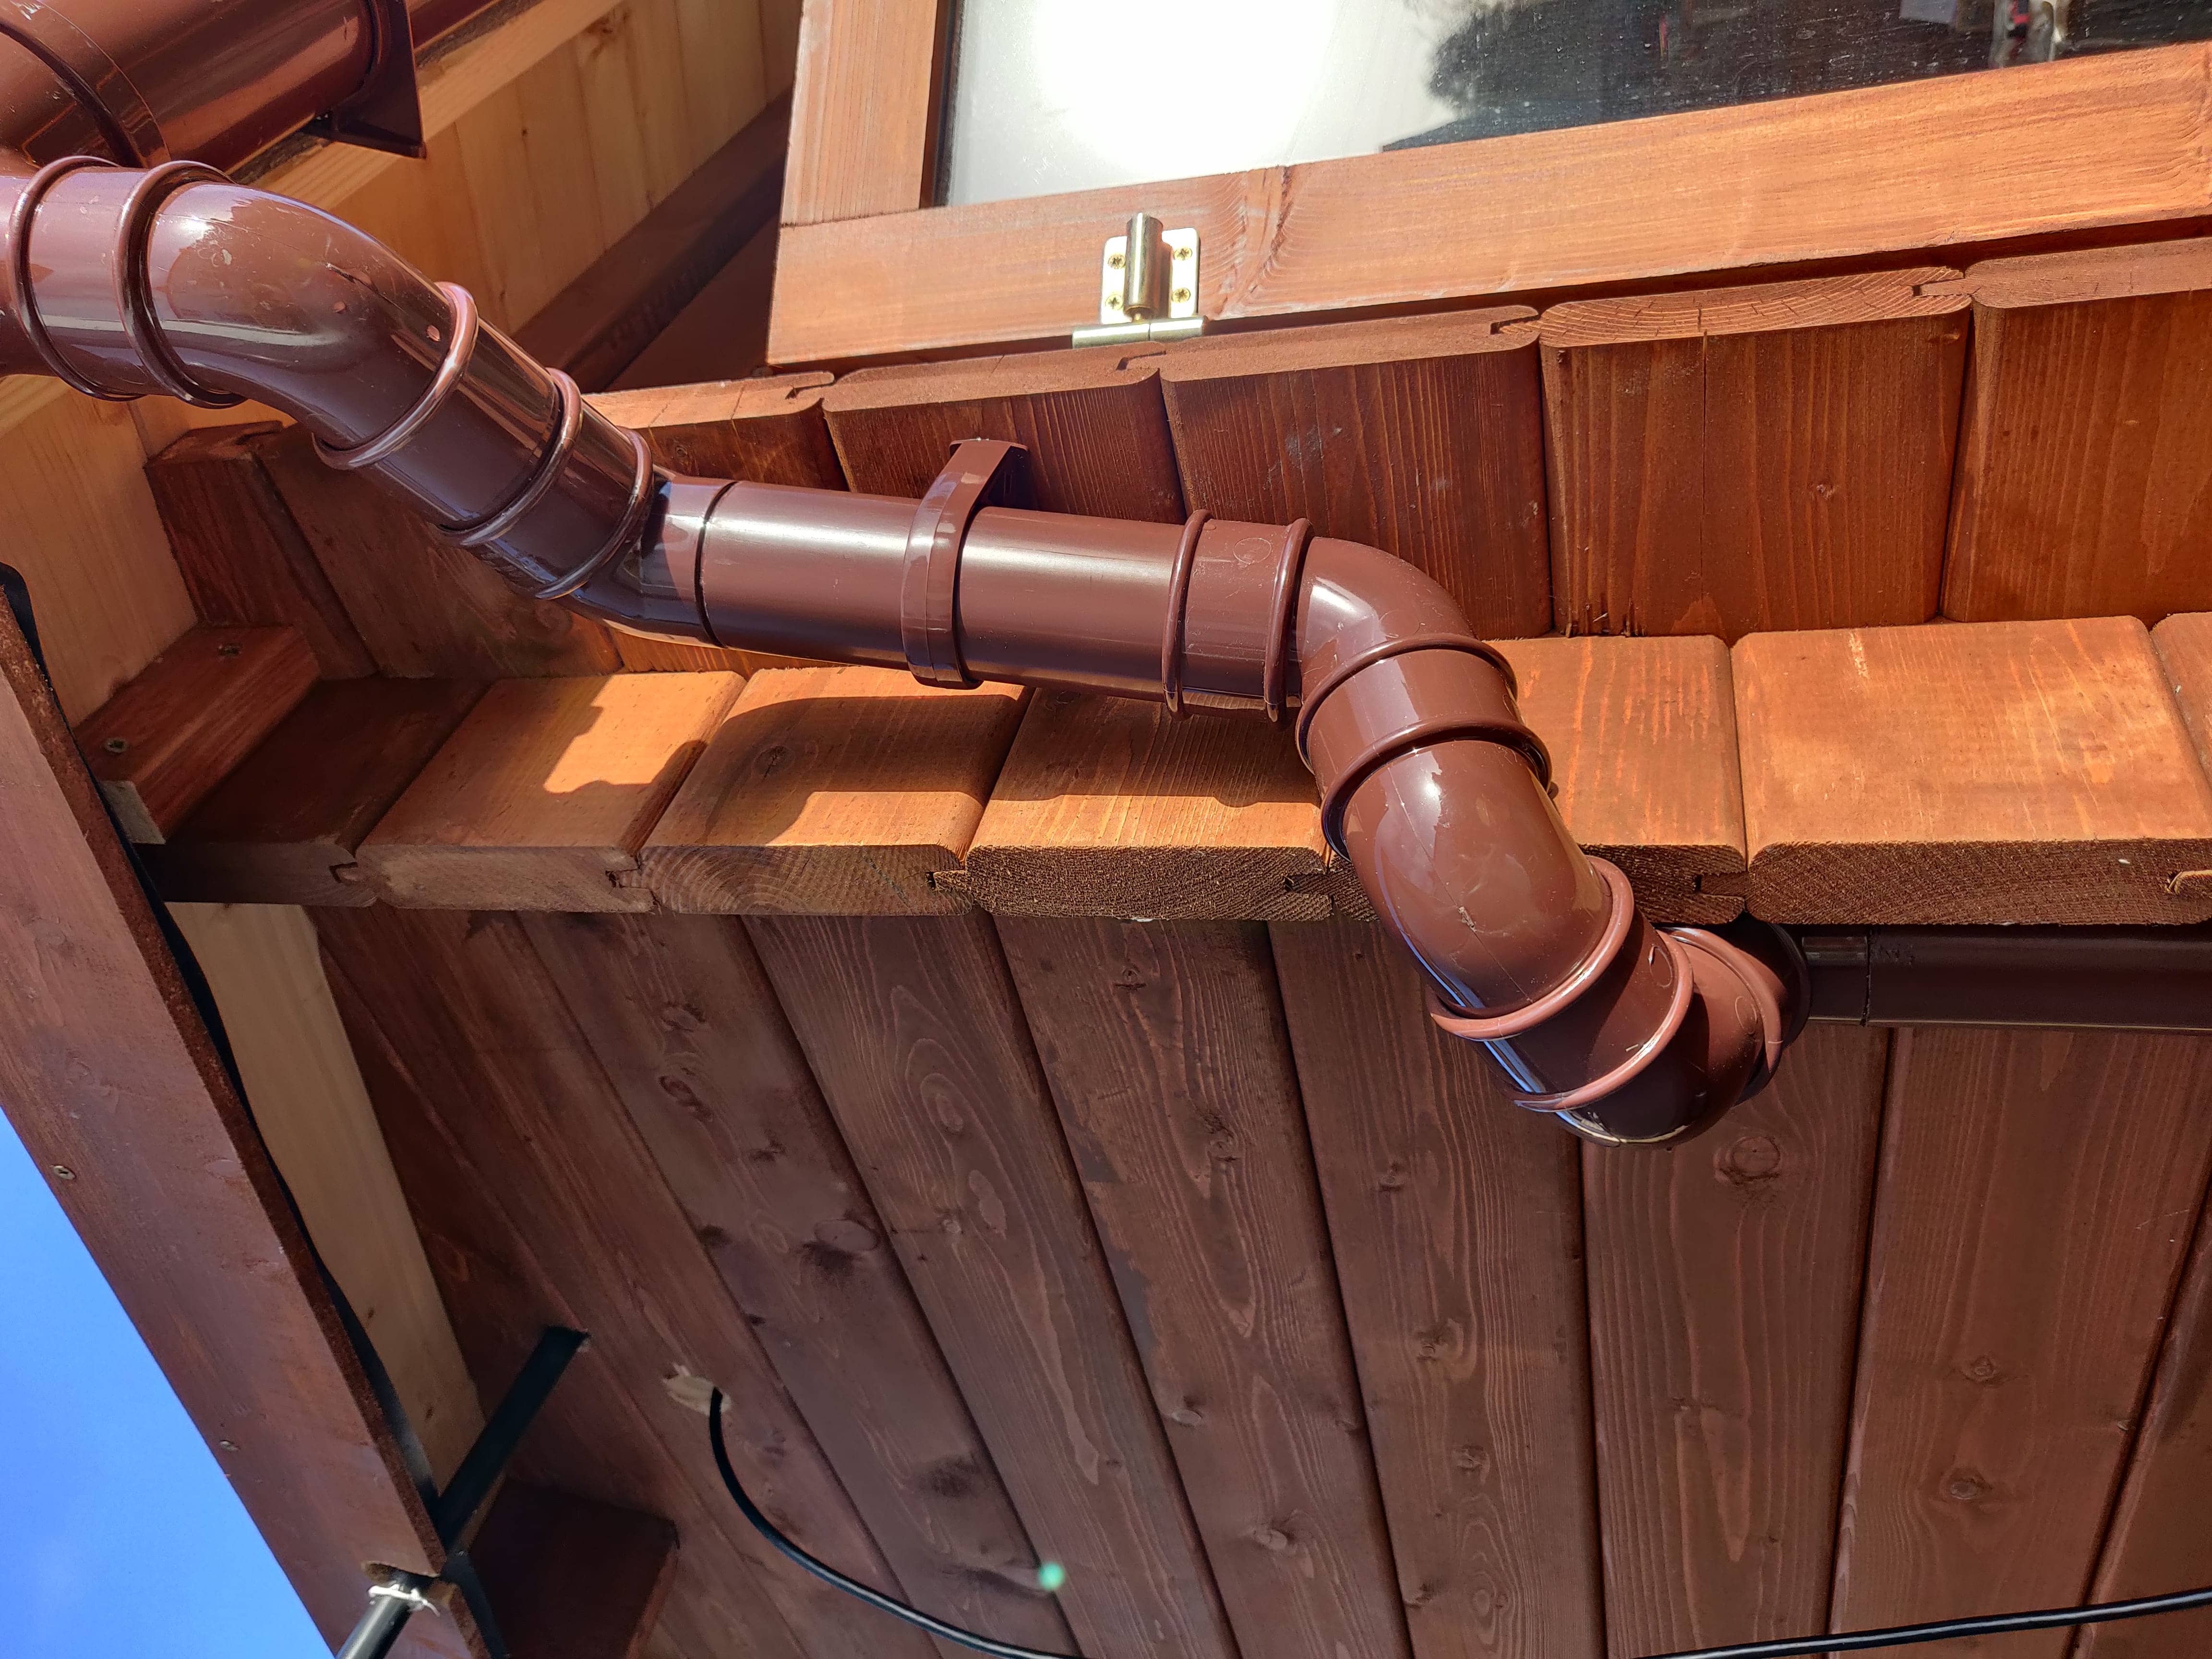
Initially I didn’t have any guttering on the shed, I soon learn’t that having 10m² of rainwater pouring off the roof onto the lawn pretty quicly turns it into a swamp. This was solved easily enough with some guttering, although getting the downpipe around the protruding corners was a challenge!
Shed life
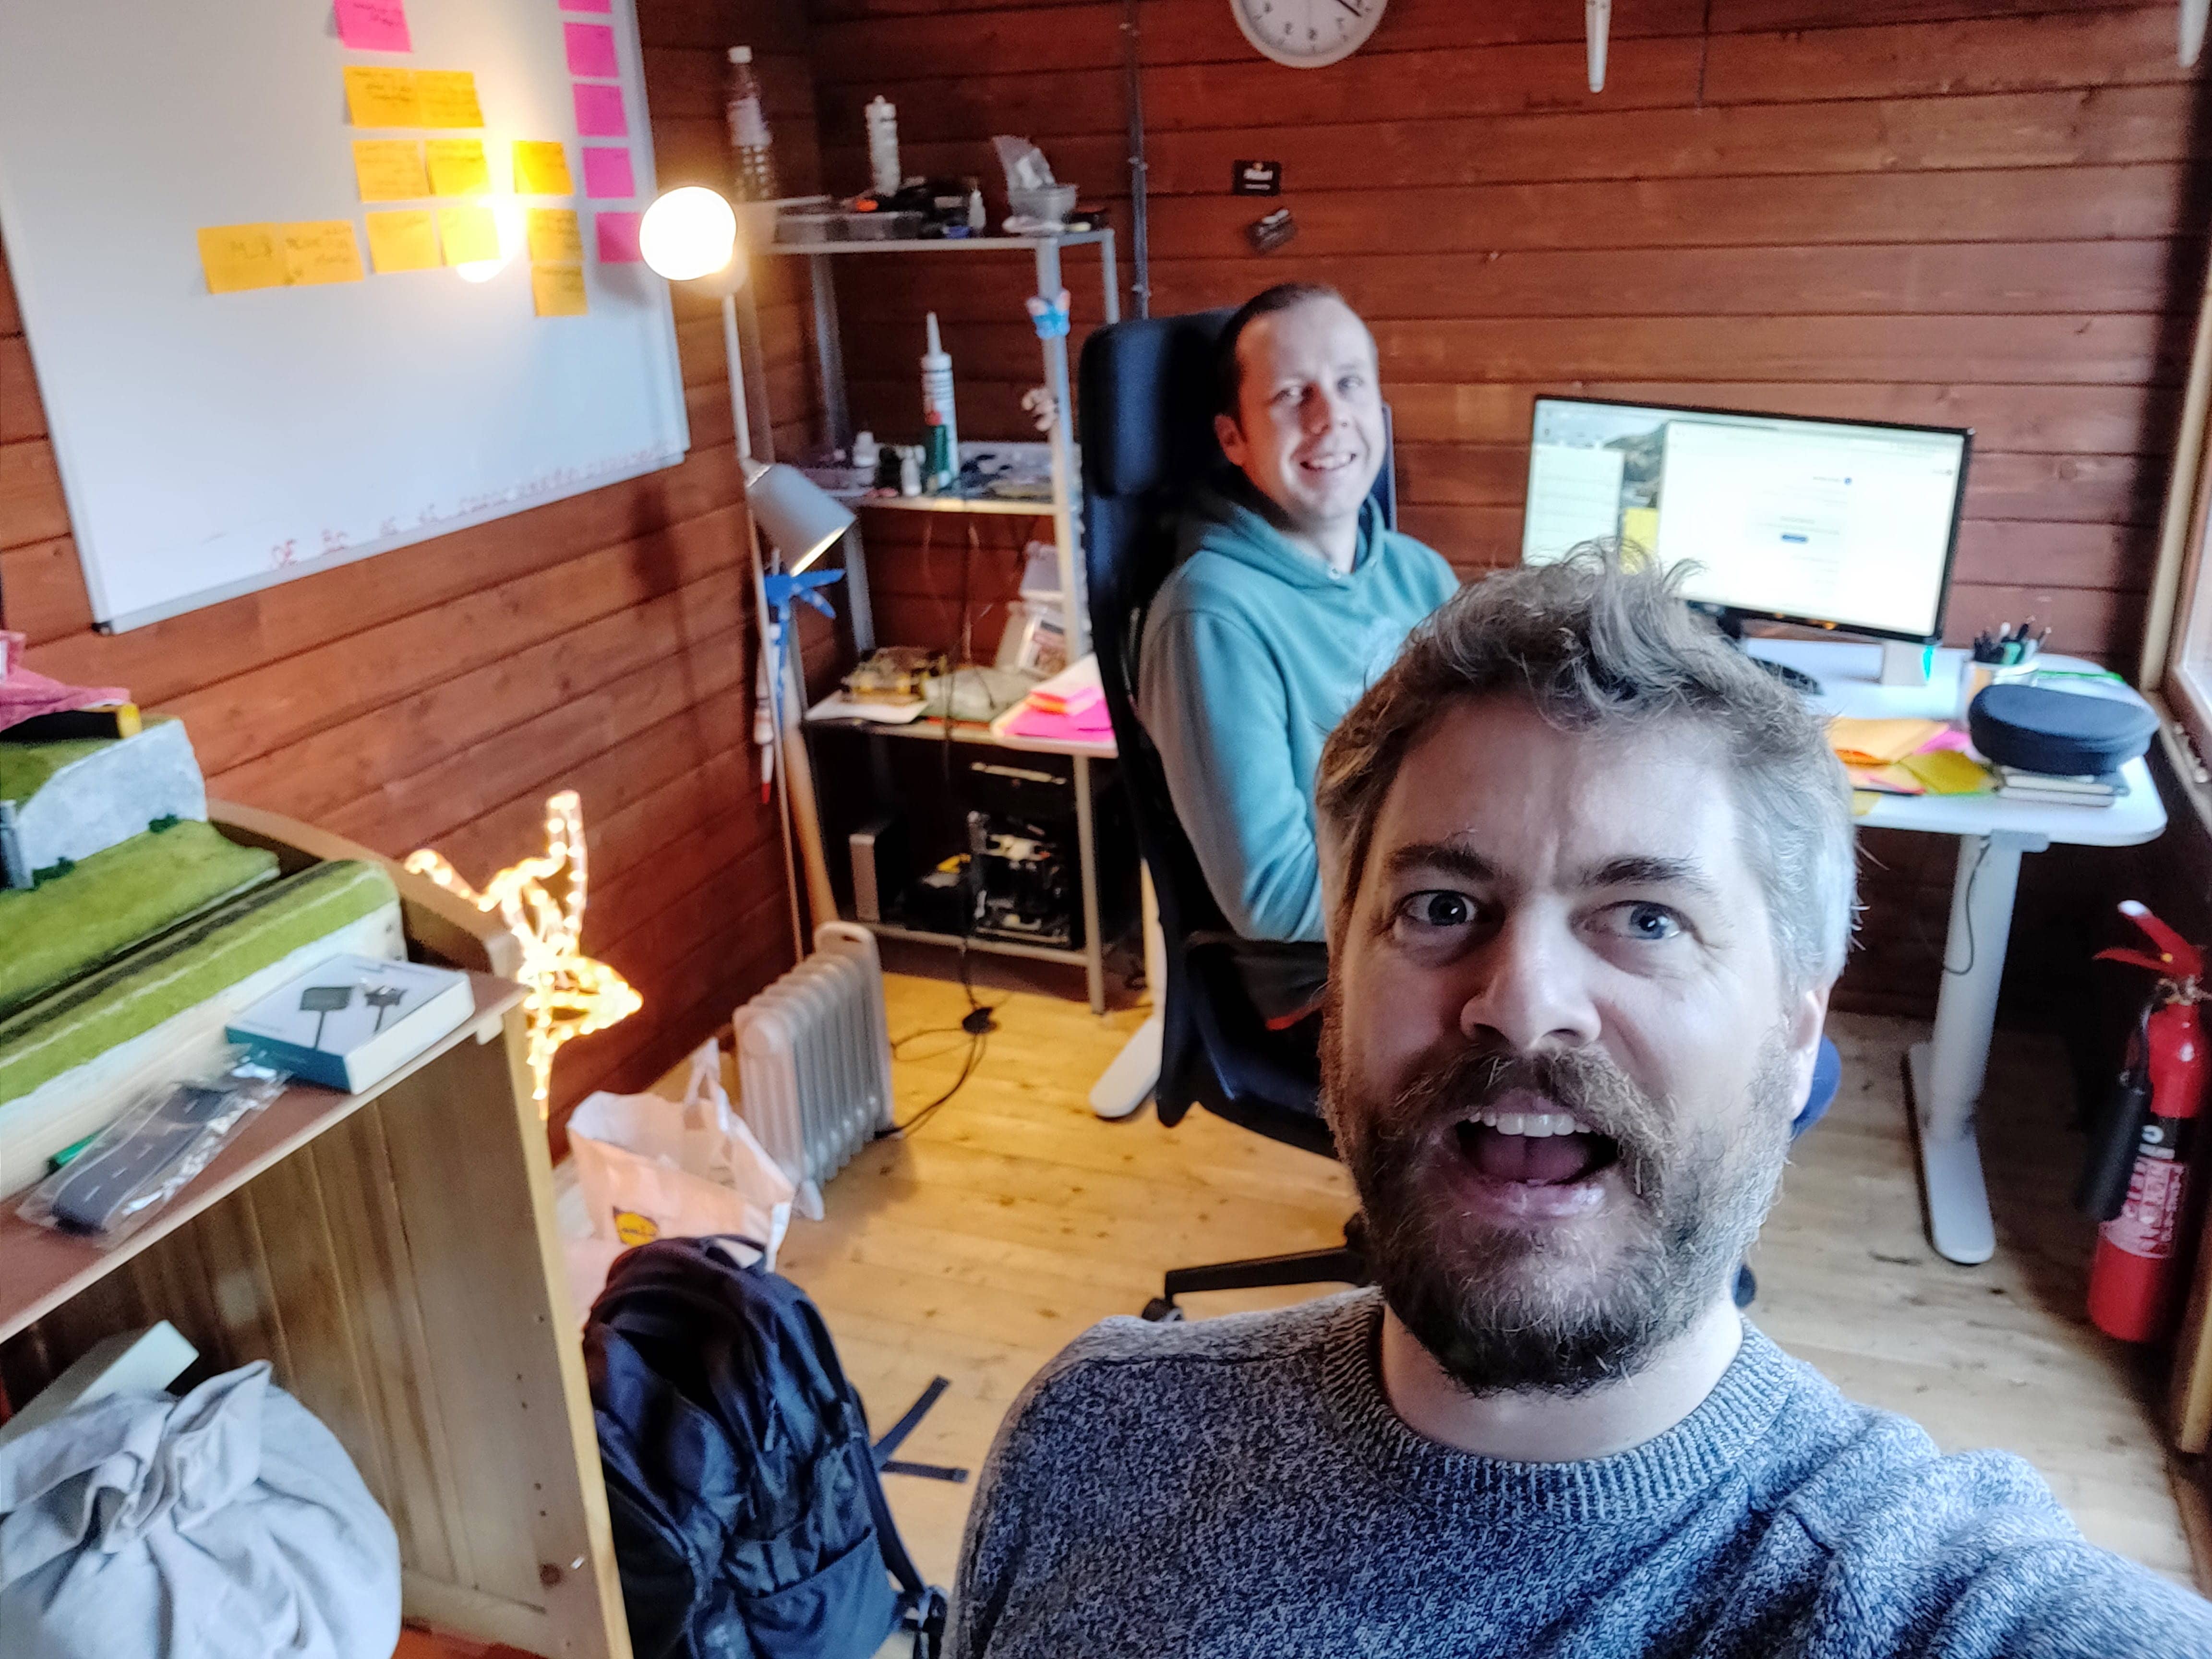
The shed has really helped keep a home/work balance providing the space to make the delineation between the two. The kids know when we are in the shed we are at work, in a way that was much harder working in the house. Having a shed big enough for two people has been really good, before lockdown Andy and I started to hangout in it to provide a bit of face to face working, and very occasionally both Han and I have worked at the same time.
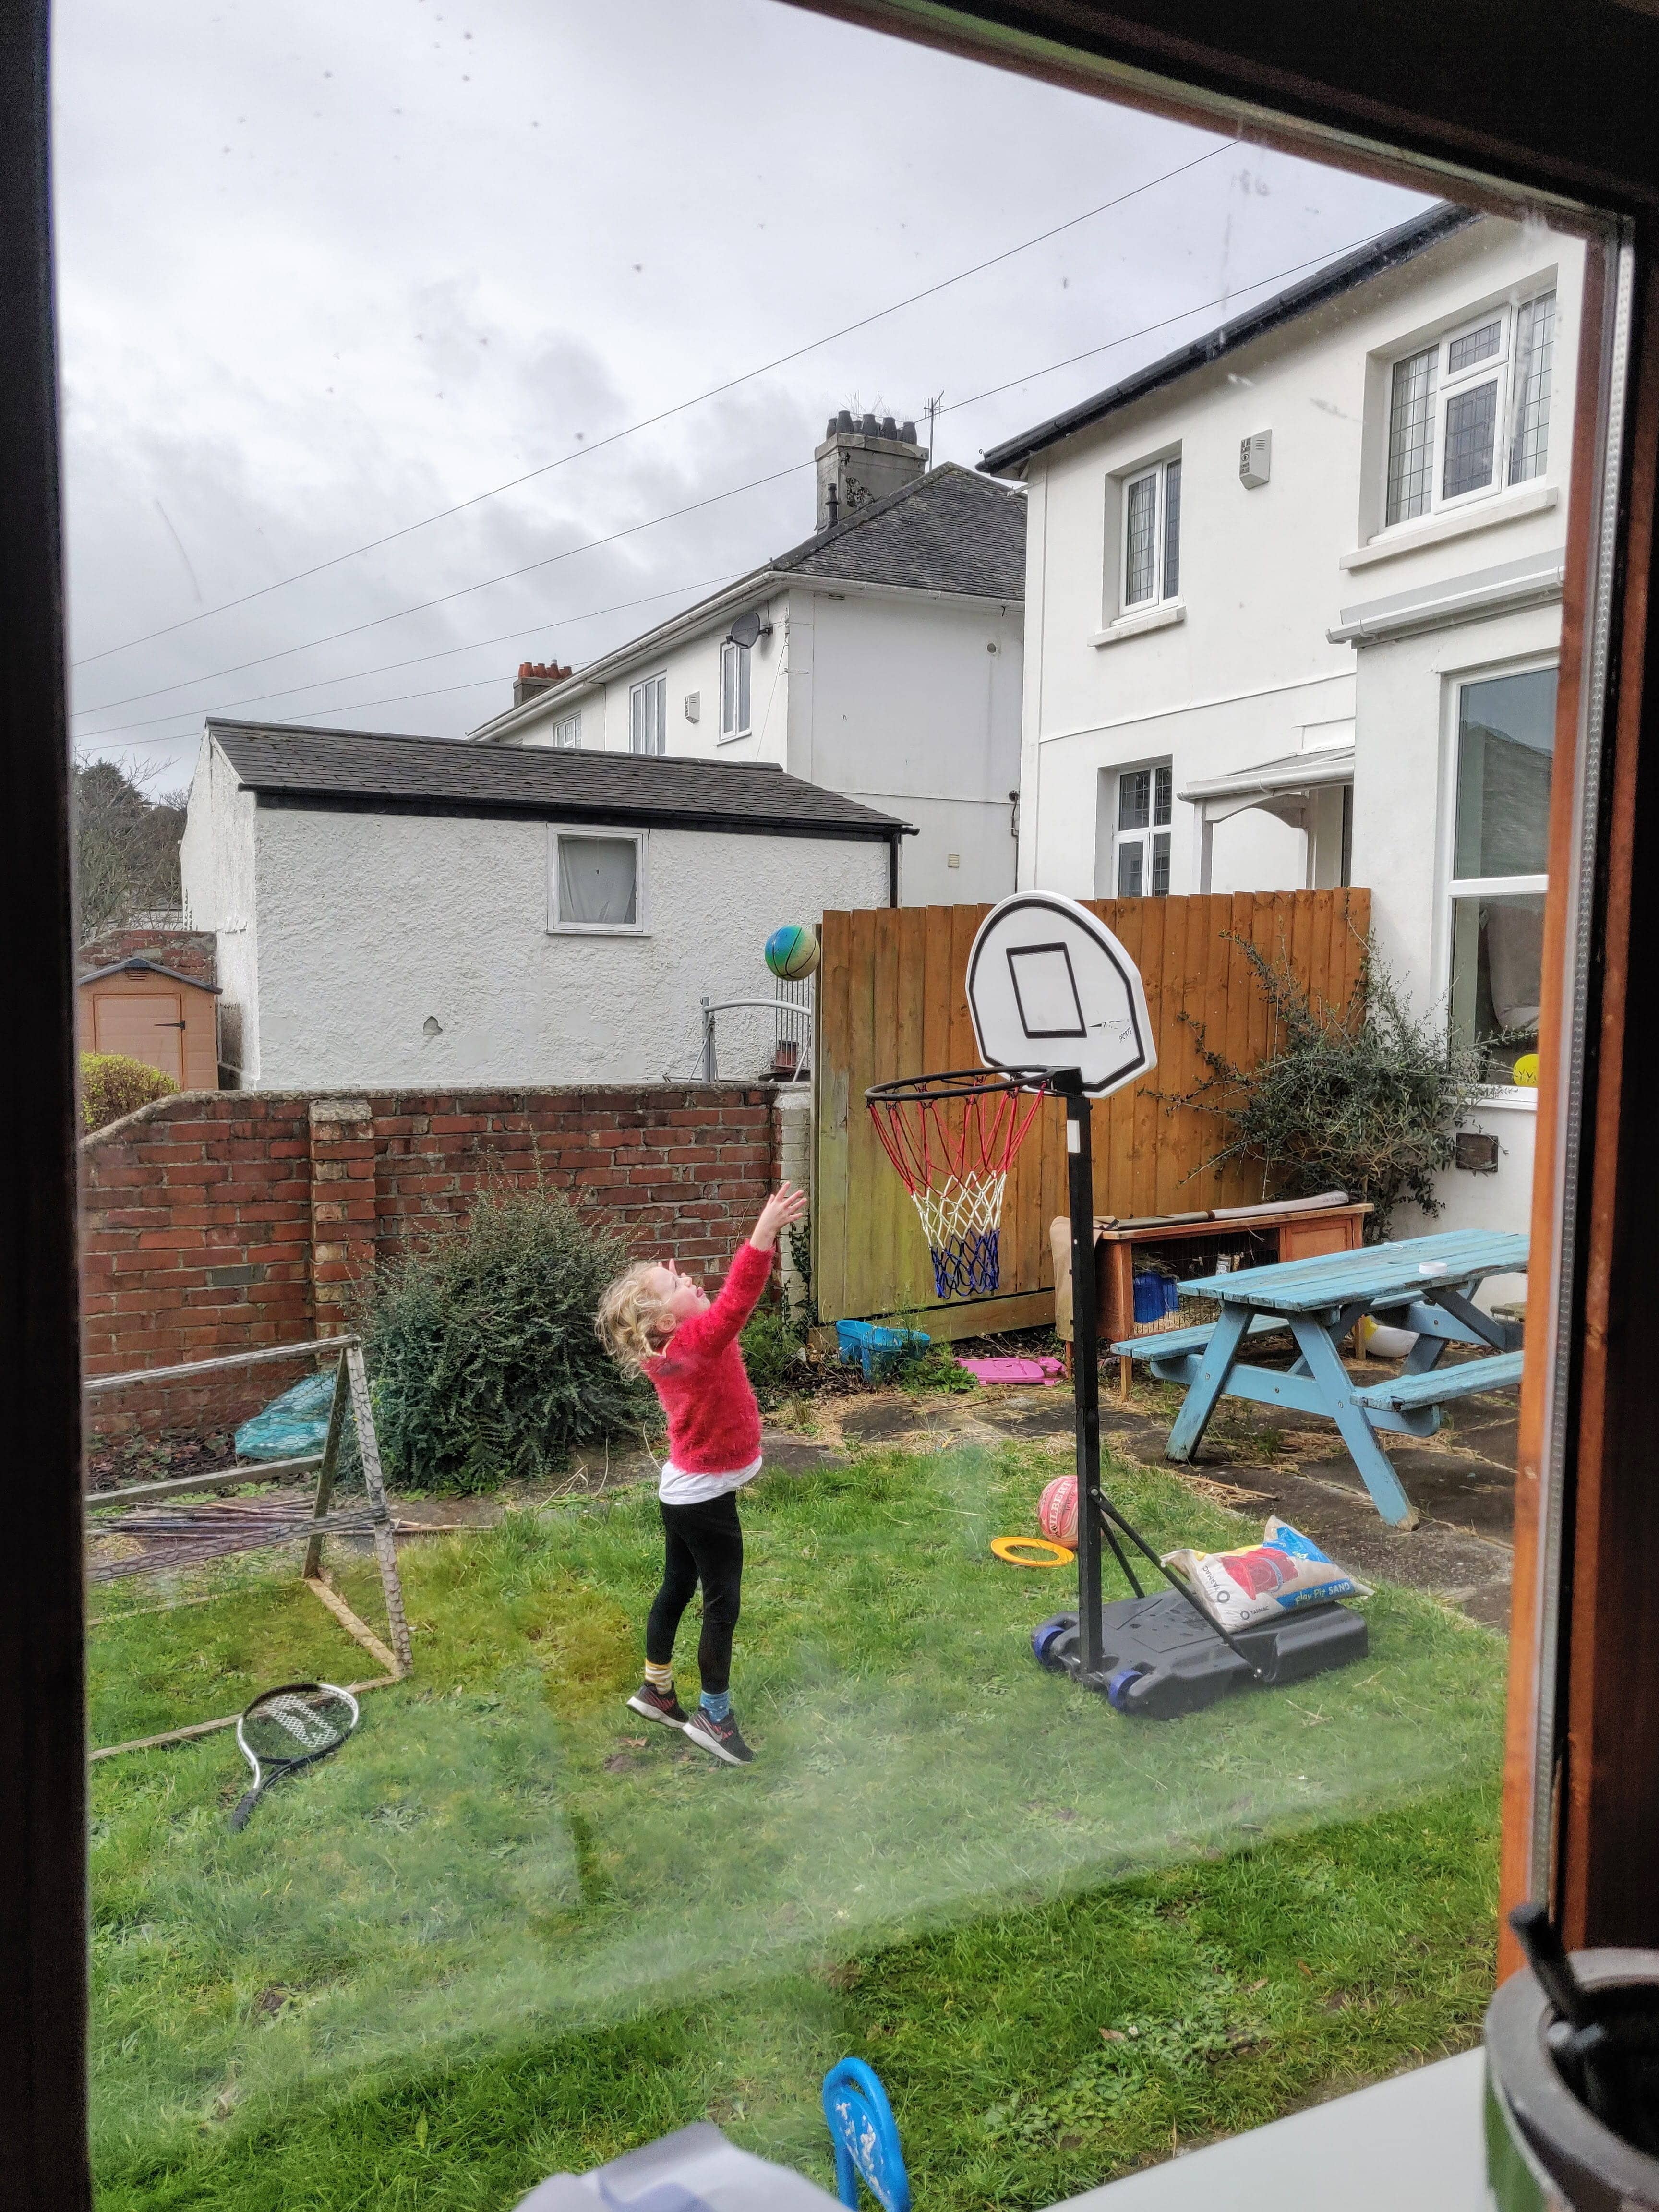
Despite the kids knowing the shed is a work space, I still get to see things I wouldn’t in the office. One day I watched my youngest spend 2.5 hours perservering at shooting basketball hoops, I had never seen that side to her before, and its a memory I will cherish forever.
Having a space to make your own and to work for you is so much better than an office, even silly little things like making the shed nice and festive at Christmas. The space is mine and I can make it work the most effective way for me, with very little constraint. It is incredibly liberating, I don’t feel stifled at all.

During lockdown we were having to work two full time jobs and try to educate the kids. Having a space to be able to work without distraction was invaluable during this difficult time. We’re very lucky to be able to have the space (and money) to build it, and I hope if you are thinking of building an office shed this post has some useful pointers as to what shed life is like.
